
I get a little loud about this recipe — sorry, not sorry. Mongolian Chicken hits that sweet spot where sticky, glossy sauce meets crisped edges and straight-up comfort, and I can put a weeknight dinner on the table in 30 minutes. I picked up this fast, saucy technique years ago when I needed dinner to be both impressive and zero-drama; since then it became my go-to for when friends drop by or I forget to thaw something fancy. The sauce smells like toasted caramel and garlic the moment it hits the hot pan, and that sound — the sizzle — makes everyone wander into the kitchen. Let’s make dinner exciting and ridiculously simple.
Quick Facts
- Yield: Serves 4
- Prep Time: 10 minutes
- Cook Time: 20 minutes
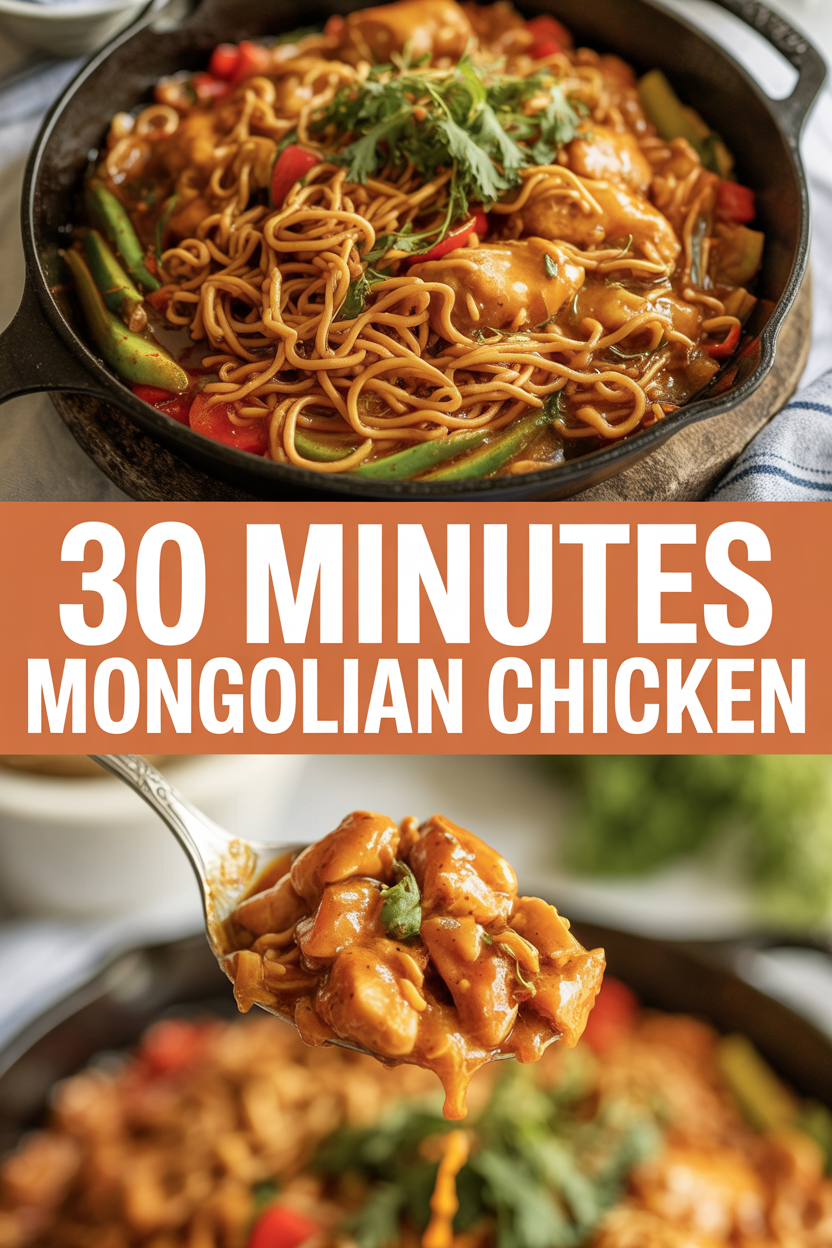
- Total Time: 30 minutes
Why This Recipe is Awesome
This Mongolian Chicken tastes restaurant-worthy but requires no deep-frying or long marinating. You get crunchy edges on the chicken, a shiny, sticky sauce that clings to every piece, and a hit of green onion freshness on top. It’s quick, slightly sweet, garlicky, and has that irresistible contrast of tender interior and crisped exterior. Who doesn’t love crispy edges and a glossy sauce that begs to be spooned over rice?
Ingredients
For the Main Dish:
- 1.5 lb boneless, skinless chicken thighs, cut into 1-inch pieces (or use breasts if you prefer)
- 1/4 cup cornstarch (for light crisping)
- 1/2 tsp kosher salt
- 1/4 tsp black pepper
- 2 tbsp neutral oil (canola, vegetable, or avocado)
- 4 green onions, white and green parts separated, sliced on a bias
- 1 cup steamed white rice (for serving)
For the Sauce / Garnish (if applicable):
- 1/3 cup low-sodium soy sauce (use tamari for gluten-free)
- 1/3 cup water
- 1/3 cup packed brown sugar
- 1 tbsp rice vinegar (or apple cider vinegar)
- 3 cloves garlic, minced
- 1 tbsp fresh ginger, minced (or 1 tsp ground ginger)
- 1 tsp sesame oil
- 1/4 tsp red pepper flakes (optional, for heat)
- 1 tsp toasted sesame seeds (optional garnish)
How I Make It
Step 1:
Pat the chicken dry and toss it with 1/4 cup cornstarch, 1/2 tsp salt, and 1/4 tsp pepper. I like the cornstarch because it gives a light, crisp coating that soaks up sauce without getting gummy. Heat a large skillet over medium-high heat and add 2 tbsp neutral oil. When the oil shimmers, add the chicken in a single layer — don’t crowd the pan or you’ll steam instead of brown.
Step 2:
Sear the chicken, leaving it untouched so it gets golden edges, about 3–4 minutes per side. Listen for that satisfying sizzle; it tells you the crust forms. Transfer chicken to a plate while you make the sauce. If tiny brown bits stick to the pan, great — that’s flavor. De-glaze with a splash of water if things get too stuck.
Step 3:
Lower the heat to medium. Add the white parts of the green onions, 3 cloves minced garlic, and 1 tbsp minced ginger to the same pan and sauté for 30–45 seconds until fragrant. Pour in the sauce mixture — 1/3 cup soy sauce, 1/3 cup water, 1/3 cup brown sugar, and 1 tbsp rice vinegar — and stir. The sugar melts and the pan fills with a deep, caramel-like aroma. Let the sauce bubble and thicken for about 2–3 minutes.
Step 4:
Return the chicken and any accumulated juices to the pan and toss to coat. Cook for another 2–3 minutes so the sauce clings to the chicken and the edges re-crisp slightly. I watch for the sauce to reduce to a glossy, slightly syrupy consistency and for the chicken to reach 165°F on an instant-read thermometer. If you don’t have one, cut a piece to check for no-pink center.
Step 5:
Pull the pan off heat and stir in 1 tsp sesame oil and the green parts of the sliced onions. Sprinkle with toasted sesame seeds if you like. Serve immediately over steamed rice and maybe some blanched broccoli for color and crunch. The sauce should cling beautifully and shine like restaurant takeout — but better, because you made it.
Pro Tips
- Cut chicken into uniform pieces so everything cooks evenly. I toss half the pieces in cornstarch, then the rest — helps avoid clumps.
- Use a heavy skillet (cast iron or stainless) for better browning. Don’t crowd the pan; cook in batches if needed.
- If your sauce thickens too much, stir in a tablespoon of warm water at a time until it loosens again.
- For extra crunch, double-fry the chicken: fry once, rest 5 minutes, then quickly crisp again in the hot pan before saucing.
Common Mistakes to Avoid
- Skipping preheating: Classic rookie move. It changes texture and bake time.
- Overmixing: Leads to dense or chewy results. Mix until just combined.
- Guessing cook time: Always use visual cues or a timer, not just vibes.
- Overcrowding pans: Give your food some breathing room to crisp properly.
Alternatives & Substitutions
- Chicken ↔ Tofu: Use extra-firm tofu, pressed and cubed, toss with cornstarch and pan-fry for a vegetarian version.
- Soy sauce ↔ Tamari: Use tamari to make this gluten-free; flavor stays rich.
- Brown sugar ↔ Coconut sugar or honey: Honey gives a thinner, glossier sauce; coconut sugar tones down sweetness slightly.
- For a dairy-free option: This recipe already stays dairy-free if you skip butter.
Variations & Tips
- Spicy: Add 1 tbsp chili garlic sauce or 1/2 tsp cayenne for a kick.
- Kid-friendly: Reduce brown sugar by 2 tbsp and skip red pepper flakes.
- Ginger-forward: Add extra ginger for a sharp, bright lift.
- Garlic lovers: Double the garlic for a robust, savory punch.
- Creative twist: Stir in 1/4 cup pineapple juice for a tropical-sweet tang and finish with chopped cilantro.
FAQ (Frequently Asked Questions)
- Can I make this ahead of time?
- Yes! Prep the chicken and sauce separately. Store chicken and sauce in airtight containers in the fridge up to 3 days. Reheat the chicken in a hot skillet and add sauce at the end so the coating doesn’t go soggy.
- Can I double the recipe?
- Sure thing. Use a larger skillet or cook in batches to avoid overcrowding; timing per batch stays about the same.
- Can I substitute butter with oil?
- Technically yes, but you’ll miss that buttery magic. Use ¾ the amount of oil.
- How do I know it’s done?
- Chicken reaches 165°F and shows no pink in the center. The sauce should reduce to a glossy coating that clings to the meat.
- What if I don’t have ingredient X?
- No garlic? Use a pinch of garlic powder (1/2 tsp). Out of cornstarch? Use 2 tbsp flour, but expect a slightly different texture.
How I Like to Serve It
I plate this over fluffy steamed jasmine rice and add a side of quick-blanched broccoli or snap peas for color and crunch. On chillier nights, I serve it with garlic fried rice and a cold beer; for family dinners, I keep it kid-friendly by skipping the chili flakes. Serve immediately — the sauce looks best hot and glossy.
Notes
- Store leftovers in the fridge up to 3 days. Reheat gently in a skillet; add a splash of water to revive the sauce if needed.
- Always cook chicken to a safe internal temp of 165°F.
Final Thoughts
Closing: Now go impress someone — or just yourself — with your homemade Mongolian Chicken. It’s fast, crowd-pleasing, and proof that weeknight dinners can taste like a treat.

Hi, I’m Lina, the creator of Lina Easy Recipes.Cooking has always been my passion, and I love sharing simple, homemade dishes that anyone can prepare.
Love What You See?
Join me on Pinterest and Facebook for daily cooking inspiration, new recipe ideas, and behind-the-scenes kitchen stories. Let’s cook something wonderful together!


