Witch Hat Chocolate Cones – creative Halloween treat for parties
Spread the love
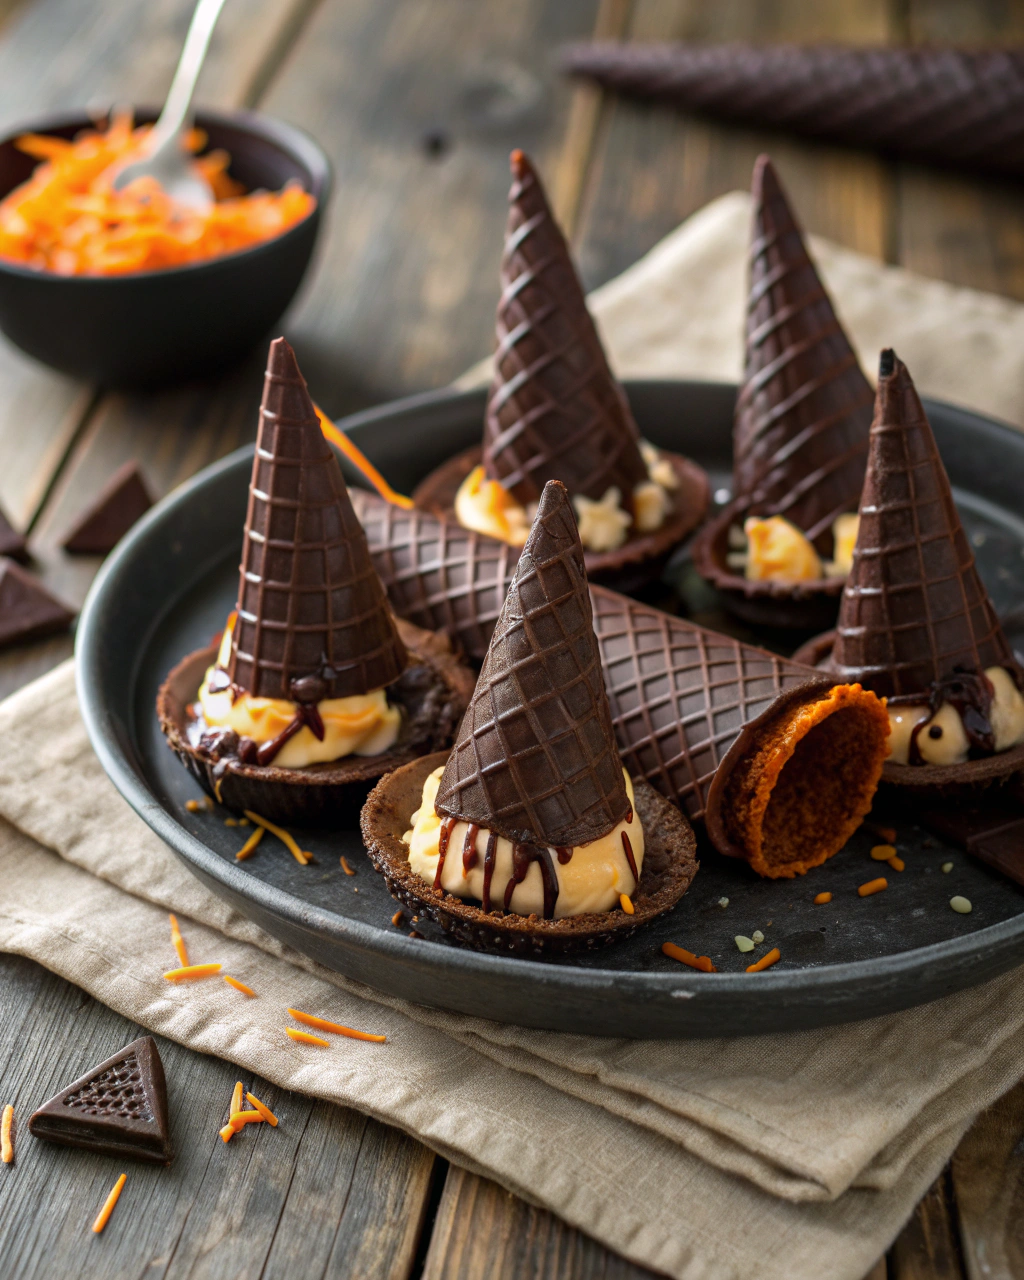
Witch Hat Chocolate Cones – creative Halloween treat for parties
Okay, picture this: Halloween night, spooky decorations everywhere, and a batch of chocolate witch hats that look almost too good to eat. These Witch Hat Chocolate Cones are not just adorable—they’re a total crowd-pleaser that turn the classic ice cream cone into a magical, edible masterpiece. The crisp, chocolatey cones paired with melty chocolate and a touch of candy give you that perfect mix of crunch and sweetness. Trust me, once you try making these, you’ll be tempted to sneak one (or three) before the party even starts!
Quick Facts
Yield: Serves 12
Prep Time: 20 minutes
Cook Time: 15 minutes
Total Time: 35 minutes
Ingredients
For the Main Dish:
12 sugar cones
8 oz semi-sweet chocolate chips
1 tsp coconut oil or vegetable oil
Assorted small candies (like M&Ms, mini marshmallows, or candy pumpkins)
For the Sauce / Garnish (if applicable):
Optional: Orange or purple sprinkles for extra festivity
How I Make It
Step 1:
First, gently melt the chocolate chips with the coconut oil in a microwave-safe bowl. Heat in 30-second bursts, stirring well between each, until the chocolate is smooth and glossy. The oil helps it become silky and easier to coat the cones.
Step 2:
Dip the **pointy end of each sugar cone** into the melted chocolate, then invert to place on wax paper to dry. This forms the “tip” of the witch’s hat and seals the open end so no candy spills out later.
Step 3:
Now, carefully paint or coat the outside of the cones with the melted chocolate using a pastry brush or the back of a spoon. Don’t worry if it’s a little uneven—it gives a rustic, homemade charm.
Step 4:
While the chocolate is still wet, decorate the base edge of the cone with **candies or sprinkles** to create the hatband. Press gently so they stick well.
Step 5:
Place the cones upright on a baking sheet lined with parchment paper and pop them in the fridge for about 15 minutes to let the chocolate fully set and harden.
Step 6:
Once set, fill the inside with mini marshmallows or other fun treats if you like, or just serve the cones like little hats ready to be devoured. Either way, they’re sure to be the star of your Halloween party!
Variations & Tips
Use dark or white chocolate for different flavor profiles and eye-catching color contrasts.
For extra sparkle, drizzle melted chocolate of a contrasting color over the hats.
Add a little orange or black food coloring to your melted chocolate for a fun twist.
If the chocolate starts to seize, stir in a small amount of oil to smooth it out.
Try filling the cones with Halloween-themed candies or even popcorn for texture variety.
How I Like to Serve It
I love setting these Witch Hat Chocolate Cones on a festive platter surrounded by candy corn and mini pumpkins. They pair perfectly with warm apple cider for a cozy Halloween gathering. Plus, they make such a fun DIY activity for kids to decorate their own hats right before snack time!
Notes
Store leftover cones in an airtight container at room temperature to keep the cones crisp.
If melted chocolate gets too thick while working, gently warm it up again in short bursts.
Closing: These Witch Hat Chocolate Cones are a magical mix of crunchy, chocolaty, and festive that always bring smiles—and a little bit of Halloween mischief—to the table!
Hi, I’m Lina, the creator of Lina Easy Recipes.Cooking has always been my passion, and I love sharing simple, homemade dishes that anyone can prepare.
Spread the love
Love What You See?
Join me on Pinterest and Facebook for daily cooking inspiration, new recipe ideas, and behind-the-scenes kitchen stories. Let’s cook something wonderful together!


 - spooky Halloween popcorn snack")


