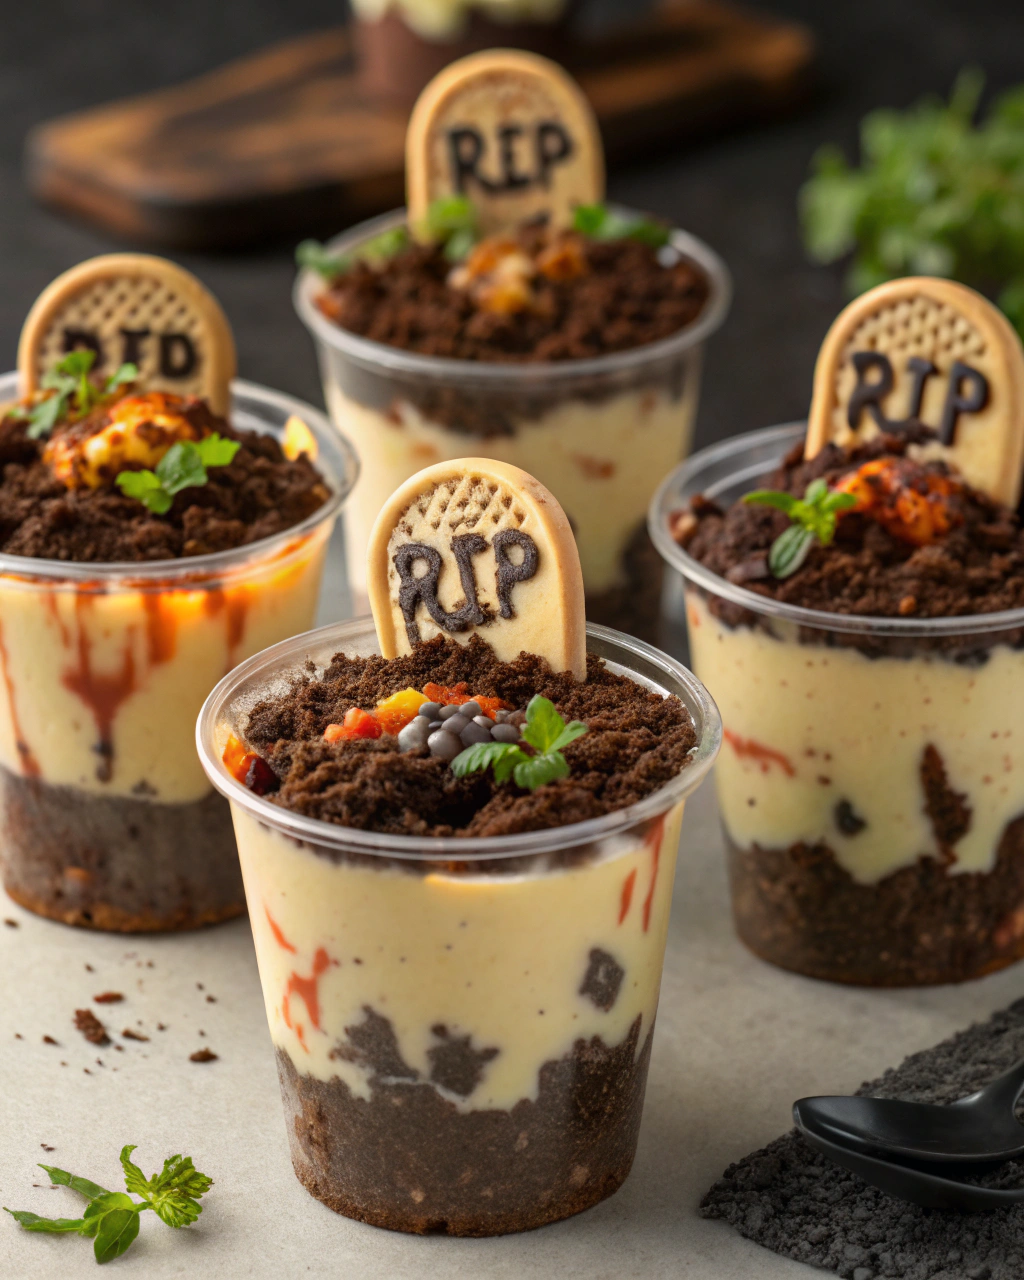
Okay, so picture this: it’s late October, the air smells like pumpkin spice and a little bit of mischief. You want something fun and spooky but without all the fuss of baking or complicated ghostly gadgets. Enter these Haunted Graveyard Pudding Cups—they’re like your favorite childhood Halloween treat, but way cooler and way easier to make. The creamy chocolate pudding is rich and silky, topped with “graveyard dirt” made from crushed chocolate cookies, and then you add creepy little tombstones that you can totally customize. Best part? You don’t need to be a kitchen wizard to pull this off, just a little bit of playful spirit. Trust me, these cups always bring a smile and a gobble—perfect for Halloween parties or just sneaking a bite when nobody’s looking!
Quick Facts
Yield: Serves 6
Prep Time: 10 minutes
Cook Time: 0 minutes (no-bake!)
Total Time: 10 minutes plus chilling
Ingredients
For the Main Dish:
2 cups cold milk
1 package (3.9 oz) instant chocolate pudding mix
1 cup heavy cream, whipped (or store-bought whipped cream)
15 Oreo cookies (or any chocolate sandwich cookies)
6 chocolate wafer cookies or Milano cookies (for tombstones)
For the Garnish:
Black decorating gel or melted chocolate (for writing on tombstones)
Optional: gummy worms or candy eyeballs
How I Make It
Step 1:
First up, pour the cold milk into a big mixing bowl and whisk in the instant chocolate pudding mix. Whisk for about 2 minutes until it thickens smoothly. You’ll know it’s ready when the texture is creamy and starts holding its shape.
Step 2:
Next, gently fold the whipped cream into the pudding to make it extra fluffy and light. This is the secret that keeps your pudding cups from feeling heavy or too sweet.
Step 3:
Now, take your Oreos and crush them into fine crumbs. I usually pop them in a zip-top bag and whack with a rolling pin—makes it easy and less messy!
Step 4:
Layer your cups by spooning in some pudding, followed by a sprinkle of cookie crumbs to look like dirt. Repeat the layers until the cup is almost full. Top off with a generous layer of crumbs to create your spooky “graveyard soil.”
Step 5:
Time to make those tombstones! Use chocolate wafer cookies and write fun epitaphs like “RIP” or “Boo” with the decorating gel or melted chocolate. Let them set for a few minutes.
Step 6:
Stick the tombstones into the top of each pudding cup. For extra flair, tuck in some gummy worms or candy eyeballs peeking out from the dirt. Chill your cups in the fridge for at least 30 minutes to let everything set nicely before serving.
Variations & Tips
Swap chocolate pudding for vanilla or butterscotch for a twist on flavor.
Add a layer of crushed graham crackers for a different texture.
Use peanut butter cups or M&Ms as additional “graveyard treasures.”
Make your tombstones from graham crackers or homemade cookie shapes if you’re feeling crafty.
If your pudding is too thick, stir in a splash of milk to loosen it up before layering.
Freeze gummy worms before adding for a chilly, creepy effect.
How I Like to Serve It
I love bringing these pudding cups out at Halloween parties because they’re mess-free and perfect for little hands. They also work great as a fun dessert for a family dinner after pumpkin carving. And if you’re feeling festive, serve with a cup of warm apple cider—hello, cozy autumn evening vibes!
Notes
Store any leftovers in the fridge, covered, for up to 2 days. The cookie crumbs might soften but will still taste great.
Since these are no-bake, they’re super quick to whip up even last minute—just give the pudding enough time to chill before serving.
Closing: These Haunted Graveyard Pudding Cups never fail to bring spooky fun and sweet smiles—they’re my go-to for easy Halloween magic in a cup!
Hi, I’m Lina, the creator of Lina Easy Recipes.Cooking has always been my passion, and I love sharing simple, homemade dishes that anyone can prepare.
Spread the love
Love What You See?
Join me on Pinterest and Facebook for daily cooking inspiration, new recipe ideas, and behind-the-scenes kitchen stories. Let’s cook something wonderful together!