
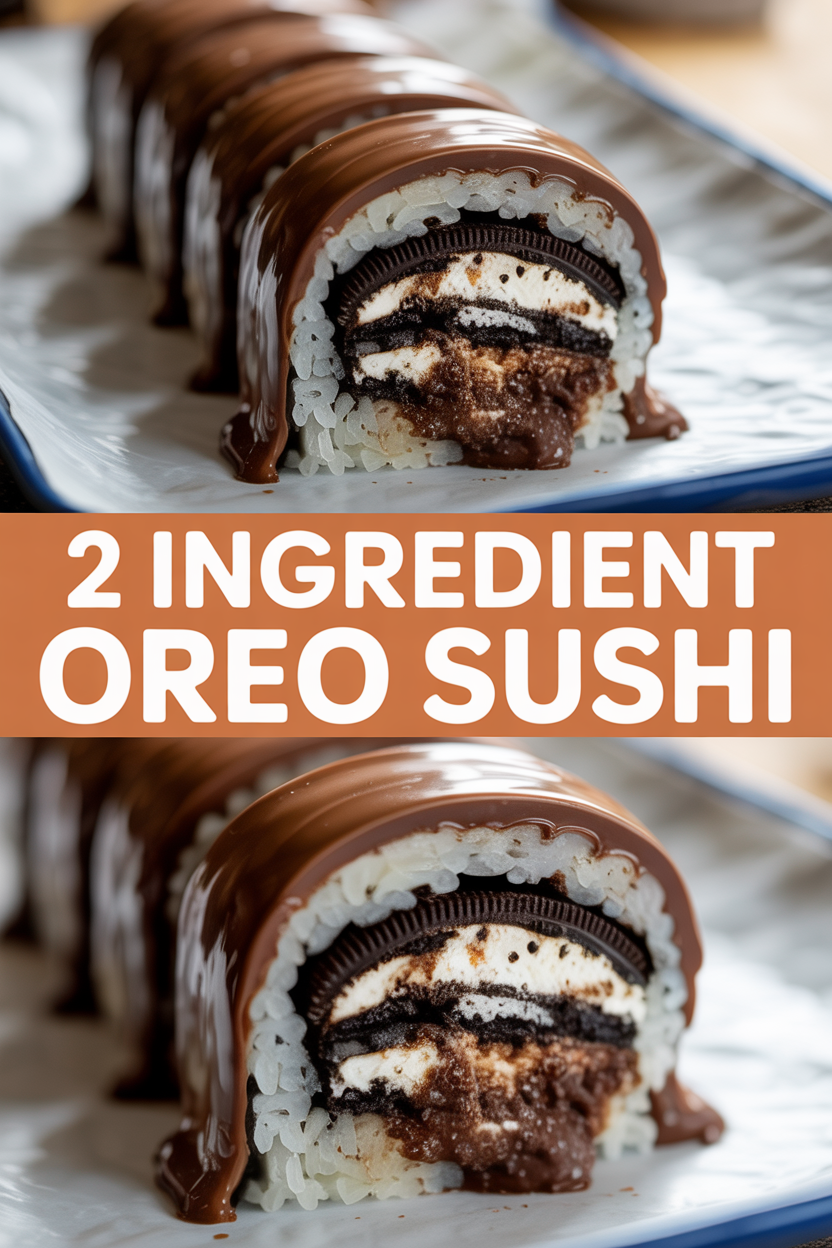
Okay, full disclosure: I made these Oreo “sushi” for a party once and someone actually asked if they were rollmops. I laughed so hard I almost dropped the platter. This recipe lives in that sweet spot between silly and brilliant — two pantry staples transform into little black-and-white sushi-looking bites that disappear faster than you can say “wasabi.” I love how the chocolate crumbs look like rice and the creamy center behaves like the sticky sushi glue. If you want a showstopper that smells like chocolate, feels pillowy in the middle, and requires zero fancy tools, you’re in the right place.
Quick Facts
- Yield: Serves 6–8 (about 24 sushi slices)
- Prep Time: 15 minutes
- Cook Time: 0 minutes
- Total Time: 45 minutes (including chill)
Why This Recipe is Awesome
This recipe feels like edible prank art: it looks like sushi but tastes like a chocolate cookie dream. It’s so easy even your oven (which we won’t use) can’t mess it up. You get crumbly, chocolatey exterior and a lush, tangy-cream center — contrast equals joy. These bites look fancy on a platter but take almost no effort, perfect for last-minute parties, kids’ lunches, or when you need a tiny victory in the kitchen.
Ingredients
For the Main Dish:
- 1 (14.3 oz) package Oreo cookies (about 36 cookies)
- 8 oz cream cheese, softened (1 block)
For the Sauce / Garnish (if applicable):
- Optional: drizzle with melted chocolate or top with a tiny candy fish for whimsy (this adds ingredients, so skip if you want strict 2-ingredient).
How I Make It
Step 1:
Dump the Oreos into a sturdy zip-top bag or food processor. I like to leave a couple of whole cookies aside to use as “nigiri toppers” if I’m feeling dramatic. Crush the cookies until you have mostly fine crumbs with a few larger bits for texture — I do this with a rolling pin, listening to the satisfying crunch as the cookies break. Place the crumbs in a bowl and set aside.
Step 2:
In a separate bowl, beat the softened 8 oz cream cheese until smooth and glossy — no lumps. The cream cheese will smell tangy and rich; that tang will cut through the chocolate and keep these from tasting too sweet. Use a fork or a hand mixer on low for about 1–2 minutes to get it silky.
Step 3:
Spoon the cream cheese into the cookie crumbs and mix with a spatula or your hands (I wear gloves — less messy!). Aim for a dough-like texture that holds when you press it. If it feels too wet, add a bit more crushed Oreo; if it’s too dry, a tiny dab of cream cheese will soften it. You’ll smell the chocolate and tang mingling — irresistible.
Step 4:
Form the mixture into a log about 1½ inches in diameter. Wrap the log tightly in plastic wrap and chill in the refrigerator for 30 minutes. Chilling firms the log so you can slice clean rounds that look like sushi. Tip: if you skip chilling, the slices will squish and look messy.
Step 5:
Unwrap the chilled log and slice into ¼–½ inch rounds with a sharp knife. Press crumbs back onto any messy edges for that neat “rice” look. Arrange on a platter and serve immediately or keep chilled until guests arrive. For extra theater, drizzle a little melted chocolate or place a tiny gummy “fish” on top.
Pro Tips
- Use room-temperature cream cheese for smooth mixing — cold cream cheese resists blending and creates lumps.
- Pulse Oreos in a food processor for speed, or use a rolling pin for a rustic texture; I like a few bigger crumbs for crunch.
- Chill the log for the full 30 minutes — it makes slicing clean and pretty pieces way easier.
- Make these a day ahead and keep them covered in the fridge; they stay fresh for up to 3 days.
Common Mistakes to Avoid
- Skipping preheating: Classic rookie move. It changes texture and bake time.
- Overmixing: Leads to dense or chewy results. Mix until just combined.
- Guessing cook time: Always use visual cues or a timer, not just vibes.
- Overcrowding pans: Give your food some breathing room to crisp properly.
Alternatives & Substitutions
- Replace regular Oreos with gluten-free Oreos for a gluten-free version — texture stays similar.
- Swap the cream cheese with a dairy-free vegan cream cheese to keep it vegan-friendly; expect a slightly tangier finish if you use certain brands.
- For less sweetness, use half the stuffing from Oreos plus 4 oz cream cheese and increase cookie crumbs to balance texture.
- If you can’t find Oreos, use chocolate sandwich cookies or homemade crushed chocolate wafers — flavor shifts but the concept remains fun.
Variations & Tips
- Kid-friendly: press a small gummy candy on top of each slice to look like a fish or roe.
- Decadent: drizzle with warm melted chocolate and sprinkle flaky sea salt for contrast.
- Fruit-forward: add a thin strip of strawberry or raspberry jam inside the log for a bright pop.
- Mini versions: roll into tiny balls and coat in extra crumbs to make bite-sized truffles.
- Party tray: alternate with actual sushi rolls or savory bites to surprise guests.
- Creative twist: use green-colored coconut flakes to mimic wasabi for a playful presentation.
FAQ (Frequently Asked Questions)
- Can I make this ahead of time?
- Yes! Make the log, wrap tightly, and refrigerate up to 3 days. Slice right before serving for the freshest look. You can freeze the log for up to a month — thaw in the fridge overnight before slicing.
- Can I double the recipe?
- Sure thing. Double everything and make two logs — chill both on a sheet pan so they rest flat. You don’t need to adjust mixing time much; just use a bigger bowl.
- Can I substitute butter with oil?
- Technically yes, but you’ll miss that buttery magic. Use ¾ the amount of oil.
- How do I know it’s done?
- Since this is no-bake, you judge by texture: the log should feel firm after the 30-minute chill and slices should hold their shape with clean edges.
- What if I don’t have ingredient X?
- If you don’t have Oreos, use any chocolate sandwich cookies or crushed chocolate wafers. No cream cheese? Try a thick mascarpone or a vegan cream cheese substitute.
How I Like to Serve It
I love presenting these on a sleek platter with a few sprigs of mint and a small bowl of melted chocolate for dipping. They make a cute dessert at potlucks, and kids adore them at birthday parties. Serve chilled with coffee or a glass of cold milk — perfect for cozy winter nights or breezy summer snack tables.
Notes
- Store leftovers in an airtight container in the fridge for up to 3 days. No reheating needed — just enjoy chilled.
- If you serve alongside cooked meats, remember safe temps: cook poultry to 165°F and pork to 145°F, though this recipe doesn’t involve cooking meat.
Final Thoughts
Closing: Now go impress someone — or just yourself — with these tiny, mischievous Oreo sushi bites. They’re quick, silly, and delicious — exactly the kind of kitchen win I live for.

Hi, I’m Lina, the creator of Lina Easy Recipes.Cooking has always been my passion, and I love sharing simple, homemade dishes that anyone can prepare.
Love What You See?
Join me on Pinterest and Facebook for daily cooking inspiration, new recipe ideas, and behind-the-scenes kitchen stories. Let’s cook something wonderful together!


