Classic chicken pot pie casserole with flaky crust
Spread the love
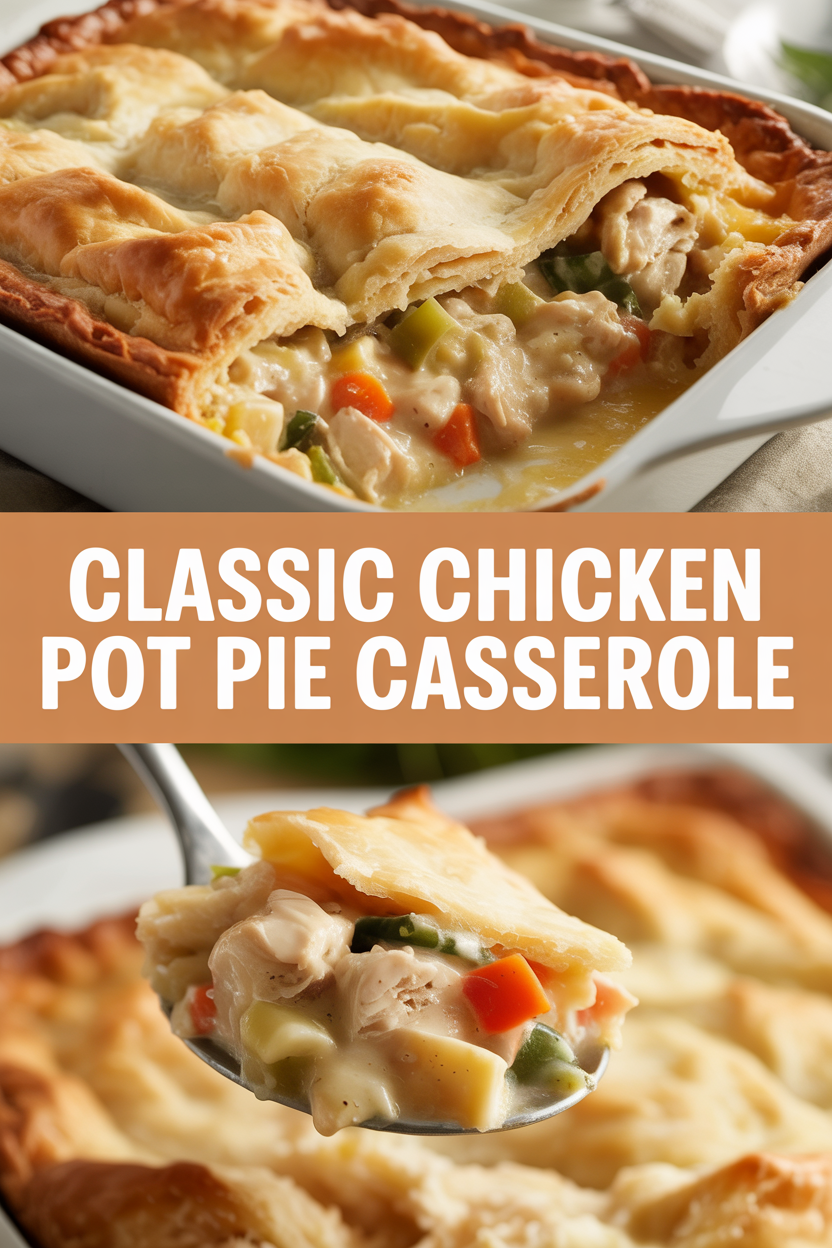
There’s something about a bubbling chicken pot pie that wraps you up like a warm blanket — and that’s exactly the feeling I chase on chilly nights. I love the moment when the kitchen fills with the buttery smell of crust and savory steam rises as I cut into that flaky top. This casserole version keeps everything easy: all the cozy filling in a single 9×13 dish with a glorious golden crust on top. I make this when I want comfort without the fiddly edges of individual pies, and my housemates always crowd the counter asking, “Can I have a piece now?” Trust me, this one feeds a crowd and comforts every cranky stomach.
Quick Facts
Yield: Serves 6
Prep Time: 20 minutes
Cook Time: 35–40 minutes (bake)
Total Time: 60 minutes
Why This Recipe is Awesome
This casserole gives you all the creamy, herb-scented filling of a classic chicken pot pie with a flaky, golden crust that crackles when you cut into it. It’s forgiving, kid-friendly, and uses simple pantry staples. Plus, it reheats beautifully — who doesn’t love leftovers that taste even better the next day? It’s so easy even your oven can’t mess it up.
1 medium yellow onion, finely chopped (about 1 cup)
2 celery stalks, diced
1 carrot, diced (about 3/4 cup)
1 cup frozen peas (or mixed frozen vegetables)
3 tbsp all-purpose flour
2 cups low-sodium chicken broth
1 cup whole milk (or 3/4 cup milk + 1/4 cup cream for extra richness)
1 tsp kosher salt
1/2 tsp black pepper
1 tsp dried thyme (or 1 tbsp fresh chopped)
1 tbsp fresh parsley, chopped (optional)
1 package refrigerated pie crusts (two 9-inch crusts) — you’ll use both to cover a 9×13
1 large egg + 1 tbsp milk (for egg wash)
For the Sauce / Garnish (if applicable):
Optional: 1 tbsp lemon juice to brighten the filling (add at the end)
Optional garnish: chopped parsley or flaky sea salt for finishing
How I Make It
Step 1:
I preheat the oven to 400°F and grease a 9×13 baking dish. I melt 3 tbsp butter in a large skillet over medium heat and sauté the chopped onion, celery, and carrot until they soften and the onion turns translucent — about 5 minutes. The kitchen smells like warm, savory comfort right away.
Step 2:
Next, I sprinkle in 3 tbsp flour and stir constantly for 1–2 minutes to cook the raw flour taste away. The flour will turn into a paste and start to froth slightly — that’s when I slowly whisk in 2 cups chicken broth and 1 cup milk. I keep whisking until the sauce thickens into a velvety gravy.
Step 3:
I fold in the shredded chicken, 1 cup frozen peas, thyme, and the salt and pepper. The mixture looks glossy and inviting; I taste and adjust the seasoning. If it feels flat, a little squeeze of lemon brightens everything. I pour the filling into the prepared baking dish so it spreads into an even layer.
Step 4:
I unroll both pie crusts and drape them over the filling, pressing to seal at the edges (trim if needed) and crimping decoratively. I poke a few vents with a paring knife so steam can escape. I beat the egg with 1 tbsp milk and brush the crust for that irresistible golden sheen. Then I bake at 400°F for 35–40 minutes, until the crust turns deep golden-brown and the filling bubbles at the vents — you’ll hear a soft sizzling when it’s ready.
Step 5:
I let the casserole rest for 10 minutes before cutting so the filling sets slightly and doesn’t run all over the plate. I sprinkle chopped parsley or a pinch of flaky salt and serve. The crust stays crisp on top yet tender at the edges, and the filling stays silky and comforting.
Pro Tips
Make sure your filling is hot before it goes into the oven so it reaches a full bubble while baking — that helps set the sauce.
If the crust browns too quickly, tent foil loosely over the dish and continue baking until the filling bubbles.
Use rotisserie chicken to save time and add flavor; shred it while it’s still warm for easy mixing.
For extra flaky crust, chill the assembled casserole for 15 minutes before baking. Cold fat = flaky layers.
Common Mistakes to Avoid
Skipping preheating: Classic rookie move. It changes texture and bake time.
Overmixing: Leads to dense or chewy results. Mix until just combined.
Guessing cook time: Always use visual cues or a timer, not just vibes.
Overcrowding pans: Give your food some breathing room to crisp properly.
Alternatives & Substitutions
Swap chicken for cooked cubed tofu or chickpeas for a vegetarian version (sauce stays the same; add a splash of soy sauce for depth).
Use Greek yogurt in place of some cream for tang and less fat — it will make the filling slightly tangier and thicker.
For a dairy-free crust, use a store-bought dairy-free pie crust or top with a gluten-free biscuit mix (bake at the same temp; check doneness visually).
To make it gluten-free, use a 1:1 gluten-free flour blend for the roux and a gluten-free pie crust — the flavor stays comforting, texture shifts slightly.
Variations & Tips
Spicy: add 1/2 tsp crushed red pepper and swap peas for corn and diced jalapeño for a southwestern twist.
Kid-friendly: keep the veggies simple (peas and carrots) and make fun crust cutouts to place on top.
Herby: stir in 2 tbsp chopped fresh tarragon or rosemary for a fragrant lift.
Cheesy: mix 1/2 cup shredded sharp cheddar into the filling for an extra creamy bite.
Creative twist: top with puff pastry and brush with honey for a slightly sweet-savory contrast — unexpected and delightful.
Makes-ahead: assemble, cover, and refrigerate up to 24 hours before baking; increase bake time by 10–15 minutes if chilled.
FAQ (Frequently Asked Questions)
Can I make this ahead of time?
Yes! Assemble the filling and top with crust, then cover and refrigerate up to 24 hours. When ready, bake from cold at 400°F and add about 10–15 minutes to the bake time, until bubbly and golden.
Can I double the recipe?
Sure thing. Use two 9×13 dishes or a large roasting pan. Double-check that the filling reaches a gentle bubble during baking; you may need slightly longer bake time for larger pans.
Can I substitute butter with oil?
Technically yes, but you’ll miss that buttery magic. Use ¾ the amount of neutral oil (like canola) and know the roux will flavor a touch differently.
How do I know it’s done?
Look for a deep golden-brown crust and visible bubbling through vents or sides. The filling should be hot and slightly thickened; the internal temp of any added chicken should reach 165°F.
What if I don’t have ingredient X?
Swap onion with shallot or a splash of onion powder; replace celery with extra carrots or bell pepper. Small swaps change texture slightly but keep the soul of the dish.
How I Like to Serve It
I serve this casserole with a crisp green salad dressed in lemon vinaigrette and a glass of cold cider in autumn, or a light Pinot Grigio in spring. It shines at weeknight dinners and potlucks — people pile their plates high. For cozy nights, I add crusty bread to mop up any leftover gravy.
Notes
Store leftovers covered in the fridge for up to 3 days; reheat in a 350°F oven until warmed through to keep the crust crisp.
Safe cooking temp for chicken: 165°F. If you use raw chicken, cook it to this temp before shredding.
Final Thoughts
Closing: Now go impress someone — or just yourself — with your homemade masterpiece!
Hi, I’m Lina, the creator of Lina Easy Recipes.Cooking has always been my passion, and I love sharing simple, homemade dishes that anyone can prepare.
Spread the love
Love What You See?
Join me on Pinterest and Facebook for daily cooking inspiration, new recipe ideas, and behind-the-scenes kitchen stories. Let’s cook something wonderful together!