
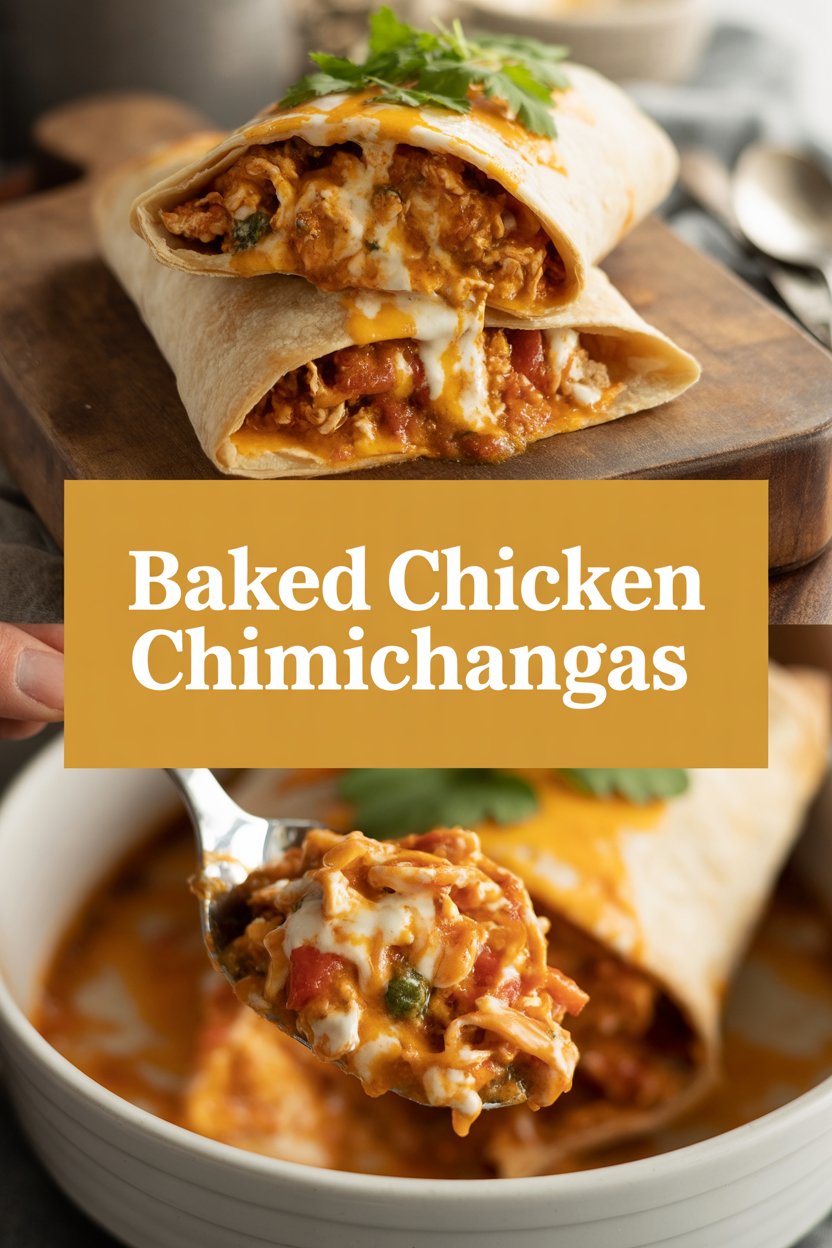
Chef’s Secret: I’ll let you in on something I only tell very good friends — you don’t need to deep-fry chimichangas to get that irresistible crisp and flaky crunch. I learned to bake them the night I ran out of oil and had a house full of hungry people; the oven saved the party and the chimichangas came out golden, cheesy, and wildly popular. This baked version keeps everything easy, less greasy, and just as satisfying: think bubbling cheese, warm spiced chicken, and tortillas that snap at the edges. Stick with me and I’ll walk you through simple tricks that give you that restaurant-level crunch without the fryer drama.
Quick Facts
- Yield: Serves 6
- Prep Time: 20 minutes
- Cook Time: 25 minutes
- Total Time: 45 minutes
Why This Recipe is Awesome
This baked chimichanga recipe gives you the best parts of the fried original — crisp edges, melty interior, bold spices — while staying lighter and cleaner. The contrast between the crunchy tortilla and the creamy, slightly tangy filling feels like a tiny flavor party in your mouth. Bonus: you can assemble these ahead, freeze them, or feed a crowd with minimal fuss. It’s so easy even your oven can’t mess it up.
Ingredients
For the Main Dish:
- 2 cups cooked shredded chicken (rotisserie chicken works great)
- 6 large flour tortillas (10–12 inch)
- 1 cup shredded cheddar cheese (or Mexican blend)
- 1 small yellow onion, finely diced (about 1/2 cup)
- 2 cloves garlic, minced
- 1/2 cup salsa (mild or medium)
- 2 tbsp taco seasoning (or 1 tbsp chili powder + 1 tsp cumin + 1 tsp paprika)
- 2 tbsp chopped fresh cilantro (optional)
- 2 tbsp melted butter or olive oil (for brushing)
- Cooking spray (optional) or extra oil for brushing
For the Sauce / Garnish (if applicable):
- 1/2 cup sour cream or Greek yogurt
- 1 tbsp lime juice
- 1 avocado, sliced or diced
- Extra salsa or hot sauce
- Chopped cilantro and lime wedges to serve
How I Make It
Step 1:
I heat a skillet over medium and add a splash of oil. When the pan sings, I sauté the diced onion until it turns translucent and smells sweet, about 3–4 minutes. I toss in the minced garlic, stir for 30 seconds until fragrant, then add the shredded chicken, taco seasoning, and 1/2 cup salsa. I stir until the chicken looks glossy and the spices coat every strand — the kitchen smells like cumin and roasted pepper. Taste and adjust salt.
Step 2:
I warm the tortillas briefly in the microwave for 10 seconds or in a dry skillet; warming prevents tearing when I fold. I spoon roughly 1/3 to 1/2 cup of the chicken mixture down the center of each tortilla, top with a sprinkle of cheddar cheese and a little cilantro. I fold the sides in, then roll tightly so the ends stay tucked. Pro tip: tuck the seam underneath when you place them on the pan to keep them sealed.
Step 3:
I preheat the oven to 400°F and line a baking sheet with foil or parchment. I arrange the chimichangas seam-side down about an inch apart. I brush each one with melted butter or oil — this gives that golden crunch. I pop the tray into the oven and bake for 20–25 minutes, flipping once at the 12-minute mark if I want extra even browning. You’ll hear a gentle crisp as the tortilla browns and the cheese melts.
Step 4:
Look for deep golden edges, bubbling cheese peeking through seams, and a satisfyingly crisp shell. I pull one out and press the top lightly; the tortilla feels firm and crunchy. If the centers need a touch more heat, I return them for 2–3 minutes. Internal chicken temperature should reach 165°F for safety.
Step 5:
I let the chimichangas rest 4–5 minutes to settle the filling (hot cheese will sneak out if you cut too soon). I drizzle the sour cream-lime sauce (mix 1/2 cup sour cream with 1 tbsp lime juice) across each, scatter avocado, extra salsa, cilantro, and serve with lime wedges. The first bite should crack the crisp shell and reveal a steamy, cheesy center — music to my ears.
Pro Tips
- Use a rotisserie chicken to save time and add juicy flavor — shred it while still warm for easier mixing.
- Brush with melted butter for the best color and flavor; use oil if you prefer dairy-free. A little oil goes a long way.
- Warm the tortillas briefly so they fold without splitting; a cracked tortilla equals a leaking filling mess.
- If you want ultra-crisp shells, freeze the assembled chimichangas for 15 minutes before baking — they hold shape and brown beautifully.
Common Mistakes to Avoid
- Skipping preheating: Classic rookie move. It changes texture and bake time.
- Overmixing: Leads to dense or chewy results. Mix until just combined.
- Guessing cook time: Always use visual cues or a timer, not just vibes.
- Overcrowding pans: Give your food some breathing room to crisp properly.
Alternatives & Substitutions
- Swap shredded chicken for firm tofu or roasted sweet potato for a vegetarian option — tofu absorbs flavors well but gives a firmer bite; sweet potato adds a sweet, creamy contrast.
- Use Greek yogurt instead of sour cream for a tangy, lighter sauce.
- For gluten-free, choose sturdy corn tortillas double-wrapped or use gluten-free flour tortillas; expect slightly different texture and folding behavior.
- Make dairy-free by using vegan cheese and olive oil instead of butter — the flavor shifts slightly but still delicious.
Variations & Tips
- Spicy: Add chopped pickled jalapeños or a teaspoon of chipotle in adobo to the filling.
- BBQ Chicken Chimichangas: Stir 1/2 cup BBQ sauce into the shredded chicken and top with Monterey Jack cheese.
- Kid-friendly: Use mild salsa, skip jalapeños, and serve with ketchup-style salsa for picky eaters.
- Breakfast Chimichanga: Fill with scrambled eggs, breakfast sausage, and cheddar. Bake the same way.
- Vegetarian: Replace chicken with black beans, corn, and roasted peppers for a colorful, hearty filling.
- Creative twist: Make dessert chimichangas — fill tortillas with mashed banana and chocolate chips, brush with butter, bake, then roll in cinnamon sugar.
FAQ (Frequently Asked Questions)
- Can I make this ahead of time?
- Yes! Assemble chimichangas and store them covered in the fridge up to 24 hours, or freeze unbaked for up to 2 months. Bake straight from the fridge, adding a few extra minutes if chilled; if baking from frozen, add 8–10 minutes and cover with foil for the first half so they heat through without over-browning.
- Can I double the recipe?
- Sure thing. Use two baking sheets and rotate them halfway through baking so everything browns evenly. Don’t pile them too close together.
- Can I substitute butter with oil?
- Technically yes, but you’ll miss that buttery magic. Use ¾ the amount of oil.
- How do I know it’s done?
- Watch for a deep golden-brown shell, small pockets of melted cheese at the seams, and a firm, crisp texture when you press gently. Confirm the chicken reaches 165°F if you want absolute assurance.
- What if I don’t have ingredient X?
- Out of cilantro? Swap with green onions for brightness. No shredded cheese? Grate a block of mozzarella or use pepper jack for a spicy twist.
How I Like to Serve It
I serve these chimichangas with a crisp green salad, a bright corn salad, or simple cilantro-lime rice. They work for weeknight dinners, casual weekend get-togethers, or game day when everyone grazes. Pour a cold beer or a tart margarita and let the crunchy, cheesy bites steal the show.
Notes
- Store leftovers in an airtight container in the fridge for up to 3 days. Reheat in a 375°F oven for 8–10 minutes to restore crispness.
- Always ensure chicken reaches safe cooking temp of 165°F.
Final Thoughts
Closing: Now go impress someone — or just yourself — with your homemade masterpiece!

Hi, I’m Lina, the creator of Lina Easy Recipes.Cooking has always been my passion, and I love sharing simple, homemade dishes that anyone can prepare.
Love What You See?
Join me on Pinterest and Facebook for daily cooking inspiration, new recipe ideas, and behind-the-scenes kitchen stories. Let’s cook something wonderful together!


")


