
Let me let you in on a little chef’s secret: the best shrimp toast doesn’t hide behind fancy techniques — it sneaks into your kitchen on crunchy edges and fragrant buttered bread. I discovered this while experimenting with weekend bites that vanish in minutes; once I nailed the shrimp-to-bread ratio, I never looked back. I keep the mix simple — fresh shrimp, a touch of ginger and soy, a little mayo for silkiness — then bake until the topping puffs and the edges turn golden. The aroma of sesame and toasted bread will make the whole apartment gather at the oven like it knows something good is coming. Trust me, you’ll feel like a kitchen pro after one tray.
Quick Facts
- Yield: Serves 4
- Prep Time: 20 minutes
- Cook Time: 12–15 minutes
- Total Time: 32–35 minutes
Why This Recipe is Awesome
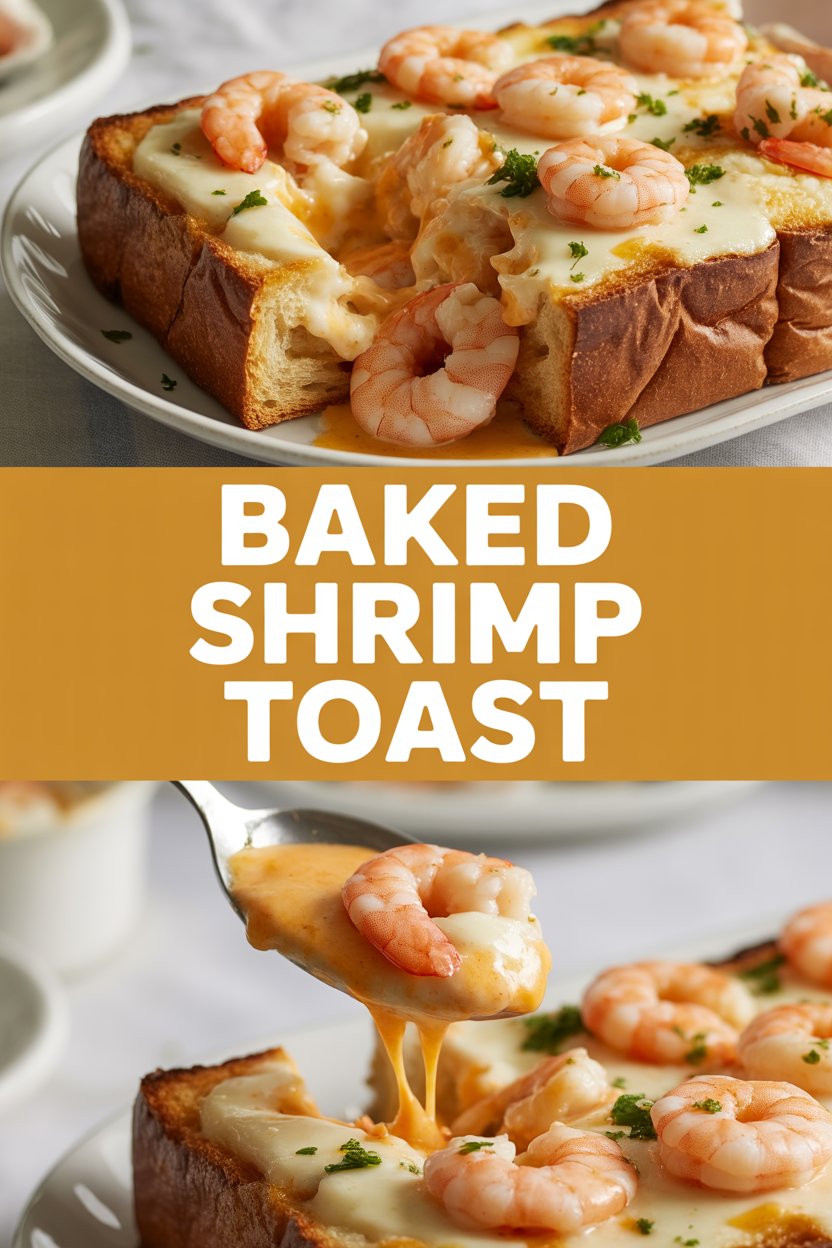
This baked shrimp toast gives you big restaurant vibes with minimal fuss. It delivers a crunchy, buttery base topped with a savory, slightly sweet shrimp paste that turns silky and golden in the oven. It’s fun to make, easy to customize, and perfect for weekday dinners, party appetizers, or when you want something a little glamorous without the fuss. It’s so easy even your oven can’t mess it up — and the contrast between crisp bread and tender, flavorful shrimp? Chef’s kiss.
Ingredients
For the Main Dish:
- 12 oz raw shrimp, peeled and deveined (about 1 1/2 cups chopped)
- 8 slices sandwich bread (white or whole wheat), crusts removed if you like
- 2 tbsp mayonnaise (or plain Greek yogurt)
- 1 egg white
- 1 tbsp light soy sauce
- 1 tsp grated fresh ginger
- 1 garlic clove, finely minced
- 2 scallions, thinly sliced (white and green parts separated)
- 1 tsp sesame oil
- 1 tsp cornstarch
- 1 tbsp toasted sesame seeds (optional)
- 2 tbsp unsalted butter, melted (or neutral oil for dairy-free)
- Salt and freshly ground black pepper to taste
For the Sauce / Garnish (if applicable):
- 1 tsp sriracha or chili oil (optional, for drizzling)
- 1 tbsp soy sauce mixed with 1 tsp rice vinegar for dipping
How I Make It
Step 1:
I preheat the oven to 425°F and line a baking sheet with foil or parchment for easy cleanup. While the oven warms, I pulse the shrimp in a food processor until it becomes a coarse paste — not a puree. If you don’t have a processor, finely chop by hand. Then I stir together the shrimp paste with 1 tbsp mayo, the egg white, 1 tsp cornstarch, 1 tsp soy sauce, grated ginger, minced garlic, and the white parts of the scallions. I season with a pinch of salt and a few grinds of pepper. The mixture should feel slightly sticky and hold together when pressed.
Step 2:
I cut each slice of bread into halves or diagonals for pretty triangles, then brush the top side with melted butter (or oil for dairy-free). I press about 2 tablespoons of the shrimp mixture onto each bread piece, spreading it to the edges. Pressing helps the topping cling and creates those irresistible browned edges. Sprinkle with sesame seeds and the green parts of the scallions for color.
Step 3:
I arrange the topped bread on the baking sheet with a little space between each piece so hot air can crisp all sides. Slide the tray into the oven and listen for the quiet pfft of heat meeting buttered bread — that smell of toasting sesame and garlic pops up in seconds. Bake for 12–15 minutes until the topping puffs slightly and the edges go golden-brown. If you want extra color, I turn on the broiler for the last 30–60 seconds but watch it like a hawk; broilers burn fast.
Step 4:
When the toast looks glossy and golden and the shrimp goes opaque and firm, I pull the tray out. Look for tiny browned bits and a firm, springy topping — that’s your cue. I let them rest for 2 minutes on the pan so the topping sets and the bread stays crisp underneath. You’ll notice steam rising and a warm, fragrant sesame aroma.
Step 5:
I finish with a drizzle of sriracha or a quick brush of the soy-vinegar dip if I want brightness. Serve immediately while the edges still crackle when you bite. These taste amazing hot, but they also travel well for potlucks — pop them back into a hot oven for 3–4 minutes to refresh the crisp.
Pro Tips
- Pulse the shrimp just enough to form a paste. Over-processing creates a mushy texture; under-processing leaves large chunks that won’t bind.
- Brush the bread with butter or oil before topping to keep the base crisp. I use melted butter for flavor, but swap to neutral oil for dairy-free guests.
- Give each piece breathing room on the baking sheet. Overcrowding steams the bottoms and kills crunch.
- If you want to make ahead, assemble the topped bread on the sheet, cover, and refrigerate for up to 4 hours. Bake straight from the fridge but add 1–2 extra minutes to the time.
Common Mistakes to Avoid
- Skipping preheating: Classic rookie move. It changes texture and bake time.
- Overmixing: Leads to dense or chewy results. Mix until just combined.
- Guessing cook time: Always use visual cues or a timer, not just vibes.
- Overcrowding pans: Give your food some breathing room to crisp properly.
Alternatives & Substitutions
- Swap shrimp for chopped crab or lobster for a luxe upgrade — expect a slightly sweeter flavor and a softer texture.
- For a vegetarian version, mash firm tofu with a little miso, grated carrot, and panko to bind; it won’t taste like shrimp but gives a similar savory, textured topping.
- Dairy-free: replace melted butter with 1 1/2 tbsp neutral oil; the toast still crisps well but misses that buttery magic.
- Gluten-free: use GF sandwich bread or thick slices of GF baguette. Texture changes slightly but the flavor stays fun.
Variations & Tips
- Spicy: add 1 tsp gochujang or 1 tbsp sriracha to the shrimp mix for a spicy kick.
- Garlic lovers: fold in 1 tbsp grated roasted garlic for deeper sweetness and aroma.
- Herby: mix in chopped cilantro or basil for a fresh lift right before baking.
- Cheesy twist: sprinkle a little grated Parmesan on top during the last 2 minutes for a golden crust.
- Party-size skewers: make mini toasts on round bread and serve on a platter for appetizers.
- Creative twist: top with a thin slice of pickled ginger or quick cucumber relish for acidity and crunch.
FAQ (Frequently Asked Questions)
- Can I make this ahead of time?
- Yes! You can assemble the topped bread up to 4 hours ahead and keep it refrigerated. Bake from cold, adding 1–2 minutes to the cook time. For full make-ahead, bake, cool, and store in an airtight container for up to 24 hours; reheat in a hot oven for 3–4 minutes to restore crispness.
- Can I double the recipe?
- Sure thing. Use two baking sheets and rotate them halfway through baking if your oven has hot spots. Don’t overcrowd; bake in batches if needed so each piece crisps properly.
- Can I substitute butter with oil?
- Technically yes, but you’ll miss that buttery magic. Use ¾ the amount of oil and choose a neutral oil like canola or avocado to avoid overpowering flavors.
- How do I know it’s done?
- Look for the topping to turn opaque and slightly puffed, and for the edges to reach a deep golden brown. The shrimp should feel firm and springy when you press gently — not rubbery. If you use a thermometer, cooked shrimp reaches about 145°F.
- What if I don’t have ingredient X?
- Short on scallions? Use chives or a little finely minced shallot. No mayo? Swap in plain Greek yogurt (slightly tangier) or a tablespoon of neutral oil plus an extra egg white for binding.
How I Like to Serve It
I serve these warm with a small bowl of soy-vinegar dip and a cooling cucumber salad to balance the richness. They work great as a shared starter at parties, stacked on a platter for game night, or plated with steamed rice and quick pickles for a cozy weeknight dinner. Pair with a crisp white wine or an ice-cold lager — they sing in summer and comfort in cooler months.
Notes
- Store leftovers in an airtight container in the fridge for up to 24 hours. Reheat in a 400°F oven for 3–4 minutes to re-crisp.
- Seafood safety note: cook shrimp to an internal temperature of 145°F for best results.
Final Thoughts
Closing: Now go impress someone — or just yourself — with your homemade masterpiece!

Hi, I’m Lina, the creator of Lina Easy Recipes.Cooking has always been my passion, and I love sharing simple, homemade dishes that anyone can prepare.
Love What You See?
Join me on Pinterest and Facebook for daily cooking inspiration, new recipe ideas, and behind-the-scenes kitchen stories. Let’s cook something wonderful together!


