
I love to spill kitchen secrets the way a bartender spills salt—sparingly and with purpose. Here’s one: if you want zucchini that actually tastes like something to sing about, don’t just bake slices and hope for the best. I learned this trick from a short, furious moment in a professional kitchen where a cook showed me how to squeeze out the zucchini’s water, toss it with a little egg and cheese, and bake it until the edges snap. The result? Golden, cheesy crisps with a tender, zucchini-y center and the kind of crunchy edges that make everyone reach for a second piece. Consider this your pro shortcut to turning humble squash into a show-off side dish.
Quick Facts
- Yield: Serves 4
- Prep Time: 15 minutes
- Cook Time: 25–30 minutes
- Total Time: 40–45 minutes
Why This Recipe is Awesome
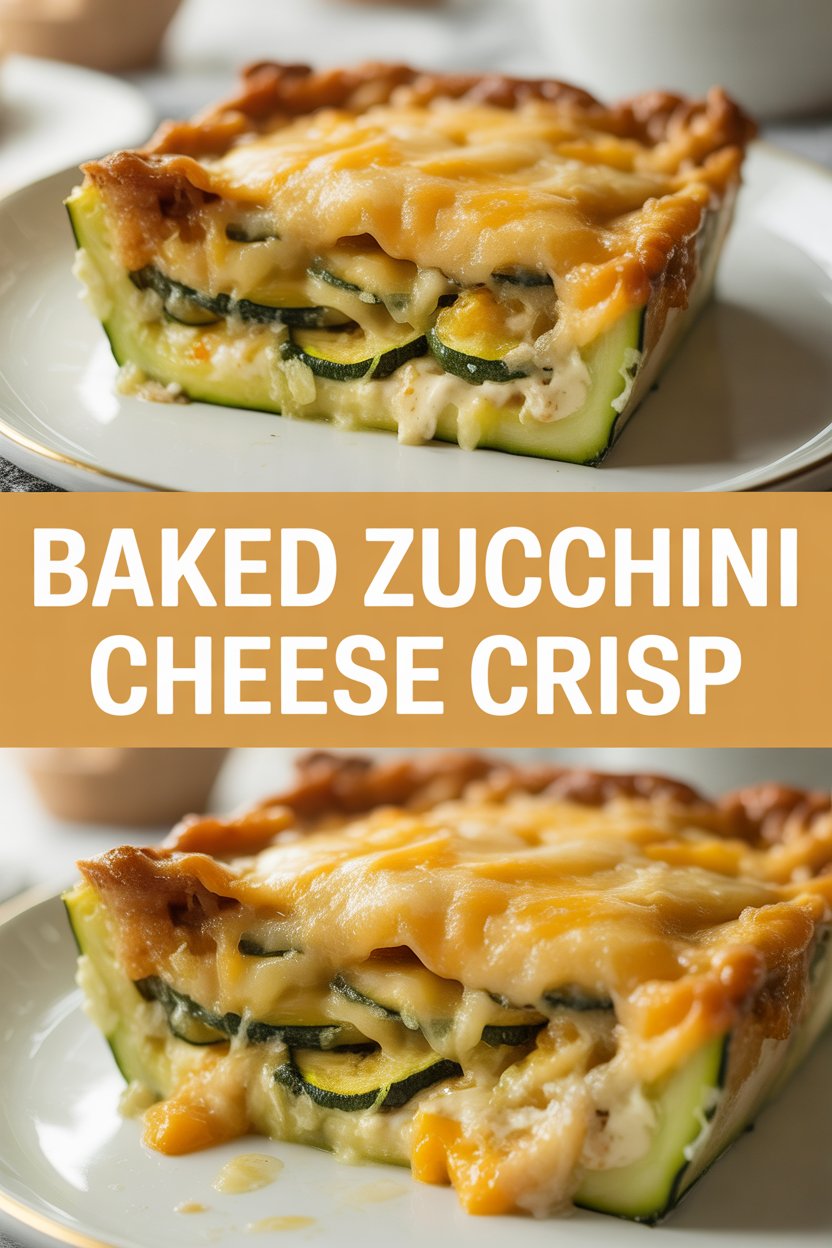
This Baked Zucchini Cheese Crisp gives you crunchy golden edges, a soft, almost custardy zucchini interior, and bubbling cheese that smells like comfort and summer. It’s the kind of dish that sounds fancy but stays annoyingly simple — your oven does most of the work. Who doesn’t love crispy edges? The texture contrast (cheesy top, tender middle, crisp bottom) makes every bite feel like a tiny celebration. Oh, and it’s forgiving: a little extra salt or a quick broil fixes a lot of “meh.”
Ingredients
For the Main Dish:
- 3 medium zucchini (about 1.5 pounds), ends trimmed and coarsely grated
- 1 cup shredded sharp cheddar (about 4 oz)
- 1/2 cup grated Parmesan (about 1.5 oz)
- 3/4 cup plain breadcrumbs (panko for extra crunch)
- 2 large eggs, beaten
- 2 tbsp olive oil (plus more for greasing)
- 2 cloves garlic, minced
- 1/2 tsp salt
- 1/2 tsp black pepper
- 1/2 tsp dried oregano or Italian seasoning
- Optional: 1/4 tsp red pepper flakes for a kick
For the Sauce / Garnish (if applicable):
- 1/2 cup plain Greek yogurt mixed with 1 tsp lemon zest, 1 tsp lemon juice, and a pinch of salt — simple tangy dip
- Chopped fresh parsley or chives for garnish
How I Make It
Step 1:
Preheat your oven to 400°F. I like to put a baking sheet in while the oven heats so the bottoms crisp up fast. Grate the zucchini into a large bowl — you’ll smell that green, fresh squash immediately. Sprinkle the zucchini with 1/2 tsp salt and let it sit for 5 minutes; that draws out excess water. Then, grab a clean kitchen towel and squeeze the grated zucchini until it stops dripping. This step keeps the crisp from turning soggy, and yes, it feels oddly satisfying.
Step 2:
In the bowl with the squeezed zucchini, add the beaten eggs, shredded cheddar, Parmesan, breadcrumbs, minced garlic, black pepper, and oregano. Fold everything together until combined — don’t overmix; you want it rustic, not puree-smooth. If the mixture looks too wet, add another tablespoon of breadcrumbs. Taste a tiny spoonful and adjust salt if needed; cheddar sometimes brings saltiness, so go easy at first.
Step 3:
Brush a 9×9-inch baking dish (or similar) with a little olive oil. Spread the zucchini mix evenly in the dish, pressing down gently to compact it slightly. Sprinkle a few extra shreds of cheddar or a dusting of Parmesan on top for dramatic, melty color. Slide the dish onto the hot baking sheet and pop it in the oven. You’ll hear the oven hum and soon smell garlic and melting cheese — cue the impatient hovering.
Step 4:
Bake for 25–30 minutes until the top looks deeply golden and the edges brown and crisp. If you want extra color, broil for 1–2 minutes — watch it like a hawk because cheese can go from perfect to toast in seconds. You’ll know it’s done when the center holds together and the edges pull away slightly from the dish. The top should make a quiet crackle when you press it.
Step 5:
Let the crisp rest for 5 minutes before cutting so the center sets. Dollop the lemony Greek yogurt on the side or spoon it over individual slices and scatter chopped parsley or chives on top for freshness and color. Slice into squares and serve warm; the contrast of hot, cheesy interior and the cool tang of the yogurt makes people smile every time.
Pro Tips
- Use panko breadcrumbs for the crispiest texture; regular breadcrumbs work but yield a softer top.
- Don’t skip squeezing the zucchini — watery squash makes a soggy bake. A clean towel or cheesecloth works best.
- If you like a firmer crisp, bake in a shallow 9×13 pan for a slightly thinner, crisper result.
- Swap half the cheddar for smoked cheddar for a subtle, smoky twist that pairs beautifully with the zucchini.
Common Mistakes to Avoid
- Skipping preheating: Classic rookie move. It changes texture and bake time.
- Overmixing: Leads to dense or chewy results. Mix until just combined.
- Guessing cook time: Always use visual cues or a timer, not just vibes.
- Overcrowding pans: Give your food some breathing room to crisp properly.
Alternatives & Substitutions
- Grated yellow squash or shredded zucchini + carrot mix — similar texture, slightly sweeter flavor.
- Use 1 cup cooked quinoa instead of breadcrumbs for a gluten-free option; texture becomes more hearty.
- Replace cheddar with 1 cup shredded mozzarella + 1/2 cup Parmesan for a milder, gooey top.
- Dairy-free: swap cheese for 1/2 cup nutritional yeast and 1/2 cup extra breadcrumbs; expect a different, but tasty, savory profile.
Variations & Tips
- Spicy version: add 1/2 tsp cayenne or extra red pepper flakes to the mix.
- Kid-friendly: leave out the garlic and red pepper flakes; add a little tomato sauce on top to make it “pizza-style.”
- Herby twist: fold in 2 tbsp chopped basil and 1 tbsp lemon zest for brightness.
- Protein boost: stir in 1 cup cooked, diced chicken or cooked crumbled tofu to make it a main dish.
- Creative twist: layer thin tomato slices on top before baking for a cheesy zucchini-tomato gratin.
FAQ (Frequently Asked Questions)
- Can I make this ahead of time?
- Yes! Assemble the zucchini mixture and refrigerate covered for up to 24 hours. Bake straight from the fridge, adding 5 extra minutes if needed. Store leftovers in an airtight container for 3–4 days and reheat in a 350°F oven until warmed through to keep it crispy.
- Can I double the recipe?
- Sure thing. Use a 9×13-inch pan and bake for 30–35 minutes, monitoring the edges and broiling briefly at the end if needed for color.
- Can I substitute butter with oil?
- Technically yes, but you’ll miss that buttery magic. Use ¾ the amount of oil if swapping; for this recipe, I stick with olive oil for flavor.
- How do I know it’s done?
- Look for a deeply golden top, browned edges, and a center that holds when you nudge it with a spoon. The top should crisp and make a small crackle when tapped.
- What if I don’t have ingredient X?
- No Parmesan? Use extra cheddar or 2 tbsp nutritional yeast. No breadcrumbs? Crush crackers or use quick oats in a pinch.
How I Like to Serve It
I love this on a warm weeknight with a simple green salad and a crisp white wine. It also shines at potlucks — people always ask for the recipe. For a heartier meal, serve alongside grilled chicken or a big bowl of tomato soup; in summer, bring it to a backyard BBQ and watch it disappear before the grill cools down.
Notes
- Store leftovers in the fridge for up to 4 days. Reheat in a 350°F oven for best texture.
- If serving with meat, remember safe cooking temps — chicken should reach 165°F.
Final Thoughts
Closing: Go make this — and when those cheesy, crispy edges hit your plate, take a dramatic bow. Now go impress someone — or just yourself — with your homemade masterpiece!

Hi, I’m Lina, the creator of Lina Easy Recipes.Cooking has always been my passion, and I love sharing simple, homemade dishes that anyone can prepare.
Love What You See?
Join me on Pinterest and Facebook for daily cooking inspiration, new recipe ideas, and behind-the-scenes kitchen stories. Let’s cook something wonderful together!


