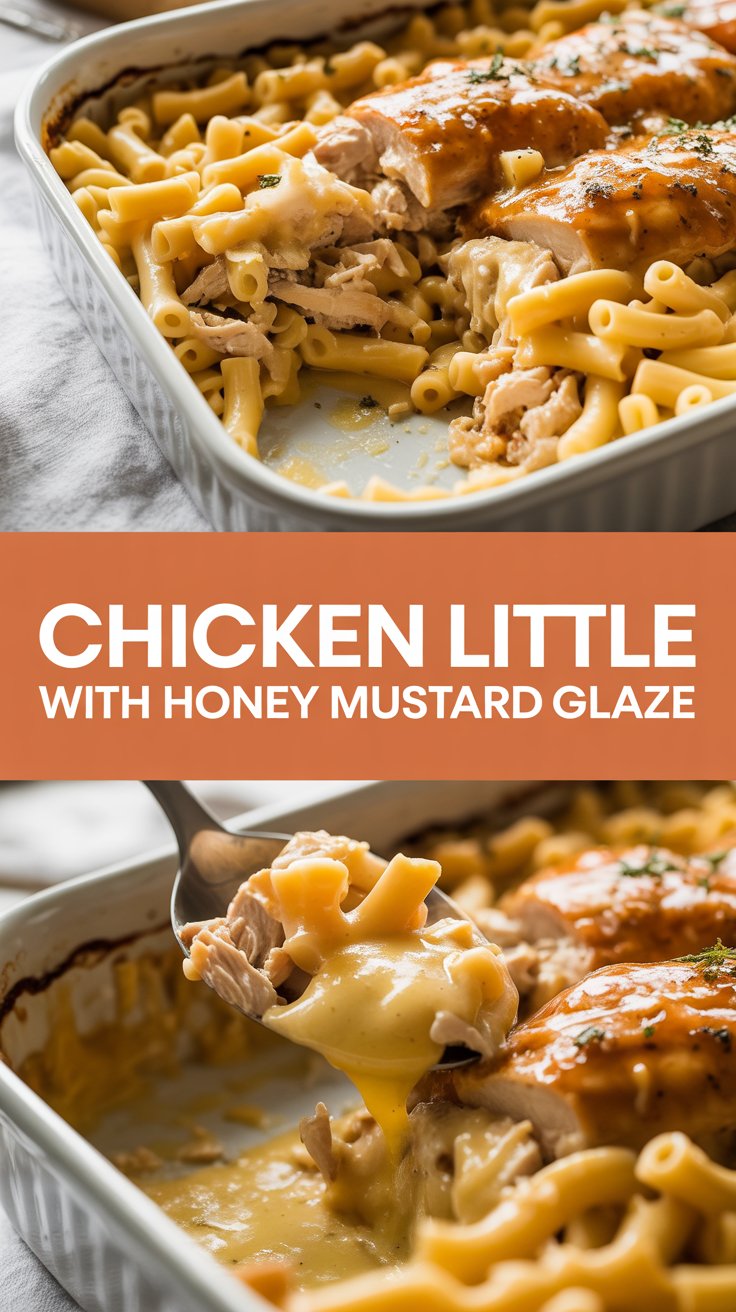
I promise I did not name this dish after a storybook character, but every time I make it my kitchen fills with that sticky-sweet scent that makes my inner child giggle. I love this recipe because it takes humble **chicken tenders** and dresses them up in a glossy, tangy glaze that snaps between crunchy panko and tender meat. Expect golden edges, a little sticky clap when you bite in, and a honey-mustard flavor that says “comfort food” with a wink. If you like quick dinners that feel like a treat, this one will make you grin while you stir the glaze.
Quick Facts
Yield: Serves 4
Prep Time: 15 minutes
Cook Time: 20 minutes
Total Time: 35 minutes
Why This Recipe is Awesome
This recipe deserves a spot in your weeknight rotation because it delivers crisp, golden bites and a sticky-sweet glaze with minimal fuss. It tastes fancy but cooks fast—perfect when you want something impressive without babysitting the stove. The texture plays two notes: crunchy panko on the outside and juicy chicken on the inside, while the honey-mustard glaze adds tang, shine, and a little finger-licking drama. Trust me, even picky eaters smile at that glaze.
Ingredients
For the Main Dish:
1.5 lb boneless, skinless **chicken tenders** or breasts cut into strips
1 tbsp butter (optional for richness) — see substitutions below
2 tsp soy sauce or Worcestershire (optional, for depth)
Chopped parsley or chives for garnish
How I Make It
Step 1:
I preheat the oven to 425°F and line a rimmed baking sheet with foil or parchment, then spray it lightly. I set up a dredging station: **flour** in one shallow bowl, beaten **eggs** with **milk** in another, and **panko** mixed with **garlic powder**, **smoked paprika**, **salt**, and **pepper** in a third. I pat the chicken dry so the coating sticks—wet chicken equals soggy crumbs, and I never want soggy crumbs in my life.
Step 2:
I dip each chicken strip into the **flour**, shake off excess, slide it through the **egg** wash, then press it into the **panko** so the crumbs cling. Lay the strips on the prepared sheet, leaving space between them so air circulates and the edges crisp. I drizzle the pieces with **olive oil** or give them a quick mist so the panko browns beautifully.
Step 3:
I bake at 425°F for 15–18 minutes, flipping once halfway through. Listen for a faint crackle as the panko crisps and breathe in that toasty, buttery aroma. If you own a thermometer, I poke one into the thickest piece to check for 165°F—that’s the sweet spot for safe, juicy chicken.
Step 4:
While the chicken bakes, I whisk together the glaze: **honey**, **Dijon**, **whole-grain mustard**, **apple cider vinegar**, and a pat of **butter** in a small saucepan. I warm it over medium heat until it simmers and the sugars loosen—watch it so the honey doesn’t scorch. When the chicken hits the 15–18 minute mark and reaches an internal temp of 165°F, I brush the strips generously with glaze and pop them under the broiler for 2–3 minutes to caramelize. The glaze goes glossy and slightly charred at the edges — that’s the good stuff.
Step 5:
I pull them out, let the chicken rest for 2 minutes (hot glaze and tongues don’t mix well), then sprinkle with chopped parsley or chives. The glaze stays sticky and shiny; the panko stays crisp. I serve warm and try not to eat the whole tray before anyone arrives.
Pro Tips
For extra crunch, dry the panko in a skillet for 2 minutes before coating—watch it brown fast.
If you don’t have tenders, cut **chicken breasts** into even strips so everything cooks at the same rate.
Brush the glaze on twice: once just after baking, and a second thin coat after broiling for layered flavor.
Use an instant-read thermometer to hit that perfect 165°F without overcooking.
Common Mistakes to Avoid
Skipping preheating: Classic rookie move. It changes texture and bake time.
Overmixing: Leads to dense or chewy results. Mix until just combined.
Guessing cook time: Always use visual cues or a timer, not just vibes.
Overcrowding pans: Give your food some breathing room to crisp properly.
Alternatives & Substitutions
Swap chicken for firm **tofu** (press, cube, and coat) for a vegetarian version; expect a firmer bite and less juiciness.
Use gluten-free panko or crushed rice cereal to keep this gluten-free; texture stays crunchy but crumbs brown faster.
Replace **butter** with olive oil to make the glaze dairy-free; you’ll lose a touch of richness but keep shine.
Substitute **honey** with maple syrup for a deeper, woodsy sweetness.
Variations & Tips
Spicy: Add 1–2 tsp sriracha or cayenne to the glaze for heat that plays off the honey.
Kid-friendly: Leave out whole-grain mustard and use mild **Dijon** only for a smoother glaze.
Herby: Stir in chopped thyme or rosemary to the panko for savory notes.
Southern style: Swap panko for crushed cornflakes for a nostalgic, extra-crunchy coating.
Sweet & smoky: Add 1 tsp smoked paprika to the glaze for a BBQ-like finish.
One-pan dinner: Roast fingerling potatoes on the same sheet (cut small and toss in oil) but give them a head start of 10 minutes before adding the chicken.
FAQ (Frequently Asked Questions)
Can I make this ahead of time?
Yes! Coat and bread the chicken, then store it on a tray covered in the fridge for up to 4 hours before baking. Store leftovers in an airtight container for 3 days. Reheat in a 375°F oven for 8–10 minutes to revive the crispiness and brush with fresh glaze after reheating.
Can I double the recipe?
Sure thing. Use two baking sheets and rotate them halfway through baking so everything browns evenly. Don’t crowd the strips—give them space.
Can I substitute butter with oil?
Technically yes, but you’ll miss that buttery magic. Use ¾ the amount of oil and add a tiny pinch of salt to boost flavor.
How do I know it’s done?
Look for golden, crisp edges, and an internal temperature of 165°F. Slice a piece if you don’t have a thermometer: the juices should run clear and the center should look opaque and tender.
What if I don’t have ingredient X?
No panic. If you lack **panko**, use regular breadcrumbs or crushed crackers. If you miss **Dijon**, mix yellow mustard with a pinch of sugar and a squeeze of lemon for similar brightness.
How I Like to Serve It
I love these sticky tenders with a crisp green salad and roasted sweet potatoes for a weeknight win. They also make a brilliant party platter with extra glaze on the side for dipping, or pile them into soft rolls with pickles for a crunchy slider. Pair with an ice-cold lager or a bright lemonade—this dish feels just as at home at a Sunday lunch as it does at a backyard BBQ.
Notes
Store leftovers in the fridge up to 3 days; reheat in the oven at 375°F to keep the coating crunchy.
Always cook chicken to a safe internal temp of 165°F.
Final Thoughts
Closing: Now go impress someone — or just yourself — with these sticky, crunchy little chicken wonders. You’ll get compliments, and you’ll deserve every single one.
Hi, I’m Lina, the creator of Lina Easy Recipes.Cooking has always been my passion, and I love sharing simple, homemade dishes that anyone can prepare.
Spread the love
Love What You See?
Join me on Pinterest and Facebook for daily cooking inspiration, new recipe ideas, and behind-the-scenes kitchen stories. Let’s cook something wonderful together!