
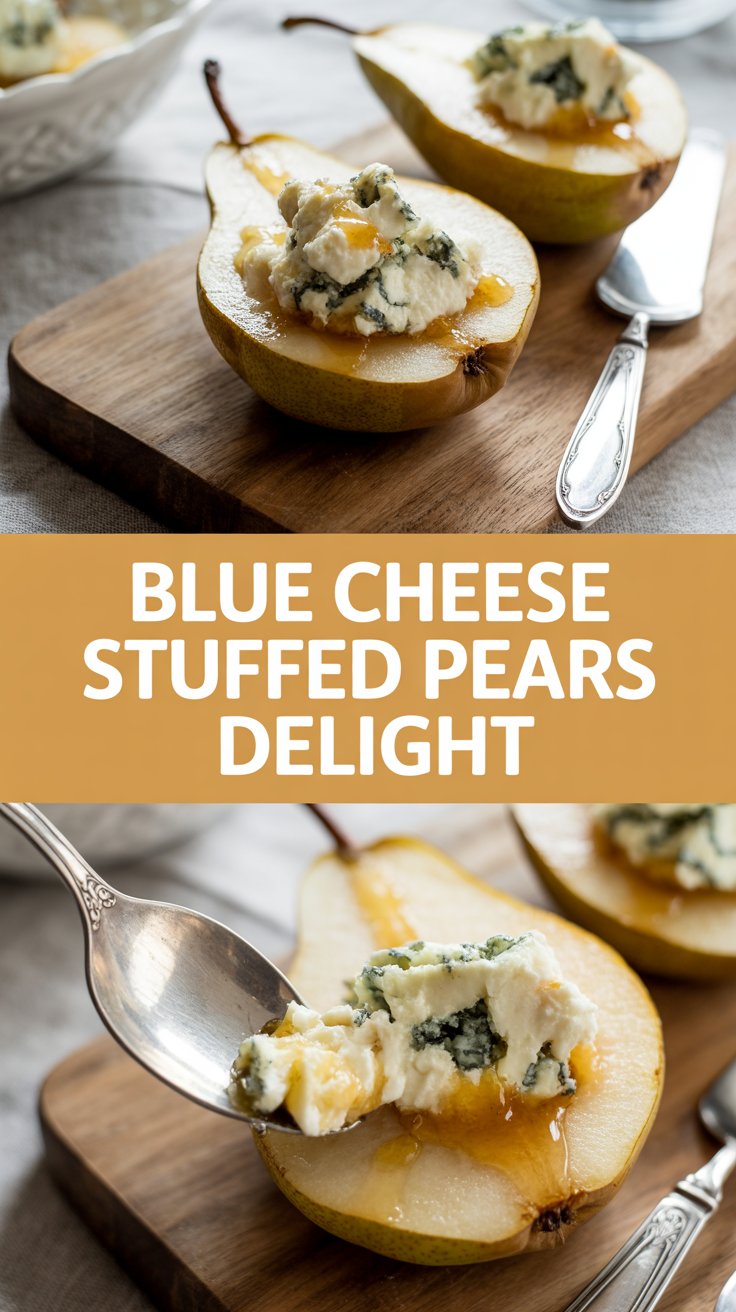
Chef’s Secret: I’ll let you in on a tiny kitchen trick — stuffing sweet pears with punchy blue cheese transforms a simple fruit into a grown-up party starter faster than you can say “cheese board.” I toss in a few crunchy walnuts, a drizzle of honey, and a whisper of thyme, and suddenly guests assume I planned this for hours. Between the bubbling honey, the salty tang of blue cheese, and the pear’s soft, juicy center, you get sweet, savory, creamy, and crunchy in one delicious bite. Stick with me; I’ll show you how to get those caramelized edges without turning your oven into a smoke signal.
Quick Facts
- Yield: Serves 4
- Prep Time: 10 minutes
- Cook Time: 20–25 minutes
- Total Time: 30–35 minutes
Why This Recipe is Awesome
Because it dresses up humble pears like they mean business. You get soft, warm pear flesh, tangy, creamy blue cheese, crunchy walnuts, and glossy honey — all in one bite. It’s elegant for dinner guests yet easy enough for a weeknight when you want something that feels fancy without fuss. Plus, who doesn’t love the sound of honey sizzling into cheese and the smell of caramelizing fruit filling the kitchen?
Ingredients
For the Main Dish:
- 4 medium firm pears (Bosc or Anjou), halved lengthwise and cored
- 4 oz blue cheese, crumbled
- 1/3 cup chopped walnuts (toasted if you like)
- 2 tbsp honey, plus extra for drizzling
- 2 tbsp butter, melted
- 1 tsp fresh lemon juice
- 1 tbsp fresh thyme leaves, chopped (or 1 tsp dried thyme)
- Pinch of flaky sea salt and a few grinds of black pepper
For the Sauce / Garnish (if applicable):
- 2 cups baby arugula (optional, for serving)
- 1 tbsp olive oil + 1 tsp lemon juice, tossed with arugula
- 2 tbsp balsamic glaze (optional for drizzling)
How I Make It
Step 1:
Preheat the oven to 375°F. While it warms, core the pears and toss them briefly in a bowl with 1 tsp lemon juice to keep them bright. I cut a shallow scoop in each half to make room for the filling — think little nests for flavor. Brush the cut sides with a touch of melted butter so they brown nicely.
Step 2:
Mix the filling: in a small bowl combine 4 oz blue cheese, 1/3 cup chopped walnuts, 2 tbsp honey, and 1 tbsp thyme. Taste it — it should sing sweet and salty. If your blue cheese runs very strong, start with 3 oz and add more to taste. Spoon a generous mound into each pear half, pressing gently so it stays put during baking.
Step 3:
Arrange the pears cut-side up in a baking dish. Drizzle any leftover butter over them and sprinkle a pinch of salt and pepper. Slide the dish into the oven and bake at 375°F for 20–25 minutes. You’ll hear a faint sizzle and smell honey and thyme blooming — those are good signs. The pears should feel tender when you pierce near the core but still hold their shape.
Step 4:
When the pears hit the last 3 minutes, switch the oven to broil (if you want more color) and watch closely: watch for golden, slightly caramelized edges on the cheese but don’t let it blacken. If your broiler runs hot, keep the rack a notch lower. I like a little char where the honey meets cheese — it adds a toasty sweetness.
Step 5:
Remove the pears and let them sit for 3–5 minutes to cool slightly. Toss the arugula with 1 tbsp olive oil and 1 tsp lemon juice, then arrange a bed of greens on plates. Place two pear halves per person on the arugula, drizzle with a little extra honey and 2 tbsp balsamic glaze if you like, and scatter any extra toasted walnuts and thyme over the top. Serve warm.
Pro Tips
- Taste your blue cheese before stuffing; some are very sharp and overpowering. Use slightly less if needed.
- Choose slightly firm pears so they hold shape after baking; overripe pears turn mushy fast.
- Toast the walnuts in a dry skillet for 3–4 minutes until fragrant to boost crunch and aroma.
- If broiling, stay by the oven — things go from golden to burnt in seconds.
Common Mistakes to Avoid
- Skipping preheating: Classic rookie move. It changes texture and bake time.
- Overmixing: Leads to dense or chewy results. Mix until just combined.
- Guessing cook time: Always use visual cues or a timer, not just vibes.
- Overcrowding pans: Give your food some breathing room to crisp properly.
Alternatives & Substitutions
- Swap blue cheese for goat cheese or ricotta if you want a milder, creamier filling; flavor becomes softer and less salty.
- Use pecans or almonds instead of walnuts; pecans add buttery notes, almonds add crunch.
- For dairy-free, try a cultured cashew “cheese” or vegan blue cheese alternative — the dish keeps its sweet-salty charm but skips dairy.
- To make it gluten-free, serve on its own or with a gluten-free cracker — pears are naturally gluten-free.
Variations & Tips
- Make it spicy: stir a pinch of cayenne into the filling for a warm kick.
- Kid-friendly: swap blue cheese with cream cheese mixed with a little honey and cinnamon.
- Breakfast twist: top warm pears with yogurt and granola for a special weekend breakfast.
- Party platter: halve the recipe into smaller pear slices and serve as bite-sized hors d’oeuvres.
- Savory twist: add chopped prosciutto into the filling for salty, savory complexity.
- Fall-forward: mix in chopped dried cranberries with the walnuts for extra tartness and color.
FAQ (Frequently Asked Questions)
- Can I make this ahead of time?
- Yes! Core and stuff the pears up to 24 hours ahead, cover, and refrigerate. Bring them to room temperature for 20 minutes before baking and add a few extra minutes to the bake time if they’re cold.
- Can I double the recipe?
- Sure thing. Use two baking dishes so you don’t overcrowd the pears and keep the same temperature. Bake in batches if your oven gets crowded; crowded fruit steams instead of caramelizes.
- Can I substitute butter with oil?
- Technically yes, but you’ll miss that buttery magic. Use ¾ the amount of oil.
- How do I know it’s done?
- Bake until the pears feel tender when pierced with a fork near the center and the cheese shows golden edges or slight bubbling. If you like more color, quick-broil for 1–3 minutes while watching closely.
- What if I don’t have ingredient X?
- No problem — swap walnuts for any crunchy nut, honey for maple syrup, and blue cheese for goat cheese or cream cheese. The flavor will shift but the dish stays delicious.
How I Like to Serve It
I love these pears as a starter at a dinner party — they pair beautifully with a crisp white wine or a light red like Pinot Noir. For a cozy date night, plate them with warm baguette slices and a simple green salad. They also make a surprising dessert: a scoop of vanilla ice cream alongside warm pears tastes like autumn in a bowl. Serve warm for the best contrast between hot fruit and cool greens.
Notes
- Store leftovers in an airtight container in the fridge for up to 2 days; reheat gently in a 300°F oven for 8–10 minutes to avoid mushiness.
- If you prep ahead, don’t stuff the pears until close to baking time to prevent sogginess.
Final Thoughts
Closing: Now go impress someone — or just yourself — with your homemade Blue Cheese Stuffed Pears Delight! Simple, fancy, and totally worth the tiny bit of effort.

Hi, I’m Lina, the creator of Lina Easy Recipes.Cooking has always been my passion, and I love sharing simple, homemade dishes that anyone can prepare.
Love What You See?
Join me on Pinterest and Facebook for daily cooking inspiration, new recipe ideas, and behind-the-scenes kitchen stories. Let’s cook something wonderful together!


