
Okay, full disclosure: I once ate an entire batch of Korean fried chicken while on a walk to “test the temperature” and pretended it was for science. I laugh about it now, but that crunchy, sticky, garlicky memory lives rent-free in my brain. If you love snacks that snap when you bite them and coats your fingers with glossy sauce, this recipe will become your new favorite excuse to burn calories shoveling deliciousness into your mouth. I keep the ingredients simple, the steps satisfying, and the sauce balanced—sweet, salty, and garlicky with a little heat if you want it. Let’s get crunchy.
Quick Facts
- Yield: Serves 4
- Prep Time: 20 minutes
- Cook Time: 25 minutes
- Total Time: 45 minutes
Why This Recipe is Awesome
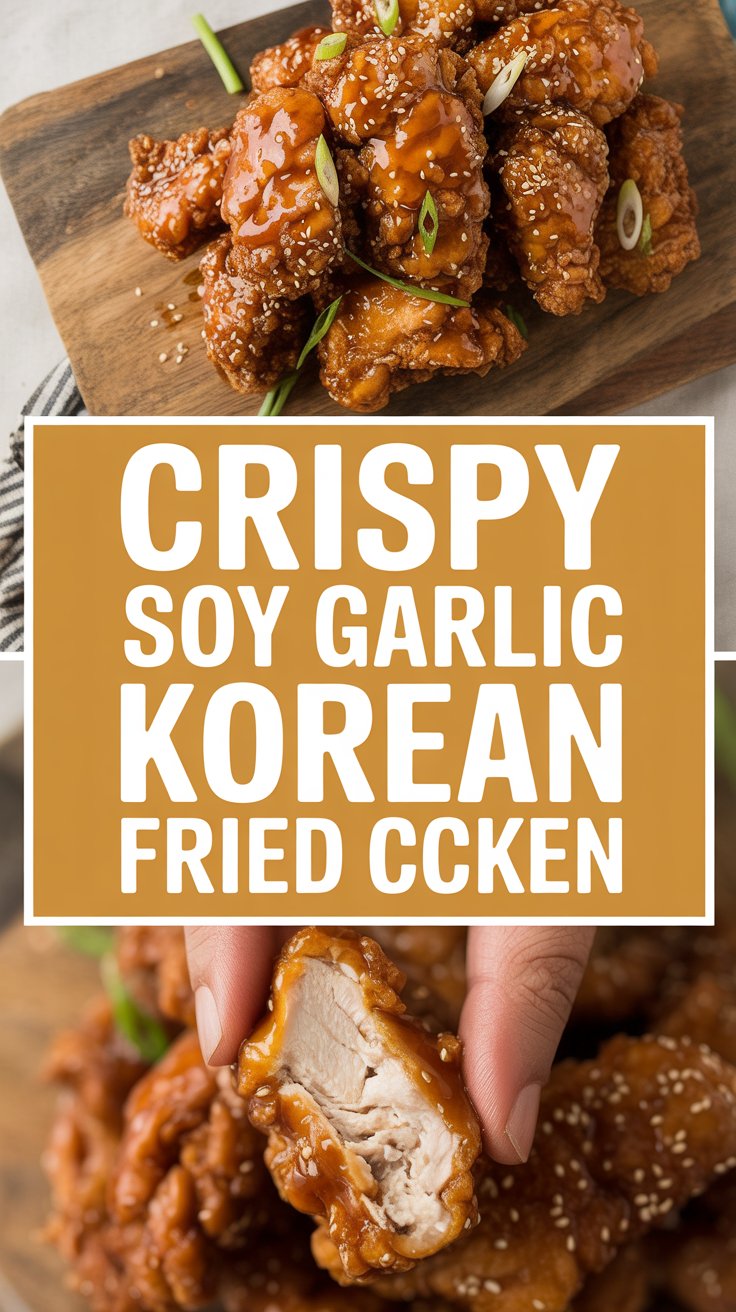
This Crispy Soy Garlic Korean Fried Chicken gives you the ultra-crisp shell of your favorite takeout with a glossy, addictive sauce that clings to every nook. The exterior shatters when you bite in, the interior stays juicy, and the sauce sings of browned garlic, toasted sesame, mellow soy, and a hit of honey. It’s fancy enough for guests and easy enough for a weeknight. Also? It makes your kitchen smell like a restaurant, which always wins points in my house.
Ingredients
For the Main Dish:
- 2 lbs boneless, skin-on chicken thighs, cut into 1 1/2-inch pieces (or use chicken wings/drumettes)
- 1 tsp kosher salt
- 1/2 tsp black pepper
- 1 cup all-purpose flour
- 1/2 cup cornstarch (or potato starch for extra crisp)
- 1 tsp baking powder
- 1 cup cold club soda or cold water
- Vegetable oil for frying (enough for a 3–4-inch deep pot)
For the Sauce / Garnish:
- 3 tbsp soy sauce
- 2 tbsp honey
- 2 tbsp brown sugar
- 2 tbsp rice vinegar (or apple cider vinegar)
- 2 tbsp water
- 1 tbsp gochujang (optional, for spice) or 1 tsp sriracha
- 4 cloves garlic, finely minced
- 1 tsp sesame oil
- 1 tbsp toasted sesame seeds
- 2 green onions, thinly sliced
How I Make It
Step 1:
Season the chicken with 1 tsp kosher salt and 1/2 tsp black pepper and let it sit for 10 minutes while you set up. In a bowl, whisk together 1 cup flour, 1/2 cup cornstarch, and 1 tsp baking powder. Pour in 1 cup cold club soda and stir until just combined—the batter should be slightly lumpy. Cold liquid keeps the batter light and helps the crunch. I always keep a towel handy for splatters because batter has a mind of its own.
Step 2:
Heat oil in a deep pot to 350°F on a thermometer. Work in batches so you don’t overcrowd the pot—crowding kills crispiness. Dip the chicken pieces into the batter, let excess drip off, and carefully lower them into the oil. You’ll hear that satisfying sizzle immediately. Fry for about 7–8 minutes until pale golden and cooked through, then transfer to a wire rack.
Step 3:
Increase oil to 375°F. Do a quick second fry for each batch for 1–2 minutes until deep golden and ultra-crisp. This double-fry method gives you that shatter-crisp shell while the inside stays succulent. If your pieces puff up like little golden clouds, you’re doing it right—don’t be afraid to fry a test piece first.
Step 4:
While the second fry finishes, make the sauce. Heat a skillet over medium, add a splash of oil, and sauté the minced garlic until fragrant and lightly browned—about 30–45 seconds. Pour in 3 tbsp soy sauce, 2 tbsp honey, 2 tbsp brown sugar, 2 tbsp rice vinegar, and 2 tbsp water. Stir and simmer until syrupy, about 2–3 minutes. If you like heat, whisk in 1 tbsp gochujang now. Finish with 1 tsp sesame oil.
Step 5:
Toss the hot, crispy chicken in the glossy sauce until every piece gets a shiny coat. Sprinkle with toasted sesame seeds and sliced green onions. Serve immediately so the crust stays crisp under the sauce. I love the first crunchy bite—the sound alone makes people sit up. If you need a final test, dip a corner in extra sauce and lick your fingers proudly.
Pro Tips
- Use a thermometer. Keep oil at 350°F for the first fry and 375°F for the second to hit perfect crispness.
- Keep chicken pieces similar in size so everything cooks evenly. I cut larger thighs into uniform bites.
- Pat chicken dry before seasoning so the batter sticks better. Moisture equals soggy, and nobody wants that.
- If sauce thickens too much, thin with a teaspoon of warm water until it glazes smoothly—add little by little.
Common Mistakes to Avoid
- Skipping preheating: Classic rookie move. It changes texture and bake time.
- Overmixing: Leads to dense or chewy results. Mix until just combined.
- Guessing cook time: Always use visual cues or a timer, not just vibes.
- Overcrowding pans: Give your food some breathing room to crisp properly.
Alternatives & Substitutions
- Use boneless skinless chicken thighs instead of skin-on for leaner bites; expect slightly less fat but still juicy.
- Substitute potato starch for cornstarch for a gluten-free crispier coating; also swap the flour for a gluten-free 1-for-1 flour blend.
- For a vegetarian option, use firm tofu (press it first), double-fry the cubes, and toss in sauce—texture stays impressively close.
- If you lack rice vinegar, use apple cider vinegar at the same amount; flavor shifts brighter but still delicious.
Variations & Tips
- Make it spicy: double the gochujang or add a teaspoon of chili flakes to the sauce.
- Kid-friendly: skip gochujang, add extra honey for a sweet glaze kids adore.
- Garlic-forward: roast whole garlic cloves, mash, and whisk into the sauce for a deeper, caramelized flavor.
- Herby twist: toss finished chicken with chopped cilantro and lime zest for a fresh finish.
- Korean BBQ mashup: add 1 tbsp toasted sesame oil and 1 tbsp finely chopped kimchi to the sauce for tangy complexity.
- Creative twist: sprinkle crushed potato chips or Panko on the sauced chicken for a textured topping that surprises everyone.
FAQ (Frequently Asked Questions)
- Can I make this ahead of time?
- Yes! Fry the chicken through both stages, cool completely, and store in an airtight container for up to 2 days. Reheat in a 400°F oven on a wire rack for 8–10 minutes to revive crispiness, then toss in warm sauce just before serving.
- Can I double the recipe?
- Sure thing. Fry in smaller batches and keep finished pieces warm on a low rack in a 200°F oven while you finish. Don’t crowd the oil—work in manageable batches.
- Can I substitute butter with oil?
- Technically yes, but you’ll miss that buttery magic. Use ¾ the amount of oil if swapping for melted butter in a sauce, and expect a slightly different mouthfeel.
- How do I know it’s done?
- Look for golden, deep-brown edges, a firm crust that snaps, and juices that run clear. Chicken pieces should reach 165°F internal temperature when measured with a thermometer.
- What if I don’t have ingredient X?
- No panic. Swap honey for maple syrup or extra brown sugar; swap gochujang for sriracha or chili paste. The dish will stay tasty—just tweak sweetness or heat to taste.
How I Like to Serve It
I plate this chicken with simple steamed rice, crunchy pickled radishes, and a cold can of beer for classic comfort. It also shines at potlucks next to kimchi pancakes and a bright cucumber salad. For a weeknight, I throw it over a bowl of greens with extra scallions and mayo for a crunchy, saucy salad that feels indulgent but honest.
Notes
- Store leftover chicken in the fridge up to 2 days. Re-crisp in a 400°F oven for best results.
- Always cook chicken to a safe internal temperature of 165°F.
Final Thoughts
Closing: Go on—make a batch and listen for that glorious crunch. Now go impress someone — or just yourself — with your homemade masterpiece!

Hi, I’m Lina, the creator of Lina Easy Recipes.Cooking has always been my passion, and I love sharing simple, homemade dishes that anyone can prepare.
Love What You See?
Join me on Pinterest and Facebook for daily cooking inspiration, new recipe ideas, and behind-the-scenes kitchen stories. Let’s cook something wonderful together!


