
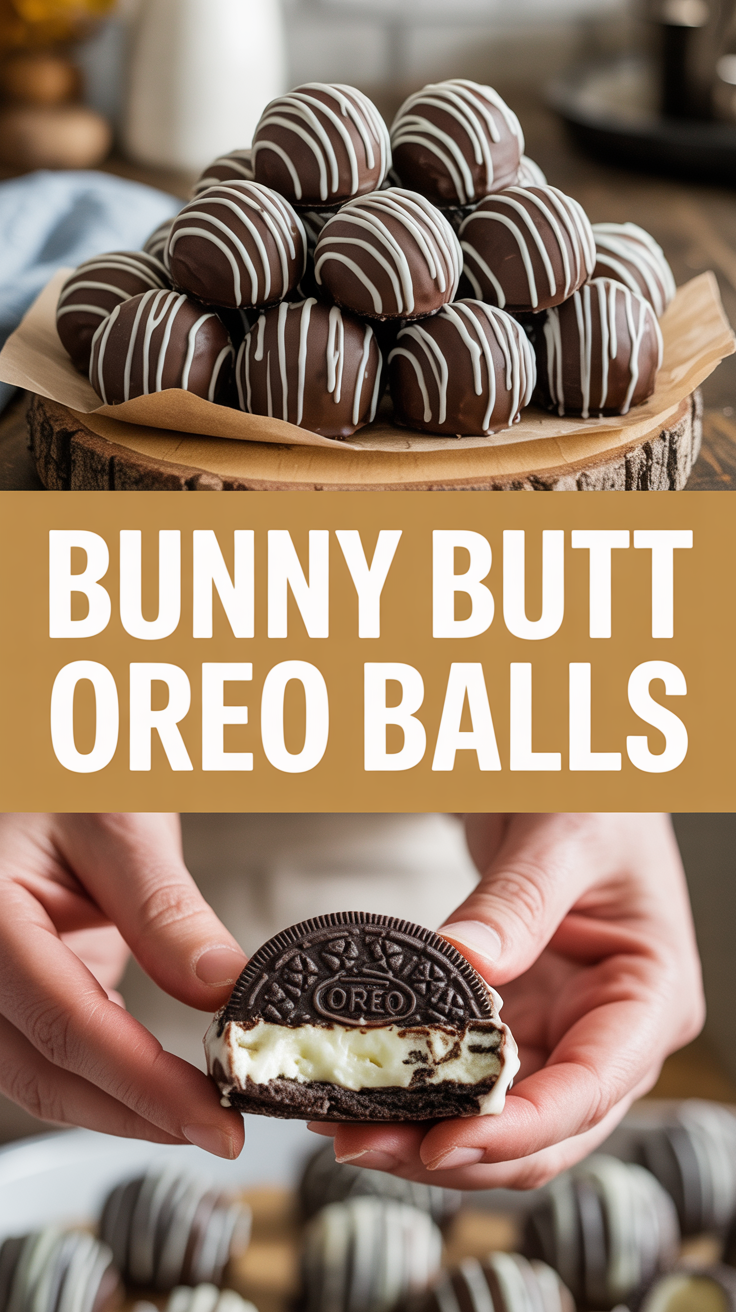
I’m going to be honest: these Bunny Butt Oreo Balls exist because I once tried to make elegant Easter petit fours and ended up with a pile of adorable little butts instead. Don’t judge—these fluffy-bottomed treats stole the show at brunch. They’re playful, ridiculous, and utterly delicious. Picture crunchy, chocolatey Oreo crumbs mashed into tangy cream cheese, dipped in silky white chocolate, and finished with a tiny marshmallow tail and candy ears. They look like they wiggled straight out of a children’s book, and yes, making them will make you laugh. Ready to make some dessert mischief?
Quick Facts
- Yield: Serves 24 (about 24 bunny butts)
- Prep Time: 25 minutes
- Cook Time: 0 minutes (plus chilling)
- Total Time: 45 minutes (including 30 minutes chill)
Why This Recipe is Awesome
This recipe wins for its cuteness factor and sheer ease. Crunchy cookie + tangy cream cheese gives a fudgy, truffle-like center, while the white chocolate shell adds a smooth snap. Kids adore them, adults secretly hoard them, and they make any dessert table instantly festive. It’s so easy even your oven can’t mess it up—no baking, just mixing, rolling, chilling, and dipping. Who doesn’t love a treat that looks fancy but behaves like a lazy chef’s dream?
Ingredients
For the Main Dish:
- 36 regular Oreos (about 1 1/2 cups crumbs)
- 8 oz cream cheese, softened (one block)
- 12 oz white chocolate chips or candy melts
- 2 tbsp vegetable shortening or coconut oil (helps thin chocolate)
- 24 mini marshmallows (for tails)
- 24 pink candy melts or pink icing (for ear accents)
- Optional: pastel sprinkles or edible shimmer
For the Sauce / Garnish (if applicable):
- Not required, but you can melt extra pink candy melts for ear details or use colored piping gel.
How I Make It
Step 1:
Crush the Oreos until fine. I use a food processor for speed—pulse about 10–12 times so they smell intensely chocolatey—but you can seal them in a bag and pound with a rolling pin. Dump the crumbs into a bowl and stir in the softened cream cheese until a uniform dough forms. It will be fudgy, slightly sticky, and smell like a chocolate cheesecake dream.
Step 2:
Roll the mixture into 24 evenly sized balls, about 1 inch each. I wet my hands slightly so the dough doesn’t cling and press any cracks with my fingertips. Place the balls on a parchment-lined baking sheet and chill for 30 minutes—this firms them up and makes dipping easier. If you skip chilling, they’ll collapse in the chocolate. Don’t do that to your bunnies.
Step 3:
Melt the white chocolate chips with the shortening in 20–30 second microwave bursts, stirring between bursts until glossy and smooth. The mixture should be pourable but not hot. Dip each chilled ball into the chocolate, using a fork to lift and let excess drip back in. Tap the fork gently against the bowl so the coating sets with a thin, even shell. The kitchen will smell sweet and milky—like candy shop nostalgia.
Step 4:
As the coating begins to firm (a few minutes at room temp or 5 minutes in the fridge), press a mini marshmallow onto the back of each ball to serve as the tail. For ears, dip two small teardrop shapes of melted pink candy onto parchment and let them set, or pipe small ovals directly onto the balls for ear accents. If the chocolate has thickened too much, warm it for 5–10 seconds and stir. Listen for the satisfying quiet snap when you bite in.
Step 5:
Chill the finished bunnies for another 10 minutes until the shells are firm. Arrange them on a platter and sprinkle with pastel sprinkles or edible shimmer if you’re feeling extra. Serve at room temperature so the centers stay creamy—not hard. Watch the delighted faces. I always allow a few for taste testing. Priorities.
Pro Tips
- Freeze the balls for 10 minutes before dipping if your kitchen is warm—this keeps them from melting through the coating.
- Use a fork and spoon dip method to capture smooth, even shells and reduce drips.
- If your white chocolate seizes, add 1 tsp vegetable oil and stir gently to smooth it out.
- Make the little ears first on parchment so you can press them on quickly before the shell sets.
Common Mistakes to Avoid
- Skipping preheating: Classic rookie move. It changes texture and bake time.
- Overmixing: Leads to dense or chewy results. Mix until just combined.
- Guessing cook time: Always use visual cues or a timer, not just vibes.
- Overcrowding pans: Give your food some breathing room to crisp properly.
Alternatives & Substitutions
- Use gluten-free sandwich cookies instead of Oreos for a gluten-free version; texture stays similarly fudgy.
- Swap the cream cheese for dairy-free cream cheese to make these dairy-free—expect a slightly tangier center.
- Use dark or milk chocolate for the coating if you prefer less sweet; the flavor becomes richer and less cloying.
- Replace mini marshmallows with small dollops of buttercream for a fluffier tail (not dairy-free).
Variations & Tips
- Kid-friendly: Add tiny candy eyes for full bunny faces—just use a dab of melted chocolate to stick them on.
- Adult twist: Stir 1 tsp of espresso powder into the crushed cookies for a mocha flavor.
- Seasonal: Dye the white chocolate with food coloring to match party themes (pastel for Easter, red for Valentine’s).
- Nutty: Roll the bottoms in crushed toasted almonds for crunch and contrast.
- Miniature: Make bite-sized 3/4-inch balls for a party tray that disappears fast.
- Creative twist: Make a carrot-filled center—press a tiny piece of orange candy into the center before coating for a surprise chew.
FAQ (Frequently Asked Questions)
- Can I make this ahead of time?
- Yes! Store the dipped bunny butts in an airtight container in the fridge for up to 5 days. Bring them to room temperature for 10–15 minutes before serving so the centers soften back up.
- Can I double the recipe?
- Sure thing. Work in batches for dipping so the chocolate stays smooth. You may need to rewarm the coating between batches for an even dip.
- Can I substitute butter with oil?
- Technically yes, but you’ll miss that buttery magic. Use ¾ the amount of oil if a recipe calls for butter elsewhere; for these, we use shortening or coconut oil to thin the coating.
- How do I know it’s done?
- Look for a firm, glossy chocolate shell and a cold, solid center when you press gently. The marshmallow tail should hold in place without sliding. Taste: the center should be creamy, not runny.
- What if I don’t have ingredient X?
- No Oreos? Crush graham crackers and add 2 tbsp unsweetened cocoa for a similar chocolate base. No mini marshmallows? Use a dab of buttercream or a small white candy for the tail.
How I Like to Serve It
I love arranging these on a tiered dessert tray with mini pastel candies around them for Easter brunch. They pair beautifully with a bright cup of coffee or a chilled glass of milk for kids. For a party, sit them beside fruit and tiny cupcakes—the contrast keeps things interesting. In spring, they feel playful and light; in winter, they make a whimsical sweet bite on a cozy movie night.
Notes
- Store in an airtight container in the fridge for up to 5 days; bring to room temperature before serving for best texture.
- If using meat in another recipe, remember safe internal temps: poultry 165°F, ground meats 160°F, and steaks/roasts to your preference.
Final Thoughts
Closing: Now go impress someone — or just yourself — with these ridiculous little Bunny Butt Oreo Balls. They’re easy, ridiculous, and guaranteed to make people smile.

Hi, I’m Lina, the creator of Lina Easy Recipes.Cooking has always been my passion, and I love sharing simple, homemade dishes that anyone can prepare.
Love What You See?
Join me on Pinterest and Facebook for daily cooking inspiration, new recipe ideas, and behind-the-scenes kitchen stories. Let’s cook something wonderful together!


