
I once made this because I had frozen fries and a sad package of ground beef that needed cheering up — now it’s my go-to lazy-night hero. It’s basically a cheeseburger that decided it didn’t want to be held together by bread anymore, and honestly, who could blame it?
Why This Recipe Is Awesome
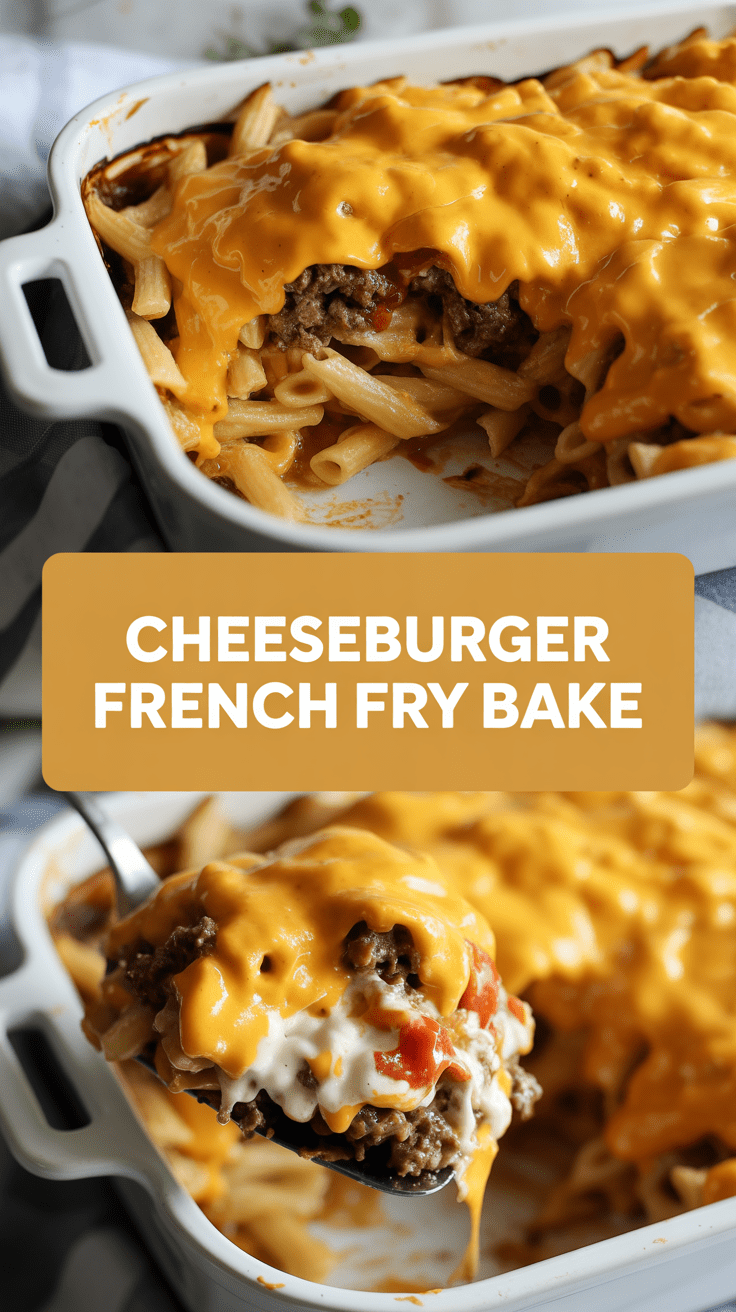
This recipe hits every comfort-food checkbox without requiring culinary gymnastics. Crispy fries, savory seasoned beef, melty cheese, and all the burger toppings you love — assembled in a casserole dish like the practical magician you are. It works because the components are cooked separately to preserve texture, then brought together for a brief bake so everything finishes hot and cheesy without turning into a mush parade. Also, it feeds a crowd, ages well in the fridge, and doubles as an excellent hangover weapon. In short: maximum flavor, minimal drama.
Ingredients You’ll Need
- 1 bag (about 1–1.5 lb) frozen shoestring or steak-cut fries — choose what crisps best for you
- 1 lb ground beef (80/20 is forgiving and flavorful)
- 1 small yellow onion, finely chopped
- 2 cloves garlic, minced (or 1 tsp garlic powder if you’re being lazy)
- 1 tbsp Worcestershire sauce
- 3 tbsp ketchup
- 1 tbsp yellow mustard
- 1 tsp smoked paprika (or regular paprika if you’re boring)
- Salt and pepper to taste
- 2 cups shredded sharp cheddar (or a cheddar-mozz blend)
- Optional: 4–6 dill pickle slices, chopped
- Optional: diced tomato and shredded lettuce for topping
- Optional: sliced cheese (American or cheddar) to melt on top
- 2 tbsp oil (for the pan if you’re browning beef)
- Optional garnish: chopped green onions or a drizzle of extra ketchup/mustard
Step-by-Step Instructions
-
Step 1
Preheat the oven to 425°F (220°C). Spread the frozen fries on a rimmed baking sheet in a single layer and bake according to package directions until crisp and golden — usually 18–25 minutes, flipping once. Meanwhile, heat a skillet over medium-high heat, add oil, then the chopped onion and cook until soft, about 3 minutes. Add the ground beef, breaking it up with a spoon, and brown until no pink remains.
-
Step 2
Stir in garlic, Worcestershire, ketchup, mustard, smoked paprika, salt, and pepper. Let the mixture simmer a couple minutes to marry the flavors; taste and adjust seasoning. In a 9×13-inch baking dish, spread the baked fries into an even layer, then spoon the beef mixture over the fries. Scatter the shredded cheddar evenly on top (or lay slices of cheese for extra nostalgia). Bake at 400°F (200°C) for 8–12 minutes, just until the cheese is melted and bubbly. Finish with pickles, diced tomato, lettuce, and a squiggle of ketchup or mustard if you’re feeling fancy. Serve hot.
Common Mistakes to Avoid
Sogginess is the enemy: don’t dump raw fries in the dish and hope for the best. Pre-baking the fries keeps them crisp under the saucy beef. Over-seasoning with too much ketchup or mustard turns the bake into a soggy, sweet mess — add sauce conservatively and taste the beef first. Also, don’t pile the cheese on too thick before the final bake; if you want gooey drama, sprinkle some during assembly and finish with a light second layer for color.
Alternatives & Substitutions
No ground beef? Ground turkey or chicken works with a touch more seasoning. Vegetarian? Use a plant-based crumble or seasoned lentils — they take the sauce well. Swap shoestring fries for steak fries or tater tots if you want a sturdier base; sweet potato fries give a fun sweet-savory twist but expect softer edges. For cheese, sharp cheddar gives bite, Monterey Jack makes it gooey, and pepper jack adds attitude. Low-fat crowd: drain the cooked beef well and use less cheese. Personal opinion: if you’re going to be indulgent, do it with real cheese and a little extra Worcestershire — it’s worth it.
FAQ
Question 1?
Can I make this ahead of time? Yes — assemble the fries and cooled beef, cover tightly, and refrigerate for up to 24 hours. When ready, bake at 375°F (190°C) for about 20–25 minutes, or until heated through and the cheese is melty. Pre-baking the fries right before assembly is ideal for crispiness, but if you’re short on time, reheated fries still work.
Question 2?
Can you freeze it? You can freeze the fully assembled, unbaked casserole for up to 2 months. Thaw overnight in the fridge before baking, then extend the baking time by 10–15 minutes and bake covered with foil for the first part so it heats through without over-browning the cheese. Texture won’t be identical to fresh, but it will save dinner, and that’s the point.
Question 3?
How do I keep the fries crispy after baking? Spread them in a single layer on the sheet and avoid crowding, which traps steam. If you need extra crisp, broil for 1–2 minutes at the end (watch like a hawk). Also, let the casserole rest five minutes before serving — it sets slightly and keeps structural integrity while staying delightfully melty.
Final Thoughts
There’s a satisfying simplicity to this dish: it’s fast, forgiving, and exactly as comforting as it looks. Treat it like a template — tweak the seasonings, swap fries, or add jalapeños if you want heat. It’s perfect for nights when you want dinner to feel celebratory but don’t want to spend hours pretending to be a chef. Make it, eat it, nap. Then brag about how effortlessly gourmet you were.

Hi, I’m Lina, the creator of Lina Easy Recipes.Cooking has always been my passion, and I love sharing simple, homemade dishes that anyone can prepare.
Love What You See?
Join me on Pinterest and Facebook for daily cooking inspiration, new recipe ideas, and behind-the-scenes kitchen stories. Let’s cook something wonderful together!


