
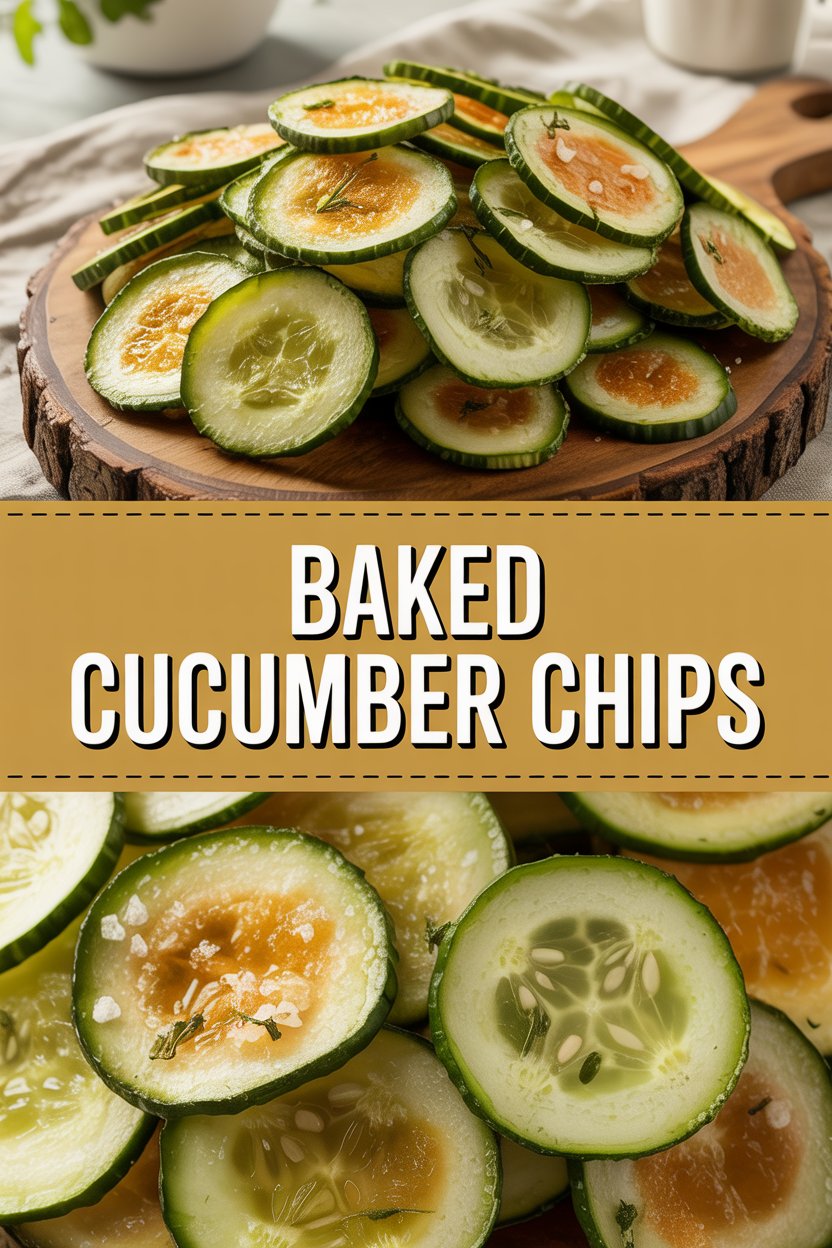
Okay, confession: I made these Baked Cucumber Chips because I wanted something crunchy that didn’t require deep-frying or a trip to the snack aisle. Picture this — me, a mandoline, and a cucumber that thought it could out-sog my expectations. Spoiler: it couldn’t. These chips crisp up into golden-edged rounds that crunch like potato chips but taste brighter, greener, and fresher. They smell lightly of olive oil and toasted seasoning as they bake, and they disappear suspiciously fast at parties. If you love a good crunch and a little kitchen mischief, this recipe will become your quick, slightly smug, snack hack.
Quick Facts
- Yield: Serves 4
- Prep Time: 15 minutes
- Cook Time: 25 minutes
- Total Time: 40 minutes
Why This Recipe is Awesome
These chips taste impossibly light and refreshingly green with a crunch that makes your jaw happy. They work as a snack, a salad topper, or an appetizer that looks fancy but required almost no effort. They deliver a contrast of crispy edges and still-tender centers with bright notes from the cucumber and warm, toasty hints from the spice mix. It’s so easy even your oven can’t mess it up — and if it does, I’ll send it to counseling.
Ingredients
For the Main Dish:
- 3 medium cucumbers (English or Persian — about 1 lb total)
- 1 tbsp olive oil (or avocado oil)
- 2 tbsp cornstarch (for extra crisp; can use 2 tbsp rice flour)
- 1 tsp sea salt
- 1/2 tsp black pepper
- 1/2 tsp garlic powder
- 1/2 tsp smoked paprika (or regular paprika)
- 2 tbsp grated Parmesan (optional — see dairy-free swap below)
For the Sauce / Garnish (optional):
- 1/2 cup Greek yogurt
- 1 tbsp lemon juice
- 1 tsp chopped fresh dill
- Salt and pepper to taste
How I Make It
Step 1:
Preheat the oven to 425°F. Line a baking sheet with parchment paper or a silicone mat. Slice the cucumbers very thin — I use a mandoline set to about 1/8 inch for even, chip-like rounds. If you don’t have a mandoline, use a sharp knife and slice as thinly as you can. Toss the slices gently in a bowl with a little salt and let them sit for 5–10 minutes; that draws out excess moisture and helps them crisp.
Step 2:
Pat the cucumber slices dry with paper towels. In a large bowl, whisk together the cornstarch, garlic powder, paprika, salt, pepper, and Parmesan if using. Add the cucumber slices and drizzle with the olive oil. Toss gently until each slice gets a light dusting and slick sheen — don’t clump them together.
Step 3:
Arrange the slices in a single layer on the prepared baking sheet, leaving tiny gaps between them so hot air can circulate. Slide the pan into the oven and listen for the first minute of baking — that warm, faint sizzle tells you the drying process starts. After about 12 minutes, flip the slices carefully with tongs or a thin spatula so both sides get golden.
Step 4:
Bake another 10–13 minutes, watching closely for golden edges and a firm snap when you touch a slice. Ovens vary, so check at the earlier time and add a few minutes if needed — you want crisp, not dried-out cardboard. The color will deepen to a warm, toasty brown around the edges and smell lightly roasted.
Step 5:
Remove the pan and let the chips cool on the sheet for 3–5 minutes; they crisp up more as they cool. Whisk together the Greek yogurt, lemon juice, and dill for a bright dip, or serve plain. Taste and adjust salt, then pile the chips into a bowl and watch people stare at their hands while they snack.
Pro Tips
- Slice uniformly for even baking — if you don’t have a mandoline, chill the cucumber for 15 minutes to firm it up before slicing.
- Pat slices bone-dry. Moisture kills crispiness faster than you can say “snack attack.”
- Use cornstarch for the crispiest finish; rice flour works fine, but all-purpose flour will give a softer crust.
- If you want extra crunch, turn on the broiler for 1 minute at the end — watch it like a hawk; it goes from golden to burnt fast.
Common Mistakes to Avoid
- Skipping preheating: Classic rookie move. It changes texture and bake time.
- Overmixing: Leads to dense or chewy results. Mix until just combined.
- Guessing cook time: Always use visual cues or a timer, not just vibes.
- Overcrowding pans: Give your food some breathing room to crisp properly.
Alternatives & Substitutions
- Parmesan → Nutritional yeast for a dairy-free, slightly nutty flavor; expect a less melty finish.
- Cornstarch → Rice flour for a gluten-free option; cornstarch gives the crispiest result.
- Olive oil → Avocado oil if you want a higher smoke point; flavor stays neutral.
- For a low-carb option, switch cucumber with thin zucchini slices — they behave similarly but need slightly longer bake time.
Variations & Tips
- Spicy: Add 1/4 tsp cayenne or chili powder to the spice mix for a kick.
- Herby: Toss with chopped fresh rosemary or thyme right after baking for a fragrant twist.
- Cheesy: Sprinkle 2 tbsp grated Parmesan on during the last 5 minutes of baking for melty spots.
- Asian: Use 1 tsp soy sauce mixed into the oil and finish with sesame seeds and a squeeze of lime.
- Crunch boost: Press a thin layer of panko onto oiled slices before baking for extra texture (not gluten-free).
FAQ (Frequently Asked Questions)
- Can I make this ahead of time?
- Yes! Bake the chips and store them in an airtight container at room temperature for up to 2 days. Re-crisp in a 350°F oven for 4–6 minutes if they lose crunch. Keep dip separate until serving.
- Can I double the recipe?
- Sure thing. Use two baking sheets and rotate them halfway through baking so both trays get even heat. Don’t stack slices or overcrowd the pans — they’ll steam instead of crisp.
- Can I substitute butter with oil?
- Technically yes, but you’ll miss that buttery magic. Use ¾ the amount of oil.
- How do I know it’s done?
- Look for golden edges and a firm snap when you touch a chip. The center may still look slightly translucent right out of the oven but will crisp as it cools.
- What if I don’t have ingredient X?
- Swap similar pantry staples: cornstarch → rice flour, Parmesan → nutritional yeast, or garlic powder → a small pinch of minced fresh garlic (add earlier). Keep flavors balanced and test one slice first.
How I Like to Serve It
I love these chips piled next to a big bowl of tzatziki or my quick dill-yogurt dip for backyard hangouts. They make a playful garnish on summer tomato salads and work great alongside grilled chicken or fish. Serve them at a party for something unexpected, or snack on them during movie night when you want crunch without the greasy guilt.
Notes
- Store baked chips airtight at room temperature up to 2 days. Reheat at 350°F for a few minutes to refresh crunch.
- If you serve these with meat, remember safe internal temps — poultry should reach 165°F.
Final Thoughts
Closing: Now go impress someone — or just yourself — with your homemade crunchy, green miracle. Enjoy the crunch and the tiny parade of satisfied smiles!

Hi, I’m Lina, the creator of Lina Easy Recipes.Cooking has always been my passion, and I love sharing simple, homemade dishes that anyone can prepare.
Love What You See?
Join me on Pinterest and Facebook for daily cooking inspiration, new recipe ideas, and behind-the-scenes kitchen stories. Let’s cook something wonderful together!


