
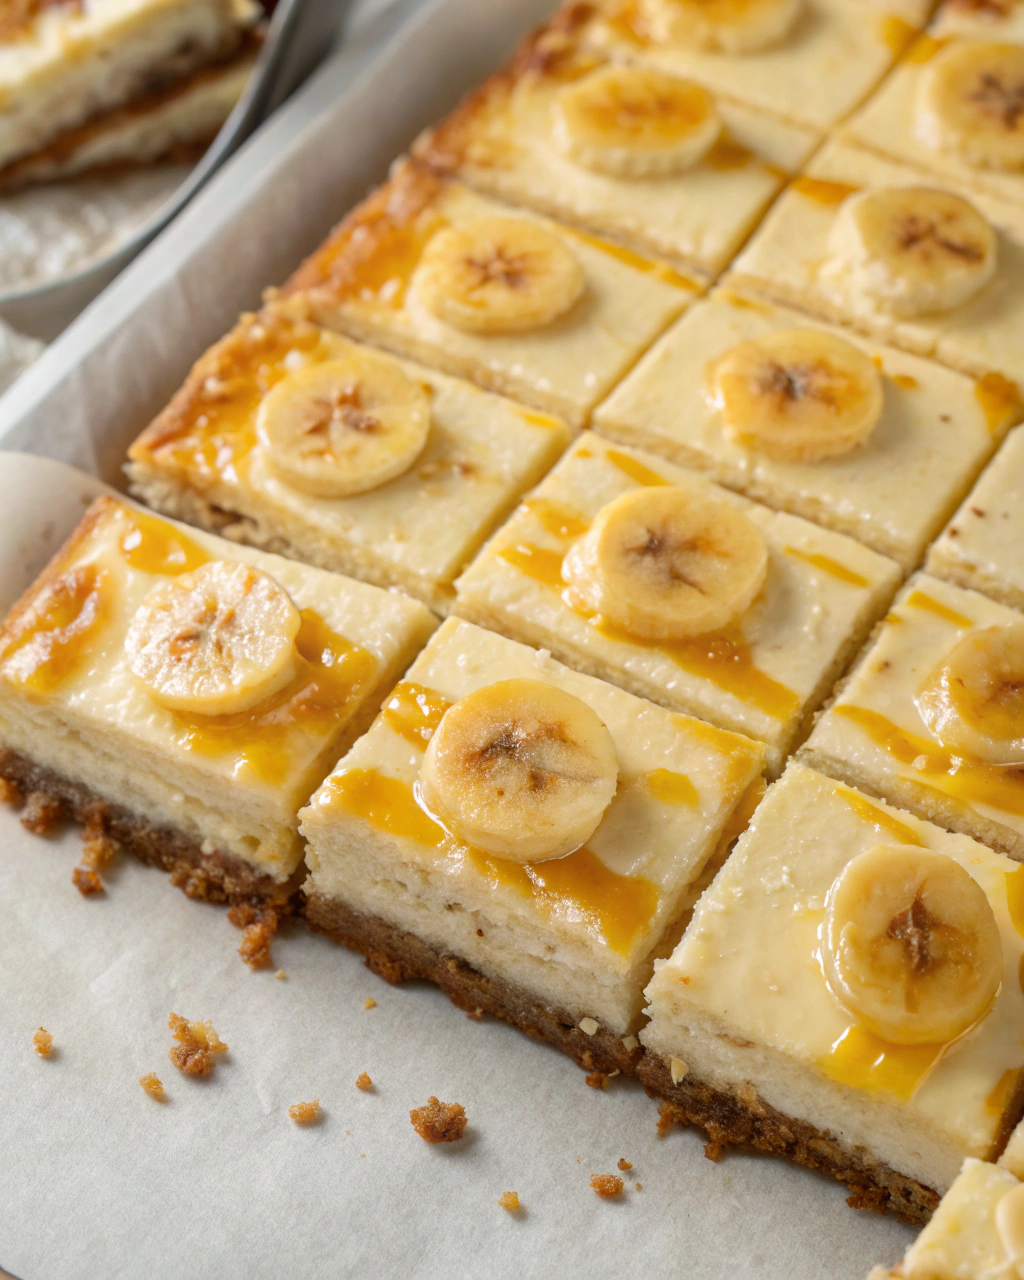
Banana Pudding Cheesecake Bars
You know that feeling when you take a bite of something so good it instantly transports you back to summer days spent on the porch, watching the world go by? That’s exactly what these banana pudding cheesecake bars do for me! I remember my grandma’s kitchen filled with the sweet smell of vanilla and ripe bananas, and how everyone would gather ’round for dessert. These bars are like a nostalgic hug from those simpler times—creamy cheesecake layered with luscious banana pudding and just the right crumbly crust. Trust me, once you try these, they’ll become your new go-to treat for any day that needs a little sunshine and comfort!
Quick Facts
- Yield: Serves 12
- Prep Time: 20 minutes
- Cook Time: 45 minutes
- Total Time: 1 hour 10 minutes (including cooling)
Ingredients
For the Main Dish:
- 1 ½ cups crushed vanilla wafer cookies (about 50 wafers)
- 6 tbsp unsalted butter, melted
- 16 oz cream cheese, softened
- ¾ cup granulated sugar
- 2 large eggs
- 1 tsp vanilla extract
- 1 cup prepared banana pudding (homemade or store-bought)
- 2 ripe bananas, sliced
For the Garnish (Optional):
- Extra vanilla wafer crumbs
- Whipped cream
- Banana slices
How I Make It
Step 1:
First things first, preheat your oven to 325°F. In a medium bowl, mix the crushed vanilla wafers and melted butter until everything is coated and looks like wet sand. Press this mixture firmly into the bottom of a 9×9-inch baking pan—this will be our crunchy, buttery crust.
Step 2:
Next up, grab a large bowl and beat the cream cheese with the sugar until smooth and creamy—no lumps here! Beat in the eggs, one at a time, then stir in the vanilla extract. The batter should be silky and luscious, perfect for a rich cheesecake base.
Step 3:
Spread half of this cheesecake batter evenly over the crust. Then, carefully spoon and spread the banana pudding over the cheesecake layer. Layer the sliced bananas evenly on top of the pudding.
Step 4:
Finally, dollop and spread the remaining cheesecake batter over the banana layer, sealing everything in between two creamy layers. This sandwiching helps keep the bananas moist and flavorful.
Step 5:
Bake at 325°F for about 45 minutes, or until the edges are set but the center still has a slight jiggle. Don’t overbake—this keeps the bars creamy and smooth!
Step 6:
Let the bars cool completely on a wire rack before refrigerating for at least 3 hours (overnight is even better). When ready, slice into bars and garnish with extra crushed vanilla wafers, banana slices, and a dollop of whipped cream if you’re feeling fancy.
Variations & Tips
- Swap vanilla wafers for graham crackers if you want a tangier crust.
- Add a pinch of cinnamon or nutmeg to the crust for a warm spice note.
- If bananas brown too quickly before assembly, toss the slices with a little lemon juice to keep them fresh-looking.
- Try folding crushed nuts into the crust for an extra crunchy texture.
- For a boozy twist, mix 1 tbsp of your favorite rum into the banana pudding.
- Keep the bars refrigerated until right before serving to maintain the best texture.
How I Like to Serve It
This dessert is perfect any time of year but especially great for summer barbecues or casual family dinners when fresh bananas are in season. I love serving these bars chilled with a hot cup of coffee or iced tea. They also make an impressive addition to holiday dessert tables, where they stand out thanks to their creamy layers and nostalgic flavors.
Notes
- Store leftovers covered in the fridge for up to 4 days; they taste even better chilled.
- You can’t reheat these bars—serve cold or at room temp for the best experience.
Closing: Once you taste these banana pudding cheesecake bars, you’ll understand why they’re a beloved family favorite that’s impossible not to share.

Hi, I’m Lina, the creator of Lina Easy Recipes.Cooking has always been my passion, and I love sharing simple, homemade dishes that anyone can prepare.
Love What You See?
Join me on Pinterest and Facebook for daily cooking inspiration, new recipe ideas, and behind-the-scenes kitchen stories. Let’s cook something wonderful together!


