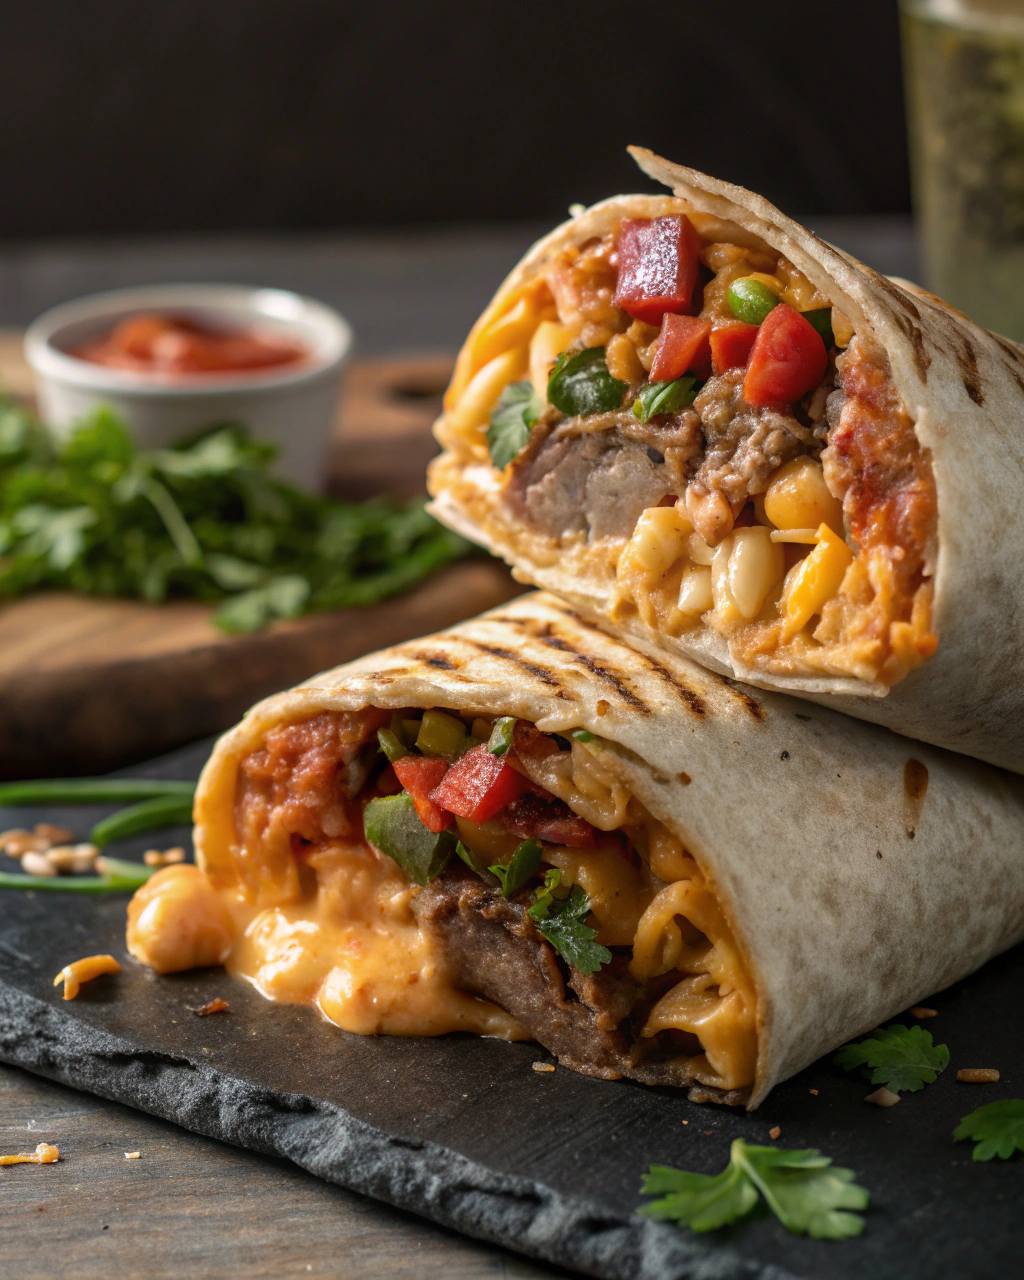
Beef and Bean Burritos – Quick Dinner Ideas
Okay, picture this: it’s been one of those days where the idea of cooking feels like climbing a mountain. Enter the humble beef and bean burrito—a total lifesaver in my kitchen! Wrapped in a warm tortilla, bursting with juicy ground beef and creamy beans, topped with melty cheese and a hint of spice, these burritos are both simple and seriously satisfying. The aroma of cumin and garlic sizzling on the stove instantly fills the house with that cozy, “dinner’s ready!” vibe. Trust me, if you ever need a quick, no-fuss meal that feels way fancier than it takes, this recipe’s got you covered. Plus, it’s ridiculously adaptable, so you can tuck in whatever you have handy. Let’s dive in!
Quick Facts
- Yield: Serves 4
- Prep Time: 10 minutes
- Cook Time: 15 minutes
- Total Time: 25 minutes
Ingredients
For the Main Dish:
- 1 lb ground beef (85% lean works great)
- 1 small onion, finely chopped
- 2 cloves garlic, minced
- 1 can (15 oz) black beans, drained and rinsed
- 1 tsp ground cumin
- 1 tsp chili powder
- 1/2 tsp smoked paprika
- Salt and pepper, to taste
- 4 large flour tortillas (10-inch size)
- 1 cup shredded cheddar or Mexican blend cheese
For the Sauce / Garnish (if applicable):
- Sour cream or Greek yogurt, for topping
- Fresh cilantro, chopped (optional)
- Fresh lime wedges
- Salsa or pico de gallo (optional)
How I Make It
Step 1:
Heat a large skillet over medium-high heat and add the ground beef along with the chopped onion. Cook, breaking up the meat with a wooden spoon, until the beef is browned and the onion becomes translucent—about 6-7 minutes. Drain any excess fat if you want it leaner.
Step 2:
Stir in the minced garlic, cumin, chili powder, smoked paprika, salt, and pepper. Cook for another minute or until you can smell those warm spices waking up your kitchen. This little step is key for that authentic flavor punch.
Step 3:
Add the drained black beans to the skillet and stir gently to combine. Let everything heat through for about 2-3 minutes. If it looks a bit dry, splash in 2–3 tablespoons of water or beef broth to keep it moist and saucy.
Step 4:
Meanwhile, warm the tortillas in a dry skillet or wrap them in foil and heat in a 350°F oven for 5 minutes to make them pliable and soft—this prevents tearing when you roll your burritos.
Step 5:
Spoon a generous amount of the beef and bean mixture down the center of each tortilla. Sprinkle with shredded cheese so it starts melting as you assemble.
Step 6:
Fold in the sides and roll tightly. Serve each burrito with a dollop of sour cream or Greek yogurt, a squeeze of fresh lime, and a sprinkle of cilantro. Salsa on the side never hurts either!
Variations & Tips
- Swap black beans for pinto or kidney beans depending on what you have on hand.
- Add diced bell peppers with the onions for extra color and crunch.
- Use ground turkey or chicken for a lighter protein option.
- For extra heat, toss in some chopped jalapeños or a dash of cayenne pepper.
- If you like a creamier texture, stir in some cream cheese or shredded monterey jack cheese.
- Make it vegetarian by using extra beans, lentils, or plant-based meat crumbles.
How I Like to Serve It
These burritos are the go-to meal when friends drop by unexpectedly or during busy weeknights because they’re filling but won’t keep you chained to the stove. Pair them with a simple side salad or crunchy tortilla chips and guacamole for a laid-back dinner. They’re also perfect for game day or a casual family gathering where everyone can add their own toppings.
Notes
- Store leftovers in an airtight container in the fridge for up to 3 days; reheat in the microwave or oven wrapped in foil.
- To avoid soggy burritos, wait to add fresh toppings like lettuce or tomatoes until just before serving.
Closing: Once you try this beef and bean burrito, you’ll see why it’s a trusty weeknight hero that’s quick, tasty, and endlessly adaptable.

Hi, I’m Lina, the creator of Lina Easy Recipes.Cooking has always been my passion, and I love sharing simple, homemade dishes that anyone can prepare.
Love What You See?
Join me on Pinterest and Facebook for daily cooking inspiration, new recipe ideas, and behind-the-scenes kitchen stories. Let’s cook something wonderful together!


