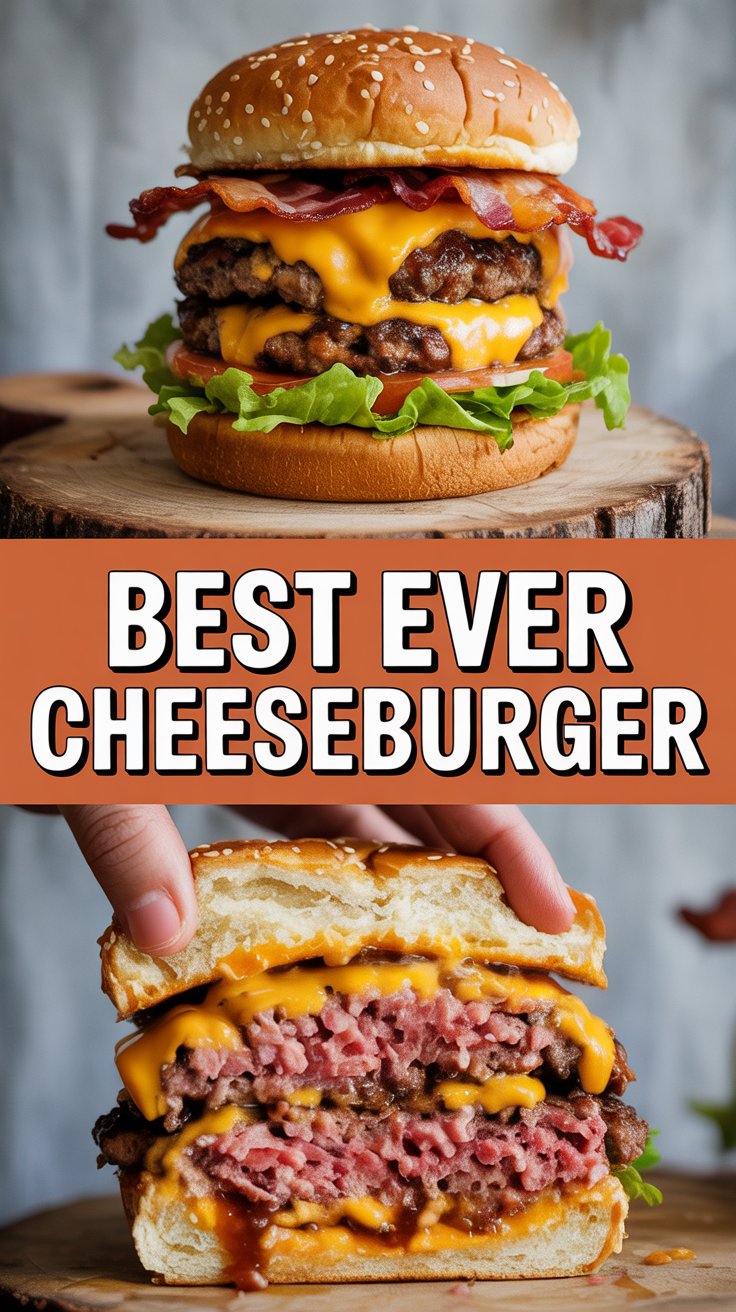
Chef’s Secret: Okay, lean in — I’ll tell you the little trick that turns an ordinary burger into something people whisper about at the table. I form the patties slightly larger than the bun and press a shallow thumbprint in the center so the patty cooks flat and stays juicy. That small move keeps the middle from doming and saves you from dry edges and a sad, uneven cook. Add a quick smash at the end, melty cheese, and a buttery toast on the bun, and you’ll have the Best Ever Cheeseburger that comes together in under 30 minutes. Trust me, this one earns applause and seconds.
Quick Facts
Yield: Serves 4
Prep Time:15 minutes
Cook Time:10 minutes
Total Time:25 minutes
Why This Recipe is Awesome
Because this burger sings in every way — crispy browned edges, a juicy center, and that molten cheese pull you want in your life. I keep the seasoning simple so the beef flavor takes center stage, and I add a bright, tangy sauce to cut through the richness. It’s quick enough for a weeknight and impressive for company. Plus, who doesn’t love the sizzle and smell when patties hit a hot pan? It really feels like a mini celebration in the kitchen.
Ingredients
For the Main Dish:
1 lb ground beef, 80/20 for best juiciness
1 tsp kosher salt
½ tsp freshly ground black pepper
1 tsp Worcestershire sauce (optional)
4 slices sharp cheddar cheese
4 burger buns (potato or brioche work great)
2 tbsp unsalted butter, softened
1 tbsp neutral oil (vegetable or canola)
Thinly sliced red onion, tomato slices, and lettuce leaves for topping
For the Sauce / Garnish (if applicable):
½ cup mayonnaise
2 tbsp ketchup
1 tbsp yellow mustard
1 tsp pickle juice or apple cider vinegar
Pinch of smoked paprika and black pepper
How I Make It
Step 1:
I start by making the sauce: whisk ½ cup mayonnaise, 2 tbsp ketchup, 1 tbsp mustard, and 1 tsp pickle juice in a small bowl. Taste and adjust — the sauce should taste bright and a little tangy. Then I split the meat into four equal portions and gently shape each into a patty about 4 inches across and roughly ¾ inch thick. I press a shallow thumbprint into the center of each patty; this little divot keeps the burger from puffing up.
Step 2:
I heat a cast-iron skillet over medium-high heat until it smells warm and almost a little nutty. I add 1 tbsp oil and lay the patties in the pan away from me so the hot oil doesn’t spit. Expect a loud, satisfying sizzle — music to my ears. I season the top of each patty with ¼ tsp salt and a pinch of pepper while the bottoms develop a deep brown crust, about 3 minutes.
Step 3:
I flip the patties and immediately sprinkle another ¼ tsp salt on the cooked side. At this point the burgers release a mouthwatering aroma — beefy, toasty, and comforting. Cook the second side for another 3 minutes for medium doneness. If you like your burgers well done, add another minute or two. Right before they finish, I drop a slice of cheddar on each patty and cover the pan for 30–60 seconds to melt the cheese into oozy goodness.
Step 4:
I toast the buns by spreading 1 tbsp butter across the cut sides and placing them butter-side down in a separate skillet over medium heat until golden and slightly crisp — about 1–2 minutes. That buttery toast adds crunch and keeps the bun from getting soggy under the juicy patty.
Step 5:
I assemble: spread a generous spoonful of the sauce on both bun halves, place lettuce and tomato on the bottom, then nestle the cheesy patty on top. Add thin onion slices and pickles if you like extra tang. Press gently and enjoy immediately while the cheese still stretches and the edges stay crisp.
Pro Tips
Use 80/20 ground beef for flavor and juiciness — leaner meat dries out faster.
Don’t overwork the meat when forming patties. I pat, shape, and handle as little as possible for tender burgers.
Cook to an internal temp of 160°F for ground beef. I check with an instant-read thermometer near the end of cooking.
Toast buns in butter for texture and flavor — don’t skip this small step; it makes a huge difference.
Common Mistakes to Avoid
Skipping preheating: Classic rookie move. It changes texture and bake time.
Overmixing: Leads to dense or chewy results. Mix until just combined.
Guessing cook time: Always use visual cues or a timer, not just vibes.
Overcrowding pans: Give your food some breathing room to crisp properly.
Alternatives & Substitutions
Swap beef for 1 lb ground turkey or chicken for a lighter burger; expect a milder flavor and slightly drier result — add a tablespoon of olive oil to the meat for moisture.
Use plant-based ground meat for a vegetarian option; cook slightly longer if the package suggests and watch for browning cues.
Choose gluten-free buns to make this gluten-free. Most standard toppings remain safe, and the cook method stays the same.
Replace mayo in the sauce with plain Greek yogurt for a tangier, lower-fat option; texture thins slightly, so reduce vinegar by half.
Variations & Tips
Spicy: Add 1 tsp chili powder to the patty mix and swap pepper jack for cheddar.
BBQ: Brush patties with barbecue sauce during the last minute of cooking and top with crispy onion rings.
Kid-friendly: Skip the onion and add a slice of mild American cheese with ketchup on the side.
Gourmet: Caramelize onions in butter and balsamic for 10 minutes and top the patty along with arugula.
Smash-style: For ultra-crisp edges, press the patty with a spatula for the first 20 seconds after it hits the pan.
Creative twist: Add a fried egg on top for a breakfast-for-dinner vibe — runny yolk makes an amazing sauce.
FAQ (Frequently Asked Questions)
Can I make this ahead of time?
Yes! Shape patties and store them in the fridge up to 24 hours. Keep sauce in an airtight container for up to 3 days. Reheat patties briefly in a hot skillet to refresh the crust and melt cheese.
Can I double the recipe?
Sure thing. Cook in batches and don’t overcrowd the pan; use two skillets or a grill to keep proper browning. Keep finished patties in a warm oven (200°F) while the rest cook.
Can I substitute butter with oil?
Technically yes, but you’ll miss that buttery magic. Use ¾ the amount of oil if swapping; flavor will change slightly and you’ll lose some of the toasty richness on the bun.
How do I know it’s done?
Look for browned, crispy edges and a firm but springy center. For safety and consistency, aim for an internal temp of 160°F for ground beef using an instant-read thermometer.
What if I don’t have ingredient X?
No sweat — swap ketchup for tomato sauce plus a pinch of sugar, or use yellow onion instead of red for milder flavor. Most pantry swaps work fine in a pinch.
How I Like to Serve It
I serve these cheeseburgers with crispy oven fries or a simple green salad. For summer nights, I pair them with a cold beer or an iced tea with lemon. On chilly evenings, I stick to a caramelized-onion version and a full-bodied red. They work for weeknight dinners, backyard BBQs, and lazy Sundays when you want pure comfort food.
Notes
Store leftover cooked patties in the fridge up to 3 days. Reheat in a skillet over medium until warmed through to maintain crust.
Safe cooking temp for ground beef: 160°F.
Final Thoughts
Closing: Now go impress someone — or just yourself — with your homemade masterpiece! These burgers feel effortless and taste like you spent all day on them.
Hi, I’m Lina, the creator of Lina Easy Recipes.Cooking has always been my passion, and I love sharing simple, homemade dishes that anyone can prepare.
Spread the love
Love What You See?
Join me on Pinterest and Facebook for daily cooking inspiration, new recipe ideas, and behind-the-scenes kitchen stories. Let’s cook something wonderful together!