Brownie Christmas Trees
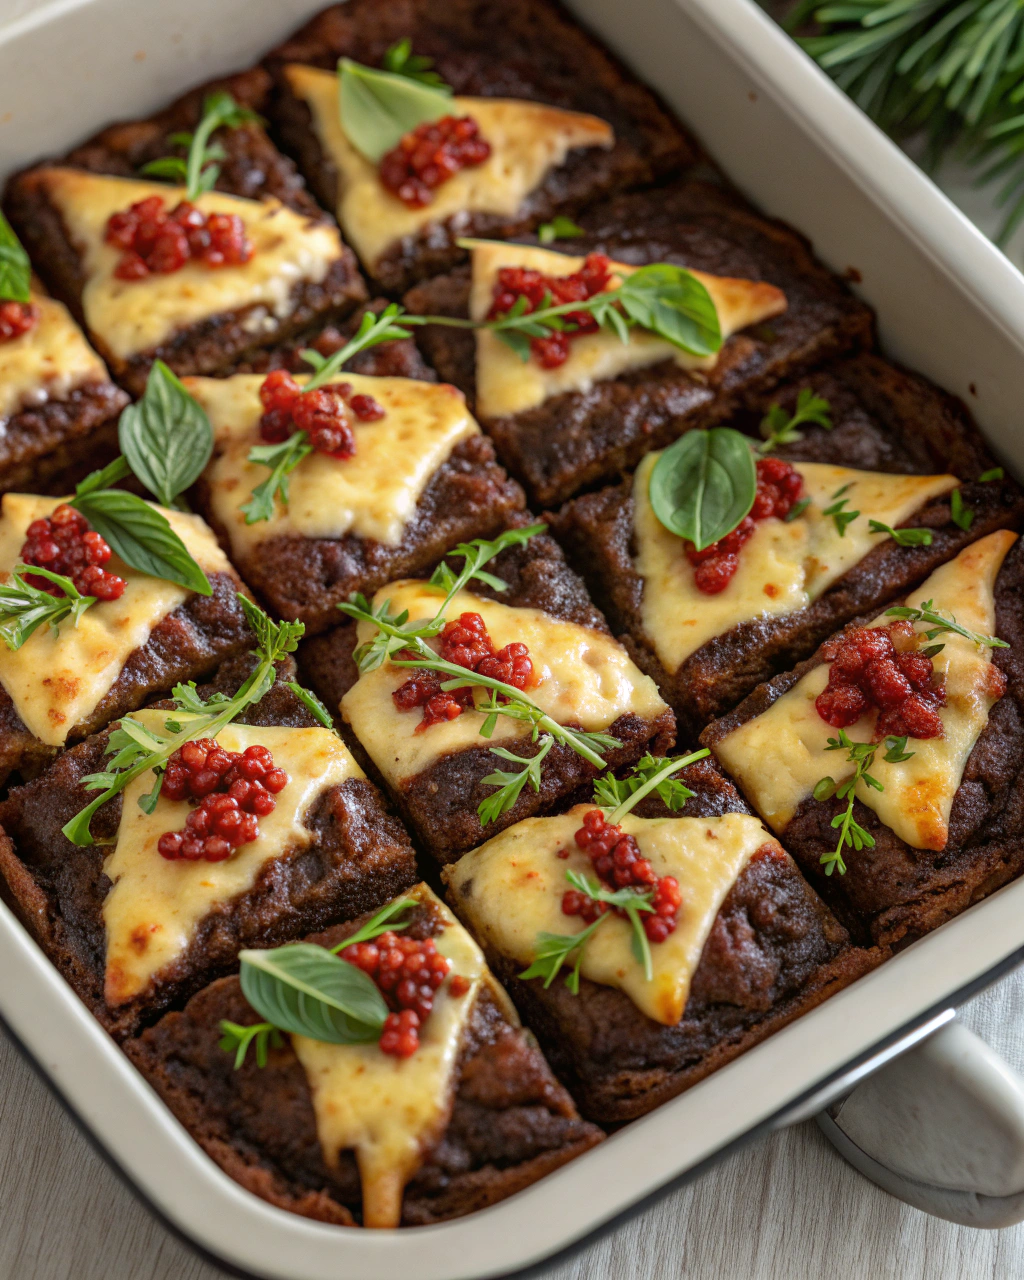
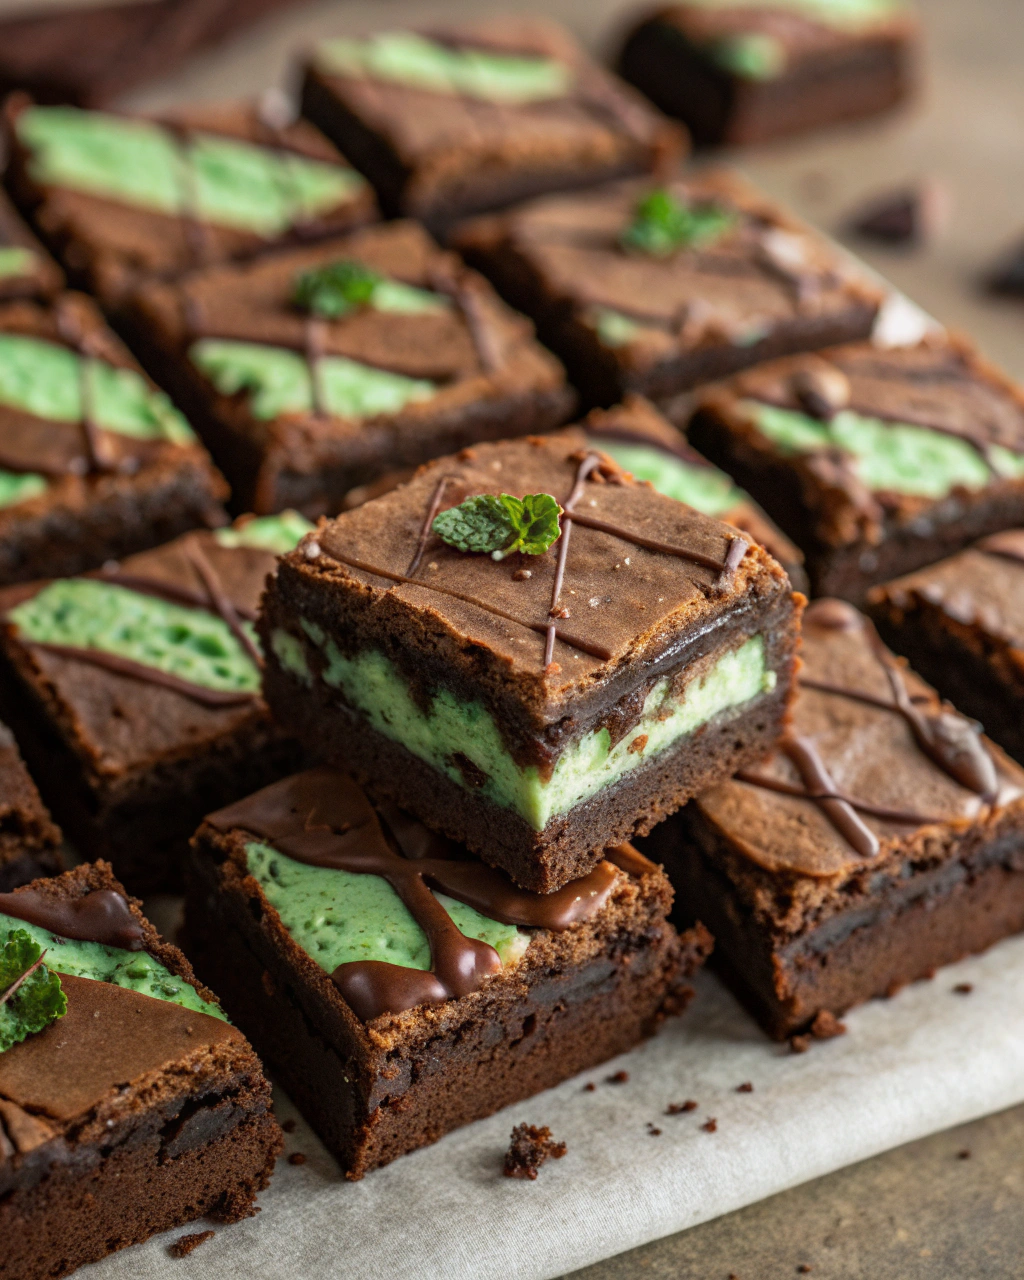
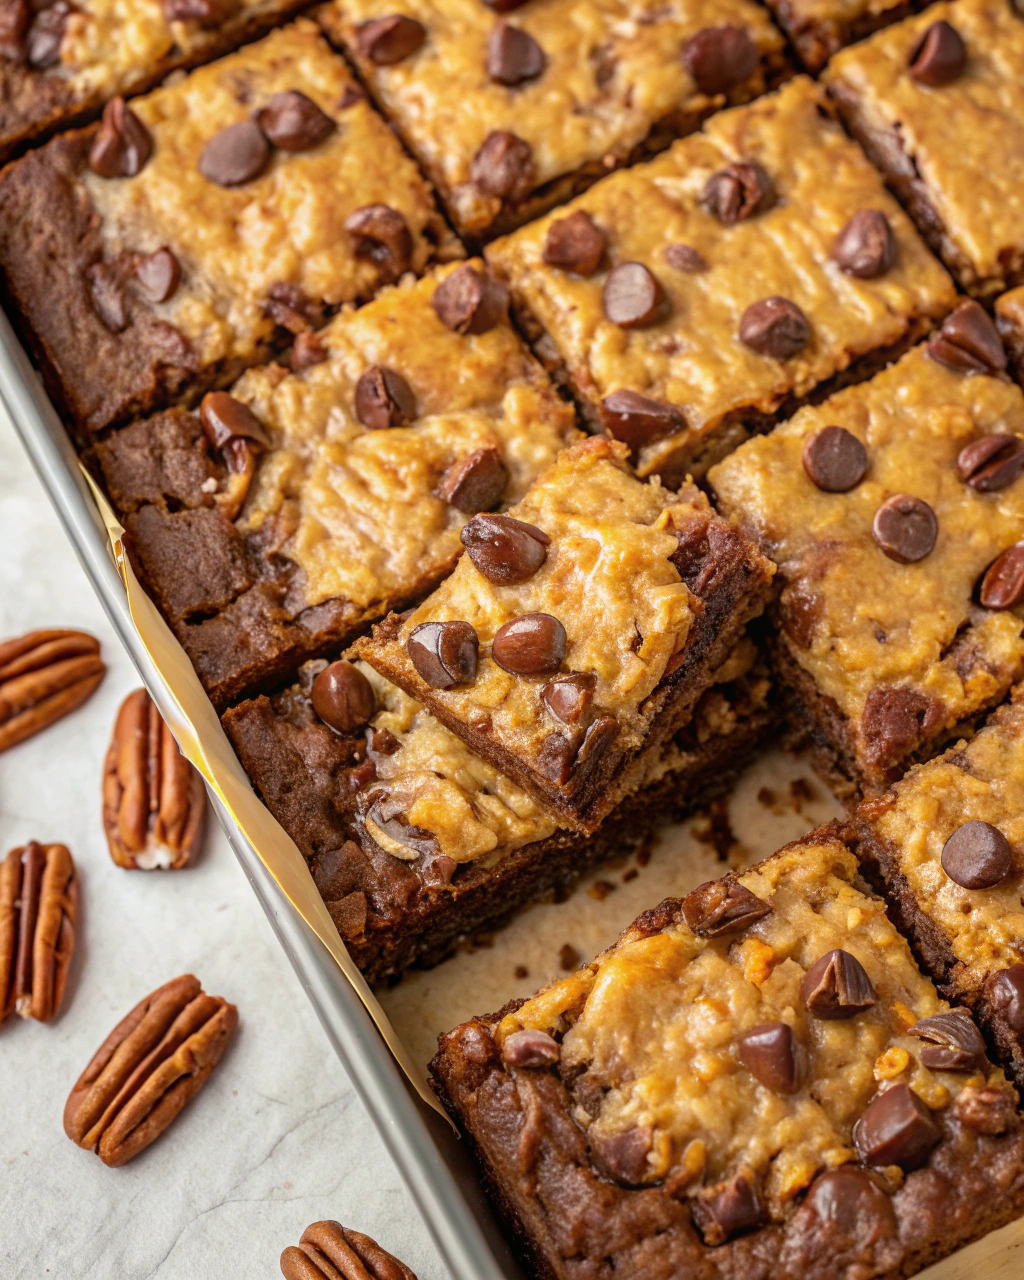
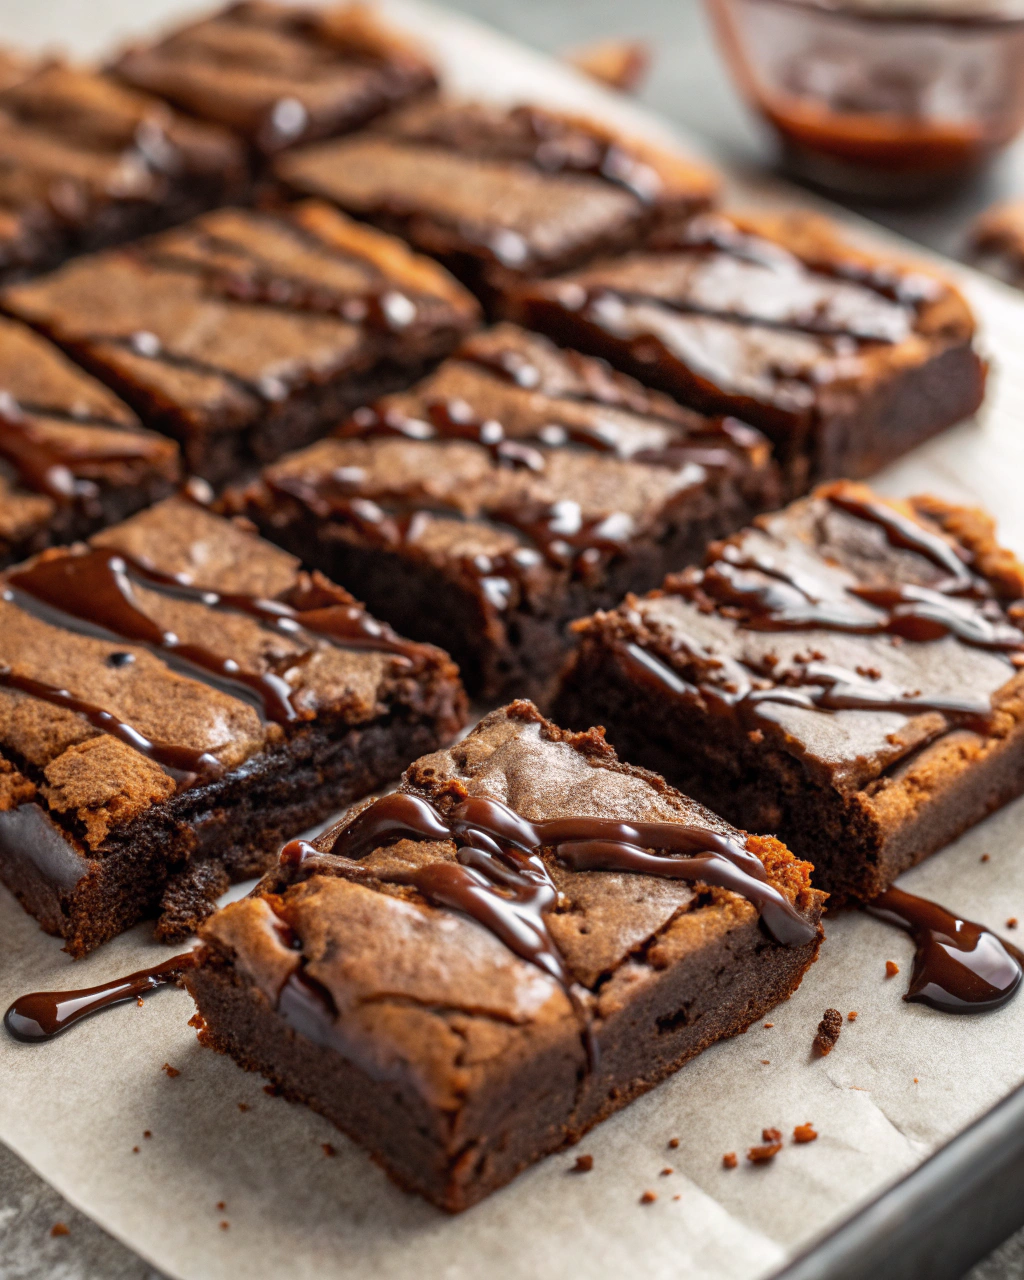
Ah, Christmas time and brownies—two of my favorite things rolled into one festive treat! These Brownie Christmas Trees aren’t just delicious; they’re a whole experience. Imagine biting into a fudgy, chocolatey base shaped like a mini evergreen, then topping it with vibrant green frosting and colorful sprinkles that sparkle just like holiday lights. The smell alone—a warm, rich chocolate aroma mingling with peppermint or vanilla—has me dreaming of cozy nights by the fire. And the best part? You don’t need to be a pro baker to make these look magical. I’m here to walk you through every step so you can impress your guests or just have a joyful baking session with the kids.
Quick Facts
- Yield: Serves 12
- Prep Time: 15 minutes
- Cook Time: 25 minutes
- Total Time: 40 minutes
Ingredients
For the Main Dish:
- 1 cup (2 sticks) unsalted butter
- 2 cups granulated sugar
- 4 large eggs
- 1 tsp vanilla extract
- 1 cup all-purpose flour
- ¾ cup unsweetened cocoa powder
- ½ tsp salt
- ½ tsp baking powder
For the Frosting & Decoration:
- 1 cup powdered sugar
- 3 tbsp unsalted butter, softened
- 2–3 tbsp milk
- ½ tsp vanilla extract
- Green food coloring
- Assorted sprinkles or mini candy pearls
- Optional: mini star candies or colored sugar for the tree tops
How I Make It
Step 1:
First, preheat your oven to 350°F and grease a 9×13-inch baking pan. Melt the butter gently in a saucepan or microwave until it’s just liquid—no need to brown it. Then, in a large bowl, stir together the melted butter and sugar until shiny and smooth.
Step 2:
Add the eggs one at a time, beating well after each addition, then mix in the vanilla extract. You’ll see the batter become glossy and thick—it’s the promise of fudgy brownies!
Step 3:
In a separate bowl, whisk together the flour, cocoa powder, baking powder, and salt. Gradually fold the dry ingredients into the wet, careful not to overmix; the batter should be thick and luscious.
Step 4:
Pour the batter into your prepared pan and smooth the top with a spatula. Bake for about 25 minutes—start checking at 22—until the edges are set but the center still looks slightly soft (a toothpick inserted should come out with moist crumbs).
Step 5:
Allow the brownies to cool completely, then carefully cut them into small triangles to mimic little pine trees. If you want tidy edges, chill the brownies first—it makes cutting much easier.
Step 6:
While the brownies cool, whip up your frosting by combining the powdered sugar, softened butter, vanilla, and milk in a bowl. Add green food coloring a drop at a time until you get that perfect evergreen look. Pipe or spread the frosting onto your brownie triangles, then decorate with sprinkles, mini stars, or candy pearls to make your trees come to life with twinkling ornaments.
Variations & Tips
- Add a teaspoon of instant espresso powder to the brownie batter to intensify the chocolate flavor.
- Swap cocoa powder for melted chocolate for an ultra-rich brownie base.
- Use cream cheese frosting tinted green for a creamier tree topper.
- For a peppermint twist, add a few drops of peppermint extract to the frosting.
- Try crushed candy canes sprinkled on top for extra crunch and holiday flair.
- If cutting brownies is tricky, freeze the whole pan for 30 minutes before slicing.
How I Like to Serve It
These little brownie trees are perfect for holiday parties or as a festive dessert after Christmas dinner. I love arranging them on a platter with some fresh cranberries and pine sprigs for a beautiful table centerpiece. They also make darling gifts — just pop a few in a clear box with a ribbon for a sweet, homemade treat anyone would love!
Notes
- Store brownies in an airtight container at room temperature for up to 3 days. If your frosting softens, a quick chill in the fridge will firm it back up.
- You can substitute butter with coconut oil for a dairy-free version, but the flavor will shift slightly.
Closing: These Brownie Christmas Trees always deliver that perfect balance of fudgy chocolate and festive fun, making holiday baking a joyful tradition I never skip!

Hi, I’m Lina, the creator of Lina Easy Recipes.Cooking has always been my passion, and I love sharing simple, homemade dishes that anyone can prepare.
Love What You See?
Join me on Pinterest and Facebook for daily cooking inspiration, new recipe ideas, and behind-the-scenes kitchen stories. Let’s cook something wonderful together!


