
Okay, lean in—I’m about to whisper a chef’s secret: you don’t need fancy cuts or expensive breadcrumbs to make nuggets that make everyone dance at the dinner table. I learned this trick during a late-night grocery run when I grabbed a pack of bone-in chicken thighs on sale and turned them into crunchy, juicy nuggets that tasted like a million bucks. The trick? A little seasoning, a quick pulse in the food processor, and a double-crisp technique that gives you crunchy edges and a tender inside every time. If your kitchen budget looks like it filed for bankruptcy last week, this recipe will feel like a tiny culinary miracle.
Quick Facts
- Yield: Serves 4
- Prep Time: 15 minutes
- Cook Time: 15 minutes
- Total Time: 30 minutes
Why This Recipe is Awesome
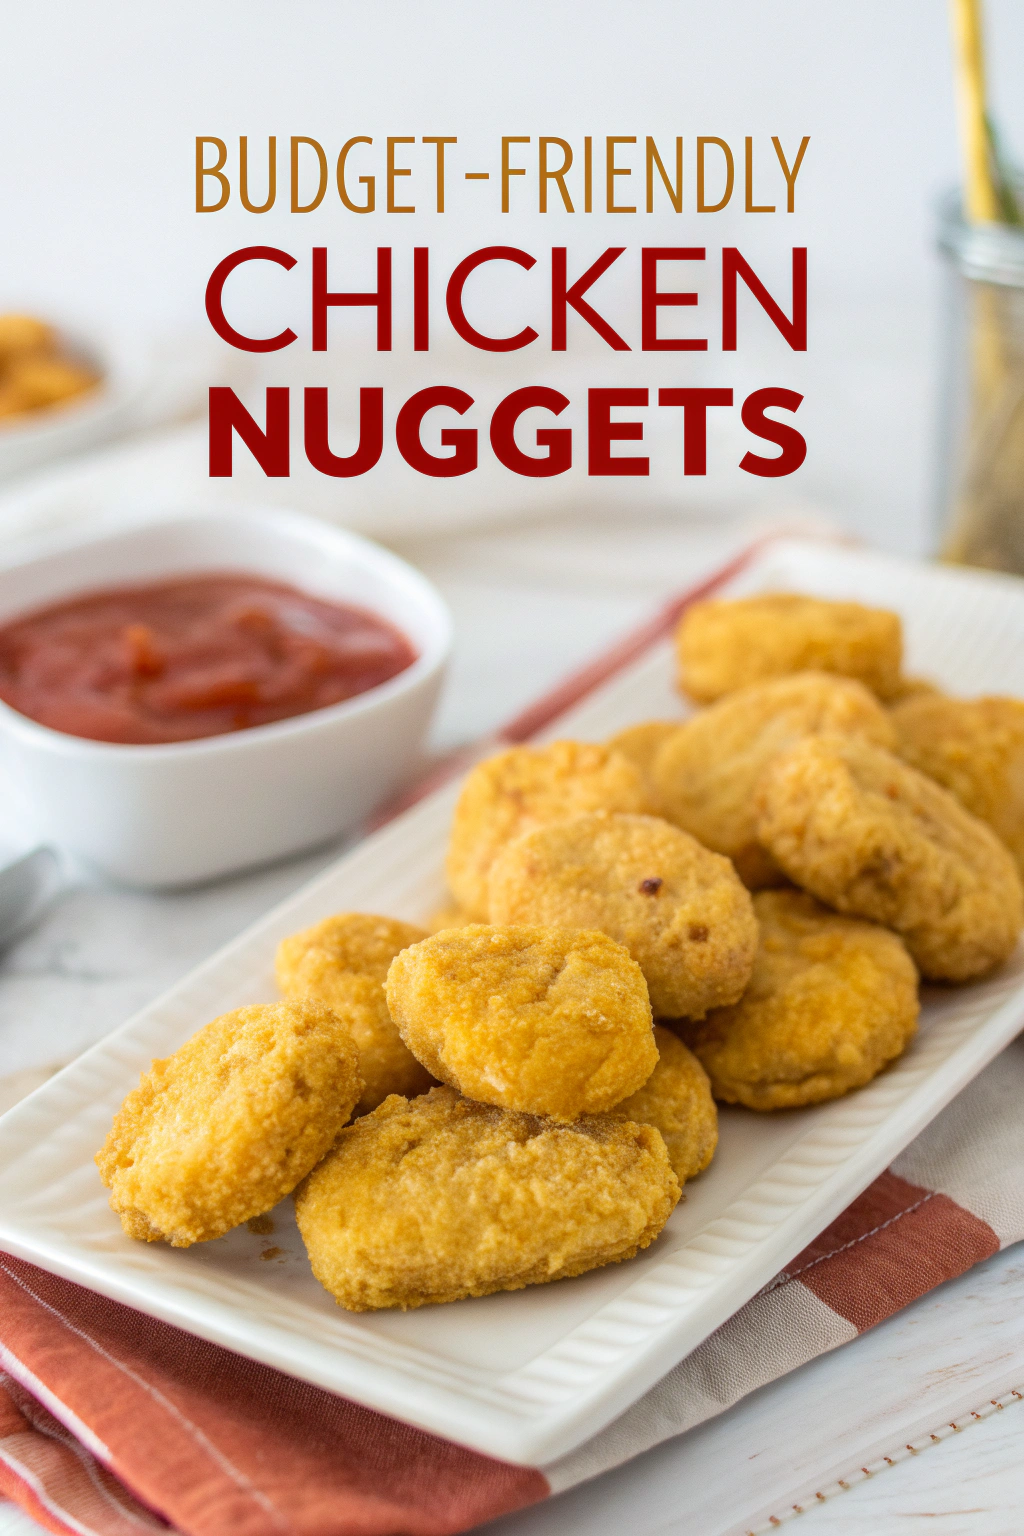
I adore this recipe because it turns cheap, everyday ingredients into crunchy, golden nuggets that pop with flavor. You get a crackling exterior, a juicy center, and that warm, savory smell that fills the whole house. It’s so forgiving even a distracted cook (guilty) can pull it off. Who doesn’t love crispy edges and a tender inside? Plus, it costs less than takeout and hands down beats the freezer aisle in texture.
Ingredients
For the Main Dish:
- 1.5 pounds boneless, skinless chicken thighs (cheaper and more forgiving than breasts)
- 1 cup panko breadcrumbs (or crushed cornflakes for extra budget crunch)
- 1/2 cup all-purpose flour
- 2 large eggs
- 1/4 cup milk (or water)
- 1 tsp salt
- 1/2 tsp black pepper
- 1 tsp smoked paprika
- 1/2 tsp garlic powder
- 2 tbsp vegetable oil (for brushing or light pan-frying)
For the Sauce / Garnish (optional):
- 1/4 cup mayonnaise
- 2 tbsp yellow mustard
- 1 tbsp honey
- Chopped parsley or sliced pickles to garnish (optional)
How I Make It
Step 1:
I start by firing up the oven to 425°F so it gets nice and hot while I work. I cut the thighs into 1 1/2-inch pieces, then pulse them in a food processor a few times until they look coarsely ground—think chunky, not paste. I mix the chicken with salt, pepper, smoked paprika, and garlic powder and let the flavors sit for a few minutes. You’ll smell that little pep of paprika immediately—so tempting.
Step 2:
I set up a dredging station: one bowl with flour, a second with 2 beaten eggs + 1/4 cup milk, and a third with panko. I shape the chicken into nugget-sized patties (I keep them slightly rough for extra crunch). I press each nugget into the flour, shake off the excess, dunk into the egg wash, then press into panko so each piece gets a good, even coat. Tip: if your panko wants to fall off, press gently but firmly—like giving each nugget a little hug.
Step 3:
I line a rimmed baking sheet with foil or parchment and scatter a few drops of 2 tbsp oil over it. I place the nuggets on the sheet with some space between them so they crisp instead of steam. I brush the tops with a tiny bit more oil—this tiny trick helps them brown like they just met a deep fryer. Slide the tray into the oven and listen for the shift from silence to a low oven hum; it smells like dinner getting serious.
Step 4:
I bake at 425°F for about 12–15 minutes, flipping once halfway through so both sides hit that golden color. Look for golden edges, a crunchy exterior, and when you press lightly they spring back—those clues tell you they’ve reached nugget nirvana. If you want extra crunch, I hit them under the broiler for 1–2 minutes, watching closely so they don’t burn.
Step 5:
I let the nuggets rest 3–4 minutes on a wire rack or paper towel—this keeps them crisp and keeps the juices where they belong. I whisk together the honey-mustard (mayo, mustard, honey) while they rest; the sauce adds creaminess and a sweet pop. Serve with chopped parsley, pickles, or whatever your heart craves. Snap one open—the center should look juicy and tender, not dry.
Pro Tips
- Pulse the chicken just enough to bind. Over-processing makes a paste — and nobody likes rubbery nuggets.
- Use boneless thighs for flavor and budget; they stay juicier than breasts.
- Brush oil on the nuggets before baking for better browning; skip it and you’ll end up paler and less crisp.
- If you don’t have panko, crush stale crackers or cornflakes. They give excellent crunch and cost less.
Common Mistakes to Avoid
- Skipping preheating: Classic rookie move. It changes texture and bake time.
- Overmixing: Leads to dense or chewy results. Mix until just combined.
- Guessing cook time: Always use visual cues or a timer, not just vibes.
- Overcrowding pans: Give your food some breathing room to crisp properly.
Alternatives & Substitutions
- Chicken breasts instead of thighs: leaner, but watch cooking time to avoid dryness.
- Use firm tofu (pressed and mashed) for a vegetarian swap; add extra seasoning and an egg or flax binder.
- Gluten-free option: swap all-purpose flour for rice flour and use gluten-free breadcrumbs or crushed GF cornflakes.
- Dairy-free: replace milk in the egg wash with water or a non-dairy milk.
Variations & Tips
- Spicy: add 1 tsp cayenne or swap smoked paprika for chipotle powder.
- Herby: fold 2 tbsp chopped parsley and 1 tbsp chopped thyme into the chicken mixture.
- Cheesy: sprinkle 1/4 cup grated Parmesan into the panko for savory depth.
- Kid-friendly: leave spices mild and serve with ketchup and carrot sticks.
- Crispy skillet version: shallow-fry at medium-high for 3–4 minutes per side for ultra-crisp results.
- Creative twist: stuff a tiny cube of cheddar into each nugget before coating for melty pockets.
FAQ (Frequently Asked Questions)
- Can I make this ahead of time?
- Yes! Form the nuggets and store them uncooked on a sheet pan covered with plastic in the fridge for up to 24 hours. Bake as directed when ready. Cooked nuggets keep well in the fridge for 3 days; reheat in a 375°F oven for 8–10 minutes to crisp them back up.
- Can I double the recipe?
- Sure thing. Use two pans and rotate them halfway through baking so they brown evenly. Don’t overcrowd a single sheet or they’ll steam instead of crisp.
- Can I substitute butter with oil?
- Technically yes, but you’ll miss that buttery magic. Use ¾ the amount of oil if swapping to keep richness under control.
- How do I know it’s done?
- Look for golden, crisp exteriors and juices that run clear. The safest check: the chicken reaches 165°F internal temperature with an instant-read thermometer.
- What if I don’t have ingredient X?
- Out of panko? Crush crackers or cornflakes. No food processor? Finely chop the chicken by hand. I love pantry swaps that keep dinner on track.
How I Like to Serve It
I love serving these nuggets with crisp celery and carrot sticks and a bowl of honey-mustard for dunking. They work for weeknight dinners, park picnics, or potlucks—grab a napkin and a cold soda. In colder months, I pair them with mashed potatoes and green beans; in summer, they shine with corn on the cob and a crisp salad.
Notes
- Store leftover nuggets in an airtight container in the fridge up to 3 days. Reheat in a 375°F oven for 8–10 minutes to restore crispness.
- Chicken safe cooking temperature: 165°F. Use an instant-read thermometer for confidence.
Final Thoughts
Closing: Go make these, and tell someone you made nuggets from scratch—watch their impressed faces. Now go impress someone — or just yourself — with your homemade masterpiece!

Hi, I’m Lina, the creator of Lina Easy Recipes.Cooking has always been my passion, and I love sharing simple, homemade dishes that anyone can prepare.
Love What You See?
Join me on Pinterest and Facebook for daily cooking inspiration, new recipe ideas, and behind-the-scenes kitchen stories. Let’s cook something wonderful together!


