My mom used to make a big skillet full of whatever was left in the pantry on school nights, and this canned chicken and rice skillet feels exactly like that warm, forgiving hug. I remember the steam fogging up the kitchen window and the aroma of garlic and butter that somehow made everything taste like Sunday even on a Wednesday. I recreate that exact cozy, simple magic with this recipe—comforting, colorful, and fast enough for weeknights when the fridge looks a little lonely. Keep a can opener handy and a good skillet on the stove; you’re about to make a one-pan dinner that smells like home and eats like a small celebration.
Quick Facts
Yield: Serves 4
Prep Time:10 minutes
Cook Time:25 minutes
Total Time:35 minutes
Why This Recipe is Awesome
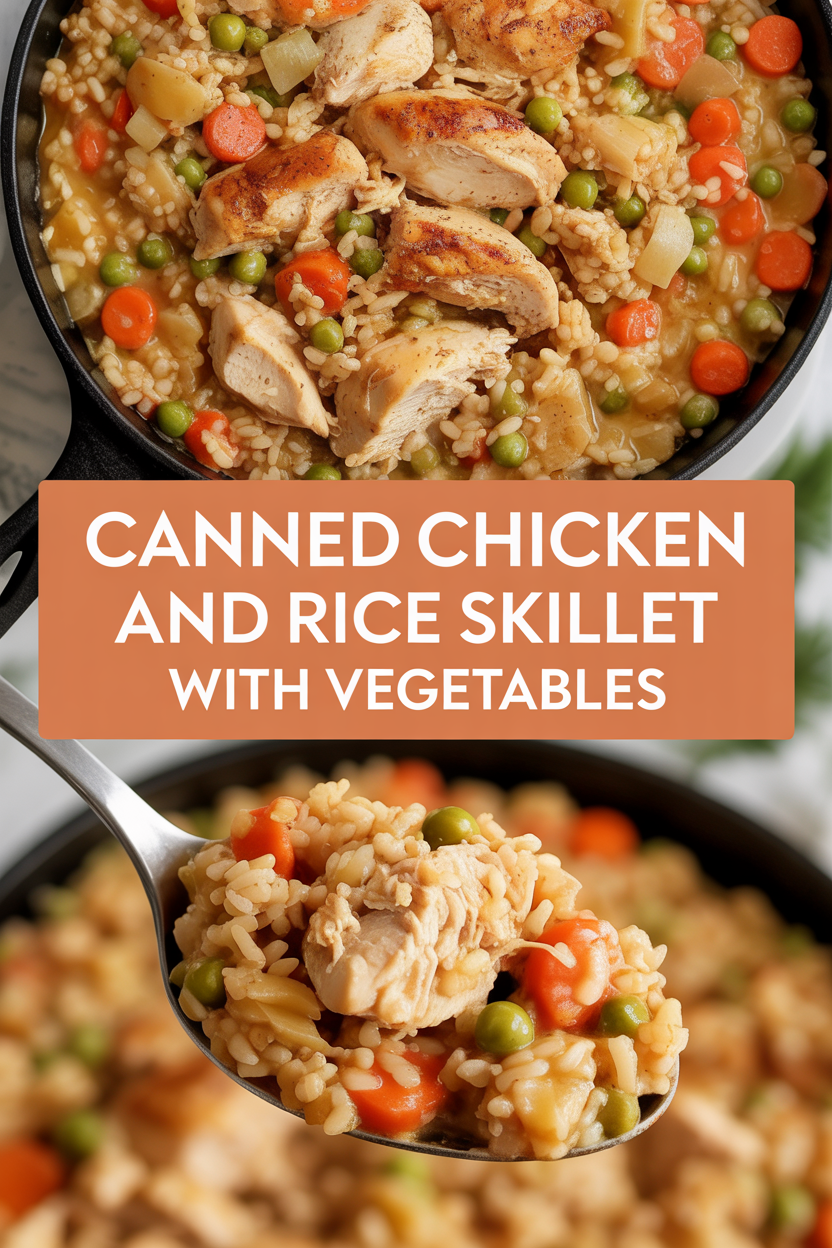
This dish hits the trifecta: fast, frugal, and full of flavor. The crispy edges of rice, the tender bites of **canned chicken**, and bright pops of vegetables create a satisfying texture party. It smells buttery and garlicky while it cooks, and it magically turns pantry staples into something that feels homemade and slightly decadent. It’s so forgiving even your oven can’t mess it up—and who doesn’t love a one-pan cleanup?
Ingredients
For the Main Dish:
1 cup long‑grain white rice, rinsed
2 cups low‑sodium chicken broth
2 (12.5 oz) cans canned chicken, drained
1 small yellow onion, finely chopped (about 1 cup)
1 medium bell pepper, diced (any color)
2 garlic cloves, minced
1 cup frozen peas and carrots (or 1 cup fresh diced carrots + 1/2 cup peas)
2 tbsp butter (or use olive oil for dairy‑free)
1 tbsp olive oil
1 tsp smoked paprika
1/2 tsp dried thyme
Salt and black pepper to taste (start with 3/4 tsp salt)
2 tbsp chopped fresh parsley (optional garnish)
1 tsp lemon zest (optional brightener)
For the Sauce / Garnish (if applicable):
2 tbsp plain Greek yogurt or sour cream (optional creaminess)
Extra lemon wedges for serving
How I Make It
Step 1:
Heat a 10–12 inch skillet over medium-high heat until it shimmers. Add 1 tbsp olive oil and 1 tbsp butter, then toss in the chopped onion and diced bell pepper. Sauté for about 3–4 minutes until the onion turns translucent and you smell that sweet, caramelized scent. I love that soft sizzle sound right at the start—don’t walk away.
Step 2:
Add the garlic, smoked paprika, and thyme. Stir for about 30 seconds until fragrant—your kitchen will smell like someone dialed the cozy meter up to eleven. Toss in the rinsed rice and stir it around the pan so every grain gets coated with butter and spices; this step gives the rice a nutty aroma and helps develop a little toasty flavor.
Step 3:
Pour in the 2 cups chicken broth and bring the skillet to a gentle boil. Reduce heat to a simmer, cover, and cook for 18–20 minutes until the rice looks plump and the liquid nearly absorbs. You’ll see steam puffing out and hear a gentle whispering simmer—those are your cues. Avoid lifting the lid too often; let the rice do its thing.
Step 4:
Remove the lid and scatter the frozen peas and carrots over the top, then fold in the drained canned chicken. Add the remaining 1 tbsp butter, lemon zest, and a few grinds of black pepper. Cook uncovered for another 2–3 minutes until the peas heat through and the edges of the rice get a little crisp and golden. Taste and adjust salt—if your broth was low-sodium, you’ll likely add another pinch.
Step 5:
Turn off the heat and let the skillet rest for 5 minutes. The rice relaxes, flavors marry, and steam finishes the cooking. Stir in chopped parsley and a dollop of Greek yogurt if you like it creamy. Serve hot with a squeeze of lemon. The first forkful should be warm, buttery, and comforting—exactly what weeknights need.
Pro Tips
Use a heavy-bottomed skillet to prevent hot spots and scorched rice; cast iron or stainless work great.
If you only have cooked rice, skip the broth step and sauté veggies, then stir in 3 cups cooked rice and canned chicken until heated through—finish under the broiler for crispiness.
For extra flavor, swap 1/2 cup broth for 1/2 cup white wine when deglazing the rice at Step 2, then let it reduce before adding the rest of the broth.
Warm the canned chicken briefly in the microwave if your fridge is cold; cold chunks can cool the rice down too much when added.
Common Mistakes to Avoid
Skipping preheating: Classic rookie move. It changes texture and bake time.
Overmixing: Leads to dense or chewy results. Mix until just combined.
Guessing cook time: Always use visual cues or a timer, not just vibes.
Overcrowding pans: Give your food some breathing room to crisp properly.
Alternatives & Substitutions
Chicken ↔ Tofu: Use 12 oz extra-firm tofu, pressed and cubed, for a vegetarian version—pan-fry first for texture.
Broth swap: Vegetable broth works fine; mushroom broth adds umami.
Butter ↔ Olive oil: Use olive oil for dairy-free; reduce amount to 1½ tbsp if swapping to oil.
Gluten-free: This recipe already qualifies if you use gluten-free broth and check canned chicken labels.
Variations & Tips
Spicy: Add 1/2 tsp crushed red pepper flakes or a dash of hot sauce when you add the garlic.
Kid-friendly: Omit pepper and paprika; stir in a handful of shredded cheddar at the end.
Mediterranean twist: Swap peas for artichoke hearts and olives; stir in 1 tsp dried oregano and finish with feta.
One-pot comfort: Add 1/2 cup corn and 1/2 cup black beans for a heartier, Tex-Mex-style skillet.
Creamy version: Stir in 1/4 cup cream cheese or 2 tbsp Greek yogurt for a silky finish.
Herb-forward: Swap parsley for basil and add a splash of balsamic for brightness.
FAQ (Frequently Asked Questions)
Can I make this ahead of time?
Yes! Cook the dish through Step 4, cool quickly, and store in an airtight container in the fridge for up to 3 days. Reheat gently on the stovetop with a splash of broth to revive the rice. For best texture, add fresh parsley and lemon after reheating.
Can I double the recipe?
Sure thing. Use a large, deep skillet or a 12‑inch sauté pan. You may need to increase the simmer time by a few minutes if the pan gets crowded; check the rice for doneness and add 2–3 tbsp more broth if it looks dry.
Can I substitute butter with oil?
Technically yes, but you’ll miss that buttery magic. Use ¾ the amount of oil (so about 1½ tbsp) if swapping to olive oil.
How do I know it’s done?
Look for plump rice grains and mostly absorbed liquid. The top rice should look tender and the pan will release steam steadily. A few golden, crisp edges give a delightful texture—test a grain; it should be tender with a tiny bite.
What if I don’t have ingredient X?
If you don’t have bell pepper, use extra carrots or a small zucchini. No peas? Toss in frozen corn or green beans. No canned chicken? Use 1 lb cooked shredded rotisserie chicken or 12 oz tofu for a swap.
How I Like to Serve It
I serve this skillet straight from the pan at the table—there’s something homey about everyone scooping from the same dish. Pair it with a crisp green salad and a chilled glass of white wine for a weeknight treat, or bring it to a potluck and watch it disappear. It works for lunchboxes, too; pack with extra lemon wedges to brighten leftovers.
Notes
Store leftovers in an airtight container for up to 3 days. Reheat on the stovetop with a splash of broth for best texture.
Safe internal temp for reheated chicken: bring to 165°F for food safety.
Final Thoughts
Closing: Give your pantry a second life and your weeknights a hug—now go impress someone (or just yourself) with this cozy, colorful skillet!
Hi, I’m Lina, the creator of Lina Easy Recipes.Cooking has always been my passion, and I love sharing simple, homemade dishes that anyone can prepare.
Spread the love
Love What You See?
Join me on Pinterest and Facebook for daily cooking inspiration, new recipe ideas, and behind-the-scenes kitchen stories. Let’s cook something wonderful together!