
Okay, picture this: you want dessert that tastes like a fall fair and looks like you put in way more effort than you actually did — but you refuse to follow a recipe that demands kneading, tempering, or artisanal soufflé-level finesse. These Caramel Apple Dessert Cups are your new convenience-store-freeway-to-impress move.
Why This Recipe Is Awesome
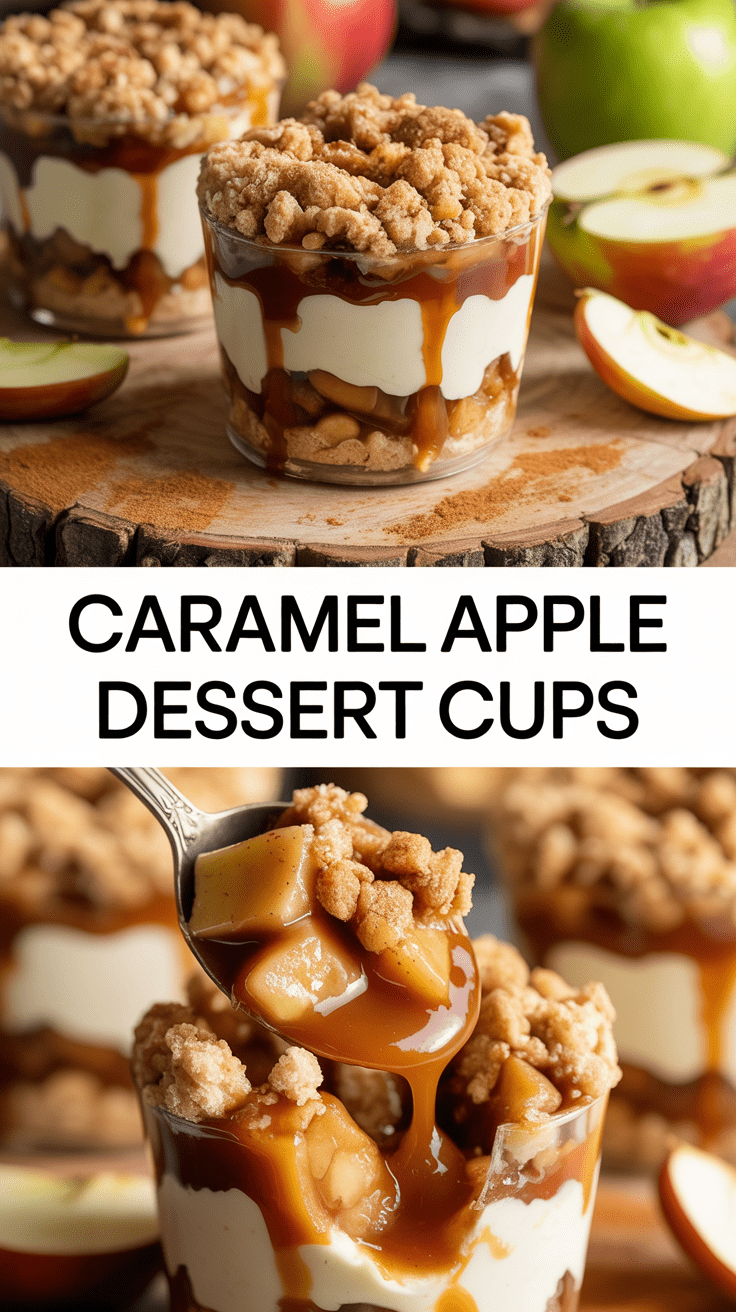
This recipe works because it cheats elegantly: pre-made dough or biscuit dough becomes a neat little cup, apples get gently spiced and slightly caramelized so they’re soft but not mush, and a little salty caramel ties everything together like a tiny flavor hug. It’s all about texture contrast — crisp-ish edges, tender fruit, sticky-silky caramel, and a crunchy topping if you’re feeling dramatic. You get the cozy nostalgia of caramel apples without wrestling with sticks, sticky hands, or a deep fryer. Also, the portion control is built-in, which makes it perfect for parties where you want to hand people something impressive and not a commitment.
Ingredients You’ll Need
- 4 medium apples (Granny Smith or Honeycrisp are great) — tart holds up best
- 1 tablespoon lemon juice — keeps the apples from turning into sad brown blobs
- 2 tablespoons unsalted butter — for sautéing and flavor
- 1/4 cup brown sugar, packed — adds that deep caramel flavor
- 1 teaspoon ground cinnamon — essential cozy spice
- 1/4 teaspoon ground nutmeg (optional) — small but fancy
- 1 teaspoon vanilla extract — cuts the rawness and glues flavors together
- 1 sheet refrigerated pie crust or 8 refrigerated biscuit dough — convenient structural support
- Caramel sauce: 1 cup store-bought or homemade (see notes) — don’t skimp
- 1/4 cup heavy cream (if making caramel or to thin sauce) — silky finish
- Pinch of flaky sea salt — contrast is everything
- Optional toppings: chopped toasted pecans or walnuts, whipped cream, a drizzle of chocolate
Step-by-Step Instructions
-
Step 1
Preheat your oven to 375°F (190°C). Core and dice apples into roughly 1/2-inch pieces, toss with lemon juice, then sauté in butter in a skillet over medium heat until they start to soften, about 5–7 minutes; add brown sugar, cinnamon, nutmeg, and vanilla and cook 1–2 more minutes until glossy and lightly caramelized. While the apples cool slightly, press rounds of pie crust or flattened biscuits into a greased muffin tin to form cups; par-bake the shells for 8–10 minutes until just set and lightly golden.
-
Step 2
Fill each prebaked cup with the warm apple mixture, drizzle with caramel sauce, and bake another 6–8 minutes to meld flavors — don’t overbake or the apples will go sad and soggy. Finish with a sprinkle of flaky sea salt and chopped nuts or whipped cream if you like; serve warm or at room temperature. If using homemade caramel, gently warm it with a splash of cream to reach a drizzle-friendly consistency before topping.
Common Mistakes to Avoid
Overfilling the cups so they explode in the oven (yes, it’s messy and slightly tragic) — leave a little room for the apples to relax. Skipping the par-bake: raw dough plus wet apples equals a soggy bottom nightmare. Using apples that are too soft (like store-bought mushy ones) will yield a compote rather than nice chunks — choose apples that snap. Pouring cold caramel straight from the fridge will seize and clump; warm it gently so it behaves.
Alternatives & Substitutions
Crust options: use graham cracker crumbs mixed with melted butter pressed into the cups for a crunchy, no-roll alternative — I’ll never tell if you do that. If you prefer to skip pre-made dough, make a quick oat crumble with oats, butter, and brown sugar and press it in — rustic and tasty. Swap pecans for sliced almonds or leave the nuts off for a nut-free version. Short on caramel? Warm dulce de leche or a thick honey-maple drizzle works in a pinch; each gives a different but still-delicious vibe. Dairy-free? Use vegan butter and coconut cream to keep the richness without dairy.
FAQ
Question 1?
Can I use store-bought caramel? Absolutely. The store-bought stuff is perfectly fine and saves time. Heat it gently with a splash of cream or milk to loosen it up so it drizzles instead of pooling like a stubborn blob.
Question 2?
How do I keep the apples from getting mushy? Start with firmer varieties and don’t overcook them in the skillet — you want tender-crisp pieces. Also, par-baking the shells and finishing the bake briefly keeps the whole thing intact instead of turning it into apple pudding.
Question 3?
Can I make these ahead of time? Yes. You can prep the apple filling up to two days ahead and refrigerate; rewarm gently before filling the cups. Assembling and finishing them right before serving is ideal, but you can also bake the filled cups and reheat at 300°F (150°C) for 8–10 minutes when guests arrive.
Final Thoughts
These dessert cups are the kind of dish that makes you look thoughtful without requiring patience, precision, or a degree in pastry arts. They’re forgiving, flexible, and play well with whatever your pantry offers — apples and caramel basically have one job and they nail it. Bring them to a gathering, serve them for an easy dinner finale, or make a batch for serious Sunday snacking; either way, you’ll get compliments and zero sticky-finger drama. Try one tweak at a time, taste as you go, and most importantly, have fun with it — food tastes better when you’re not sweating over it.

Hi, I’m Lina, the creator of Lina Easy Recipes.Cooking has always been my passion, and I love sharing simple, homemade dishes that anyone can prepare.
Love What You See?
Join me on Pinterest and Facebook for daily cooking inspiration, new recipe ideas, and behind-the-scenes kitchen stories. Let’s cook something wonderful together!


