
I promise this won’t require a university-level cake chemistry experiment: think sticky, silky caramel meets tangy cream cheese in a dense, buttery pound cake that makes your oven look like it did something impressive. If you enjoy dessert that feels fancy but doesn’t demand a PhD in piping, keep reading like you’re eavesdropping on a genius shortcut.
Why This Recipe Is Awesome
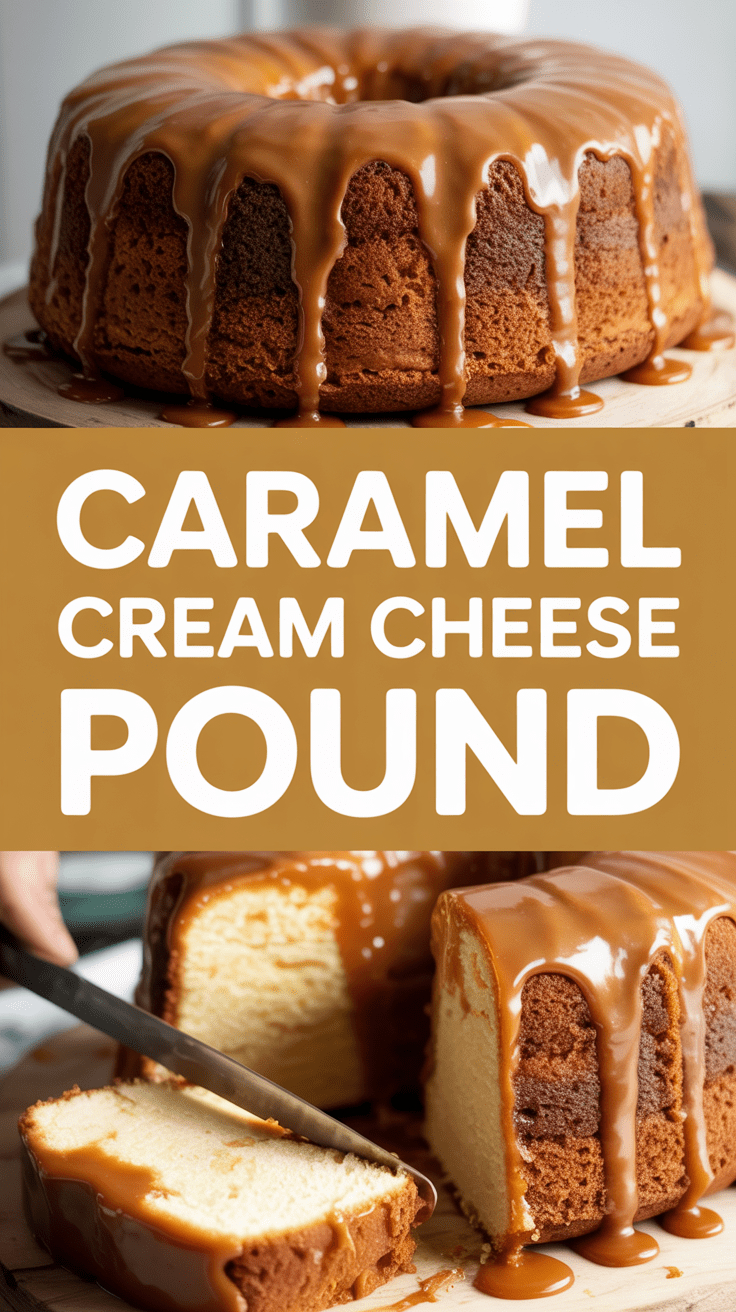
This recipe balances two heroes: a custardy cream cheese swirl and a caramel ribbon that stays soft instead of turning into a hockey puck. The pound cake base is old-school — lots of butter, eggs, and affection — which keeps it dense and sliceable, perfect for people who hate crumbs and love leftovers. The methods are deliberately forgiving: no tempering eggs, no obscure equipment, and precise-ish times so you can check your phone without frying the loaf. Trust me, the flavor payoff is way higher than the effort required.
Ingredients You’ll Need
- 2 cups (240 g) all-purpose flour — the stable backbone.
- 1 1/4 teaspoons baking powder — not much, just enough to stop it from being a brick.
- 1/2 teaspoon fine sea salt — balances the sweetness.
- 1 cup (225 g) unsalted butter, room temperature — don’t skip bringing it to room temp.
- 1 1/2 cups (300 g) granulated sugar — classic pound cake sweetness.
- 4 large eggs, room temperature — they make it tender and structured.
- 1/2 cup (120 ml) whole milk — for silkiness; sub options later.
- 1 1/2 teaspoons vanilla extract — the invisible magic.
- 8 ounces (225 g) cream cheese, softened — the tangy swirl.
- 1/3 cup (65 g) brown sugar, packed — for the cream cheese filling.
- 1 teaspoon lemon zest — wakes up the filling (optional but recommended).
- 1 cup (200 g) caramel sauce, store-bought or homemade — see optional caramel note below.
- Pinch of kosher salt for the caramel drizzle — enhances complexity.
Step-by-Step Instructions
-
Step 1
Preheat your oven to 325°F (165°C) and grease a 9×5-inch loaf pan, then line it with parchment so you can yank the cake out like it owes you money. Cream the butter and granulated sugar until light and fluffy — about 3 to 4 minutes with a stand mixer or a bit longer by hand; you want it aerated but not cloudlike. Beat in eggs one at a time, scraping the bowl between additions so everything emulsifies; stir in vanilla. In a separate bowl, whisk flour, baking powder, and salt. Add the dry mix to the butter mixture in three parts, alternating with the milk, starting and ending with flour; mix just until combined. Overmixing is the quickest route to disappointment.
-
Step 2
Make the filling by beating the softened cream cheese with brown sugar and lemon zest until smooth. Pour half the batter into the prepared pan, dollop and spread half the cream cheese mixture, then spoon half the caramel on top. Swirl gently with a butter knife — don’t go wild; subtlety is the goal. Layer the remaining batter, cream cheese, and caramel, and finish with a few shallow swirls so every slice gets a ribbon. Bake for 60–75 minutes until the center is set and a toothpick comes out with a few moist crumbs, not raw batter. Cool in the pan 15 minutes, then remove and cool completely before slicing. If you want that glossy finish, warm extra caramel, stir in a pinch of salt, and drizzle over the cooled loaf.
Common Mistakes to Avoid
Undermixing the butter and sugar gives you a dense, heavy loaf — a little fluff at this stage goes a long way. Overmixing after adding flour? Dry, chewy texture. Not softening the cream cheese makes gritty pockets; plan ahead and set it on the counter. Trying to slice the loaf while it’s hot is a rookie move; wait until it cools, or you’ll have a beautiful disaster that slides off the knife.
Alternatives & Substitutions
No whole milk? Use buttermilk or yogurt thinned with a splash of milk for tang and tenderness — I prefer buttermilk if you like a slightly brighter crumb. Don’t have unsalted butter? Use salted but drop the extra salt in the batter. Want a less sweet version? Cut granulated sugar by 20% and use a saltier caramel to keep contrasts. Swap store-bought caramel for dulce de leche — same vibe, easier life. For a gluten-free version, use a 1:1 gluten-free flour blend and expect a slightly different crumb but still delicious.
FAQ
Question 1?
Can I make this ahead? Absolutely. The loaf actually slices better after a day or two because the flavors settle and the caramel integrates. Store wrapped in the fridge for up to 4 days or freeze individual slices for quick treats.
Question 2?
What if my caramel is too runny or too firm? If runny, warm it gently and let it cool slightly before swirling — too hot and it’ll sink. If too firm, microwave in short bursts and stir until pourable. You can always reduce a runny caramel on the stove to thicken it, or fold in a little heavy cream to loosen an overly stiff caramel.
Question 3?
Can I make cupcakes instead of a loaf? Yes. Bake at 350°F (175°C) for 18–22 minutes, check early. They’ll bake faster and the cream cheese pockets will be a little more pronounced. Keep an eye on caramel migration — use less caramel per cup to avoid sinkholes.
Final Thoughts
This is the kind of dessert that makes people pause mid-conversation and say something dramatic like “Who made this?” without realizing the compliment it is. It’s forgiving, showy, and genuinely better on day two — the dream trifecta. If you’re into swapping flavors, try a pinch of espresso in the batter or toasted pecans folded into the caramel for crunch. Now go make the kitchen smell like someone who knows what they’re doing; you’ve earned it.

Hi, I’m Lina, the creator of Lina Easy Recipes.Cooking has always been my passion, and I love sharing simple, homemade dishes that anyone can prepare.
Love What You See?
Join me on Pinterest and Facebook for daily cooking inspiration, new recipe ideas, and behind-the-scenes kitchen stories. Let’s cook something wonderful together!


