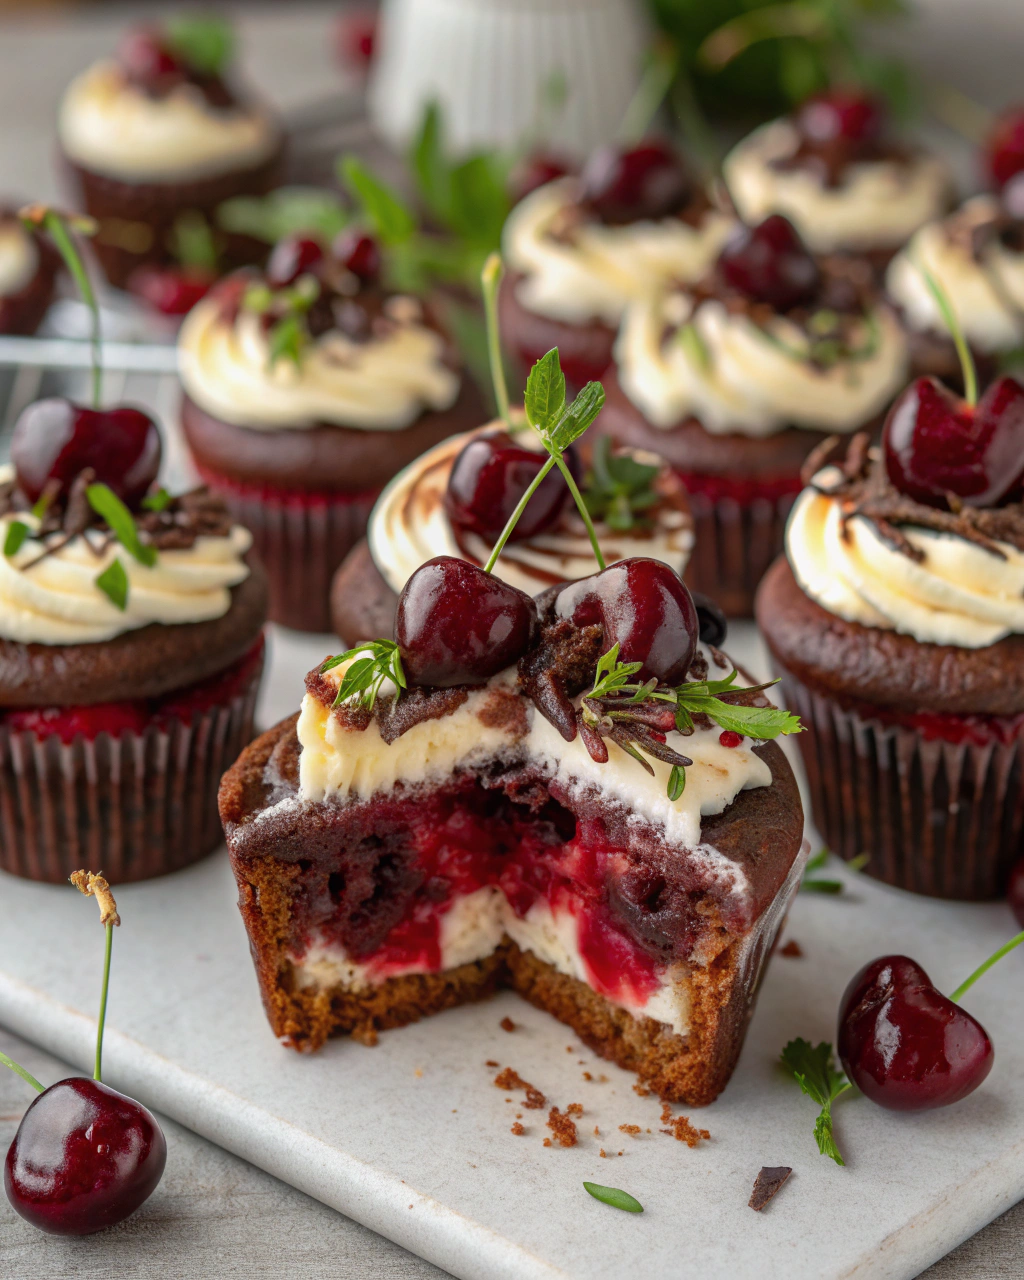
Cherry Pie Bars
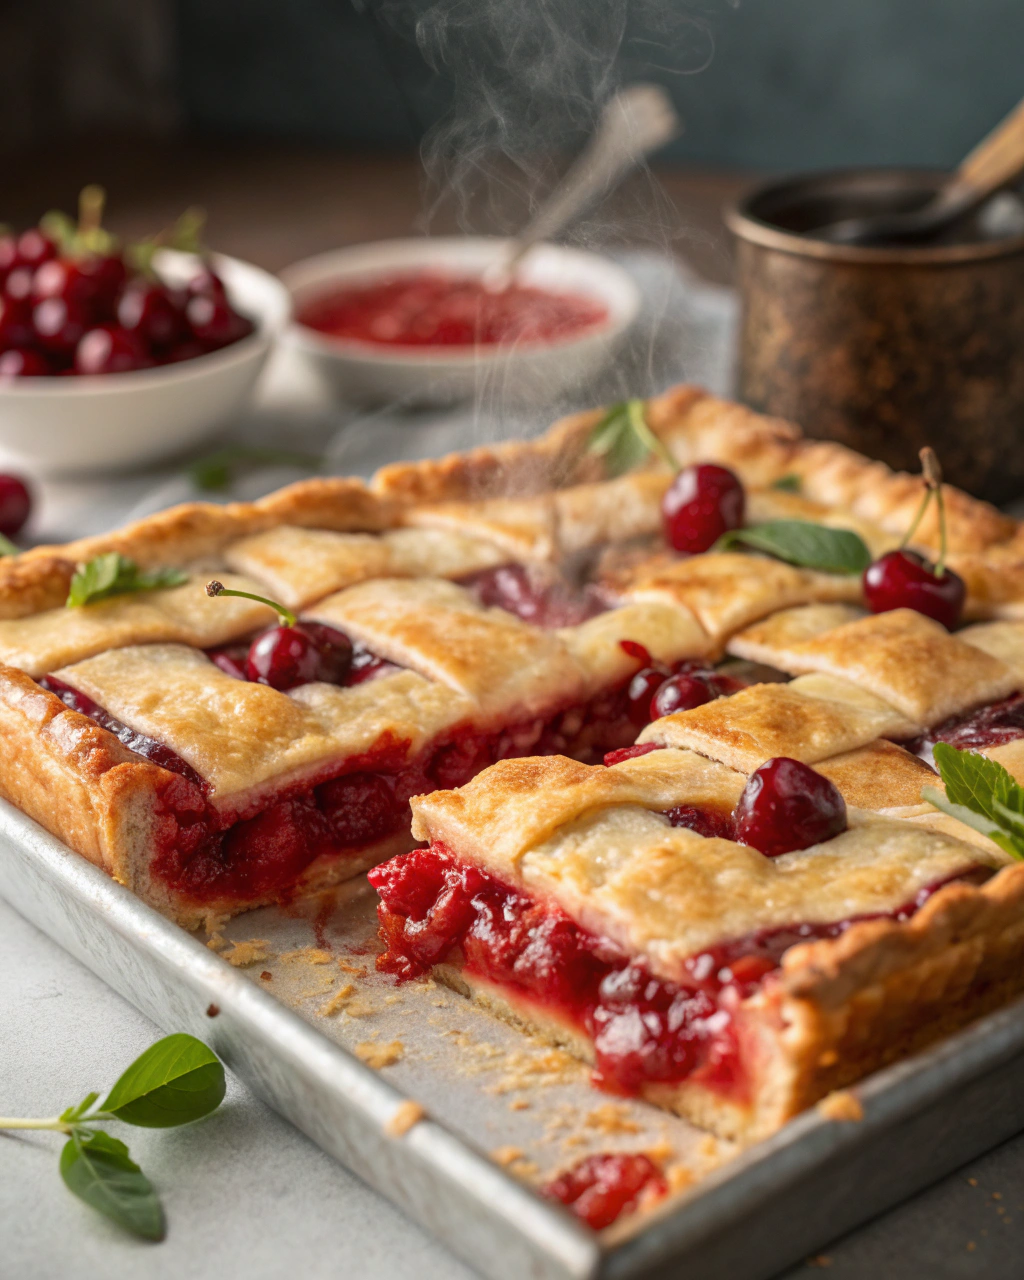
Okay, imagine this: it’s a lazy Saturday afternoon, and the smell of sweet, buttery crust and warm cherries baking in the oven fills the whole house. That’s the magic of cherry pie bars—they have all the nostalgic charm of a homemade cherry pie but without the fuss of rolling out dough and worrying about a perfect lattice top. The best part? They’re chewy, jammy, and just the right balance of tart and sweet in every bite. I’m telling you, once you try these, they’ll become your go-to treat for whenever you crave that classic cherry pie flavor but want something simpler and more portable. Plus, bars are just perfect for sharing (or not—no judgment if you keep them all to yourself!).
Quick Facts
- Yield: Serves 9–12
- Prep Time: 20 minutes
- Cook Time: 35 minutes
- Total Time: 55 minutes
Ingredients
For the Main Dish:
- 1 cup (2 sticks) unsalted butter, softened
- 1 cup granulated sugar
- 1/2 cup brown sugar, packed
- 2 large eggs
- 1 tsp vanilla extract
- 2 1/2 cups all-purpose flour
- 1 tsp baking powder
- 1/4 tsp salt
- 1 (21-ounce) can cherry pie filling
- Optional: 1/2 tsp almond extract (for extra cherry-y depth)
How I Make It
Step 1:
First, let’s cream together the softened butter, granulated sugar, and brown sugar until fluffy and pale—about 3 minutes with a mixer. This is where the texture magic begins, giving the crust that tender, melt-in-your-mouth quality.
Step 2:
Next, add in the eggs, one at a time, beating well after each. Stir in the vanilla (and almond extract if you’re feeling fancy). Your batter will be soft but not runny.
Step 3:
In a separate bowl, whisk together the flour, baking powder, and salt. Gradually add this dry mix to your wet ingredients, stirring just until combined. Overmixing can toughen your bars, so be gentle here!
Step 4:
Press about two-thirds of the dough evenly into a greased 9×13-inch baking pan. You want to create a sturdy bottom crust for those lovely cherry filling layers.
Step 5:
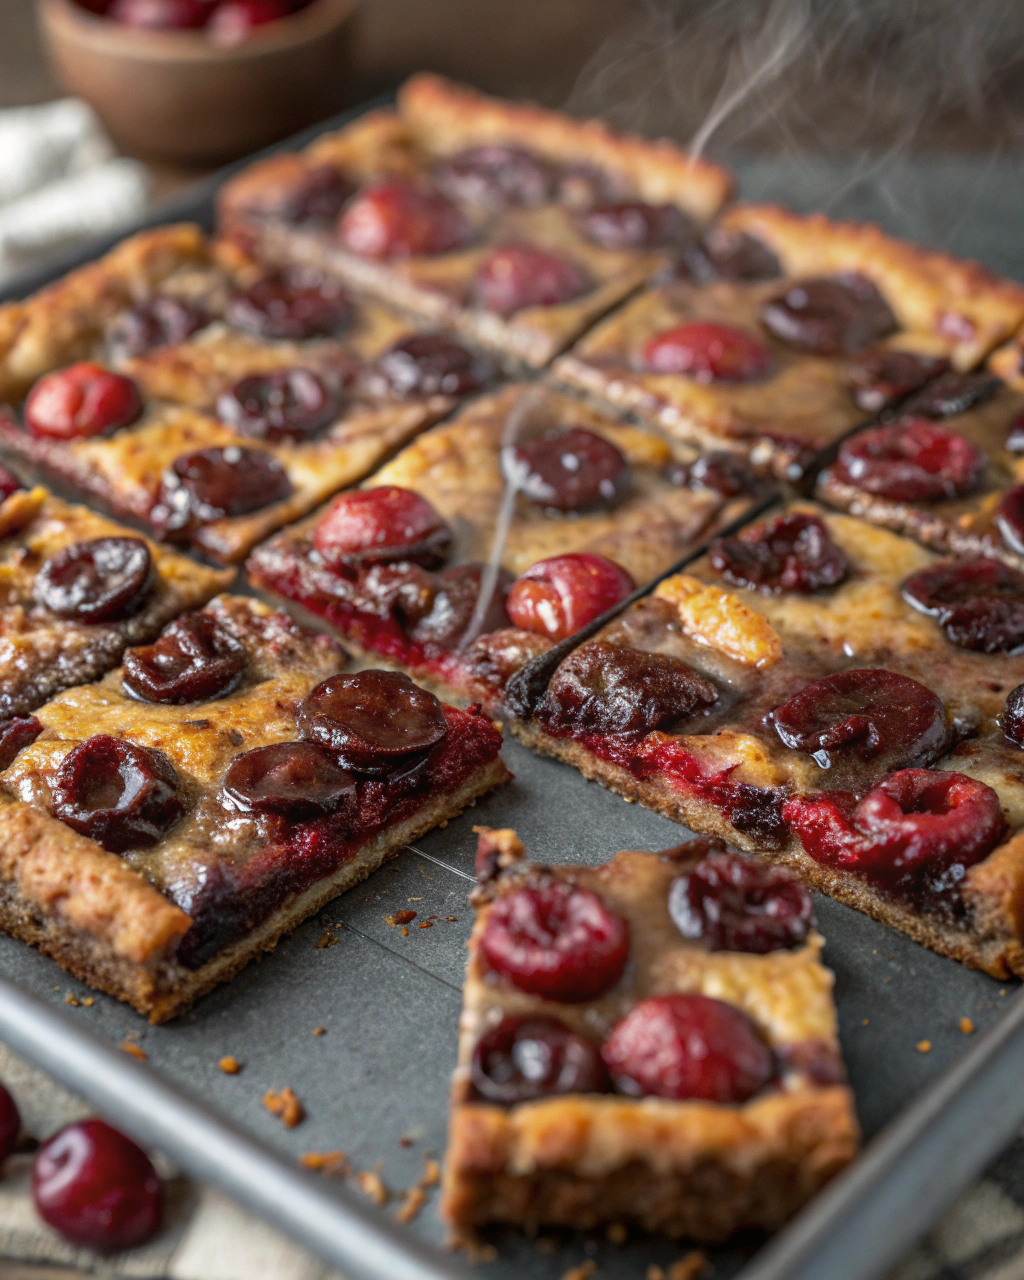
Spread the entire can of cherry pie filling evenly over the crust. You’ll see those glossy, bright red cherries just begging to be tasted.
Step 6:
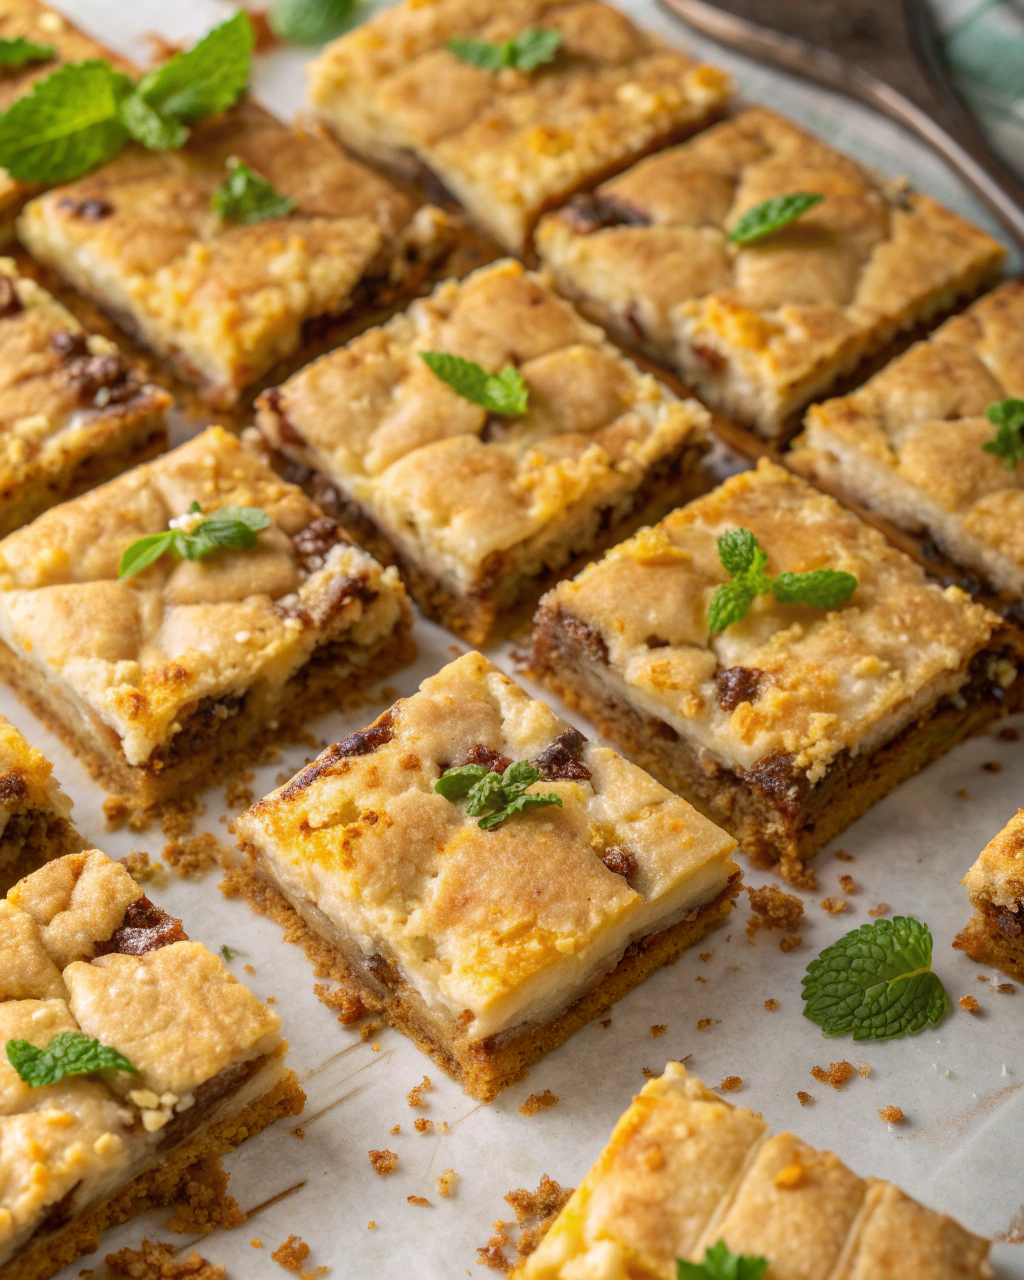
Crumble the remaining dough over the cherry layer. It doesn’t have to be perfect; the rustic crumbly topping is what makes these bars so charming. Bake at 350°F for 30–35 minutes, or until the topping is golden and the cherry filling is bubbling around the edges. Let cool before slicing.
Variations & Tips
- Swap the cherry pie filling for blueberry, apple, or mixed berry for fruity fun all year round.
- Add chopped nuts (walnuts or pecans) to the crumb topping for extra crunch.
- If you want a more pronounced almond flavor, increase almond extract to 1 tsp.
- Line your pan with parchment paper to make lifting bars out easier for clean edges.
- Use fresh or frozen cherries cooked down with sugar and lemon juice if you prefer a homemade filling.
How I Like to Serve It
These cherry pie bars are perfect warm from the oven with a scoop of vanilla ice cream on top—that cool creaminess against the warm, juicy cherries is divine. They’re also great for potlucks or picnics because they travel easily without losing their charm. During the holidays, sprinkle a little powdered sugar over the top for a festive touch and serve alongside a cup of hot coffee or cider.
Notes
- Store bars tightly covered at room temperature for up to 3 days or refrigerate up to a week.
- Reheat slices gently in the microwave for about 20 seconds to enjoy that fresh-baked warmth.
Closing: This recipe is one of those comforting classics that always hits the spot—simple, sweet, and endlessly satisfying.

Hi, I’m Lina, the creator of Lina Easy Recipes.Cooking has always been my passion, and I love sharing simple, homemade dishes that anyone can prepare.
Love What You See?
Join me on Pinterest and Facebook for daily cooking inspiration, new recipe ideas, and behind-the-scenes kitchen stories. Let’s cook something wonderful together!

