
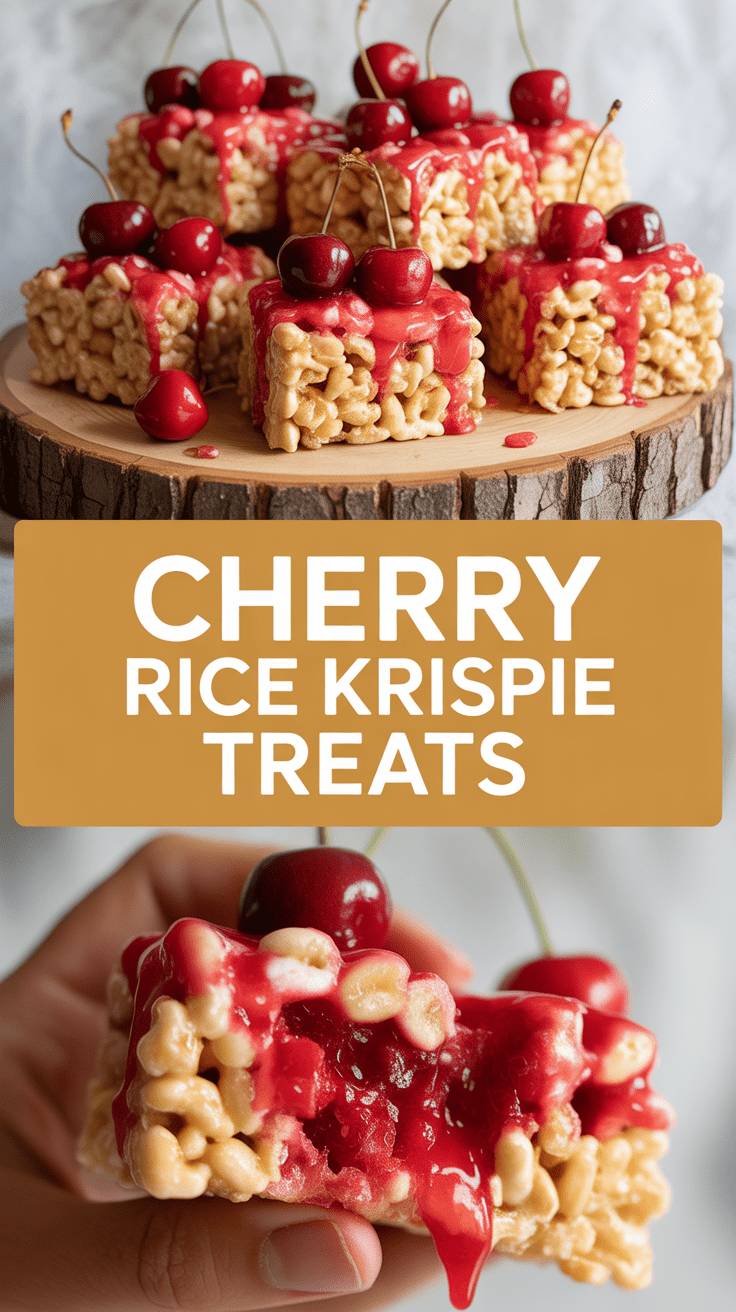
Imagine Rice Krispie treats took a vacation to a roadside cherry stand, came back slightly fancy, and refused to be boring—this is that dessert. No measuring heroics, no ingredient acrobatics, just gooey marshmallows, crispy cereal, and a hit of bright cherry that makes plain snacks look jealous.
Why This Recipe Is Awesome
This works because it’s basically the original Rice Krispie formula with a tiny mood shift—cherries add acid and chew, which the marshmallow-butter combo loves. The marshmallows glue everything together; the cereal gives structure; the cherries give interest and a reason to serve seconds. It’s fast, forgiving, and travels well, which means you can bring it to every potluck and pretend you cared about presentation.
Ingredients You’ll Need
- 6 tablespoons unsalted butter (you can use salted if you’re lazy; cut salt later)
- 10 ounces mini marshmallows or about 40 regular ones (mini melt faster)
- 6 cups Rice Krispies cereal (yes, 6 cups — you want a sturdy bar)
- 1 cup chopped dried cherries or 3/4 cup cherry pie filling drained of excess syrup (dried gives chew; pie filling gives jammy pockets)
- 1 teaspoon vanilla extract (optional, but don’t skip if you like depth)
- Pinch of salt to balance the sugar
- 4 ounces white chocolate or candy melts for drizzling (optional but recommended)
- Nonstick spray or a sheet of parchment for the pan
- Optional: 1/2 teaspoon almond extract for a maraschino-ish note
Step-by-Step Instructions
-
Step 1
Melt the butter in a large, heavy-bottomed saucepan over low heat, then dump in the marshmallows and stir until silky smooth—keep heat low so they don’t scorch. Stir in the vanilla and salt, then immediately fold in the Rice Krispies and chopped dried cherries (or drained pie filling chunks) until everything is evenly coated. Work quickly: marshmallow smell = workable, marshmallow setting = hurry up.
-
Step 2
Press the mixture into a parchment-lined 9×13-inch pan using a sheet of wax paper or a lightly greased spatula to press without squishing out all the air. Let cool for at least 30 minutes, then melt the white chocolate and drizzle it across the top; refrigerate briefly if you like crisp drizzle. Cut into squares and store in an airtight container at room temp for up to 2 days, or in the fridge if you used pie filling and want them firmer.
Common Mistakes to Avoid
Overcooking marshmallows until they’re hard to stir is the cardinal sin—turn the heat down, not up. Adding wet cherry pie filling without draining makes soggy bars, so either use dried cherries or pat pie filling dry. Pressing too hard to make ‘perfect’ bars compresses all the air out and makes them dense; press just enough to compact, not to armor plate. And if you skip the salt, don’t act surprised when everything tastes like sugary wallpaper.
Alternatives & Substitutions
If you’re into shortcuts, stir in 1/2 cup cherry jam instead of chunks for a marbled effect—just reduce any added liquid elsewhere and expect stickier bars. Swap butter for coconut oil for a subtly tropical edge; it melts cleaner and is fine if you want a dairy-free-ish version (use dairy-free marshmallows). Use a mix of regular and cocoa-flavored cereal for a chocolate-cherry vibe, or fold in chopped toasted almonds for crunch. White chocolate is classic, but dark chocolate lovers can melt 3 ounces of dark chocolate for a richer finish—my personal favorite when cherries are involved.
FAQ
Question 1?
Can I use fresh cherries? You can, but fresh cherries have a lot of water and will make the treats limp unless you pit and dry them very well first. If you love fresh fruit, toss them in a hot pan to reduce moisture or use them as a fresh topping right before serving.
Question 2?
How do I keep these from sticking to my teeth like tiny glue traps? Use slightly less marshmallow than classic recipes call for (we’re already adding cherries), and chill the pan for 15–20 minutes before cutting—cool bars are less sticky. Also, a quick spray of nonstick or a smear of butter on your knife stops dragging.
Question 3?
Will these travel well? Yes. Pack them in a single layer between sheets of parchment or wax paper to avoid them sticking together, and keep them out of direct sun. If it’s hot, a small cooler works wonders; if you’re taking them to a picnic, bring the chocolate drizzle separately in a small container to reapply if it melts.
Final Thoughts
These Cherry Rice Krispie Treats are a tiny rebellion against boring snacks: minimal fuss, obvious payoff. They’re easy to tweak—more cherries, less chocolate, add nuts, skip the jam—and they forgive mistakes like a good friend forgives a late text. Make a batch, eat a few while they’re warm, and then judge anyone who says crispy and chewy can’t be sophisticated. Seriously, call me when you bring them to a party.

Hi, I’m Lina, the creator of Lina Easy Recipes.Cooking has always been my passion, and I love sharing simple, homemade dishes that anyone can prepare.
Love What You See?
Join me on Pinterest and Facebook for daily cooking inspiration, new recipe ideas, and behind-the-scenes kitchen stories. Let’s cook something wonderful together!


