
I promise you, this intro starts with a laugh: I once tried to impress dates with “fancy” chicken bites and nearly set off the smoke alarm — turns out garlic, butter, and enthusiasm make a dangerous trio. But that disaster turned into my favorite party starter. Now I make these little golden chicken bites with a garlicky herb dipping sauce whenever people come over (or when I want to treat myself). They snap when you bite them, smell like roasted garlic and bright herbs, and disappear faster than I can refill the platter. If you like crispy edges, juicy centers, and a sauce that sings, you’re in the right kitchen.
Quick Facts
- Yield: Serves 4 as a starter (about 24 bites)
- Prep Time: 20 minutes
- Cook Time: 15–18 minutes
- Total Time: 35–40 minutes
Why This Recipe is Awesome
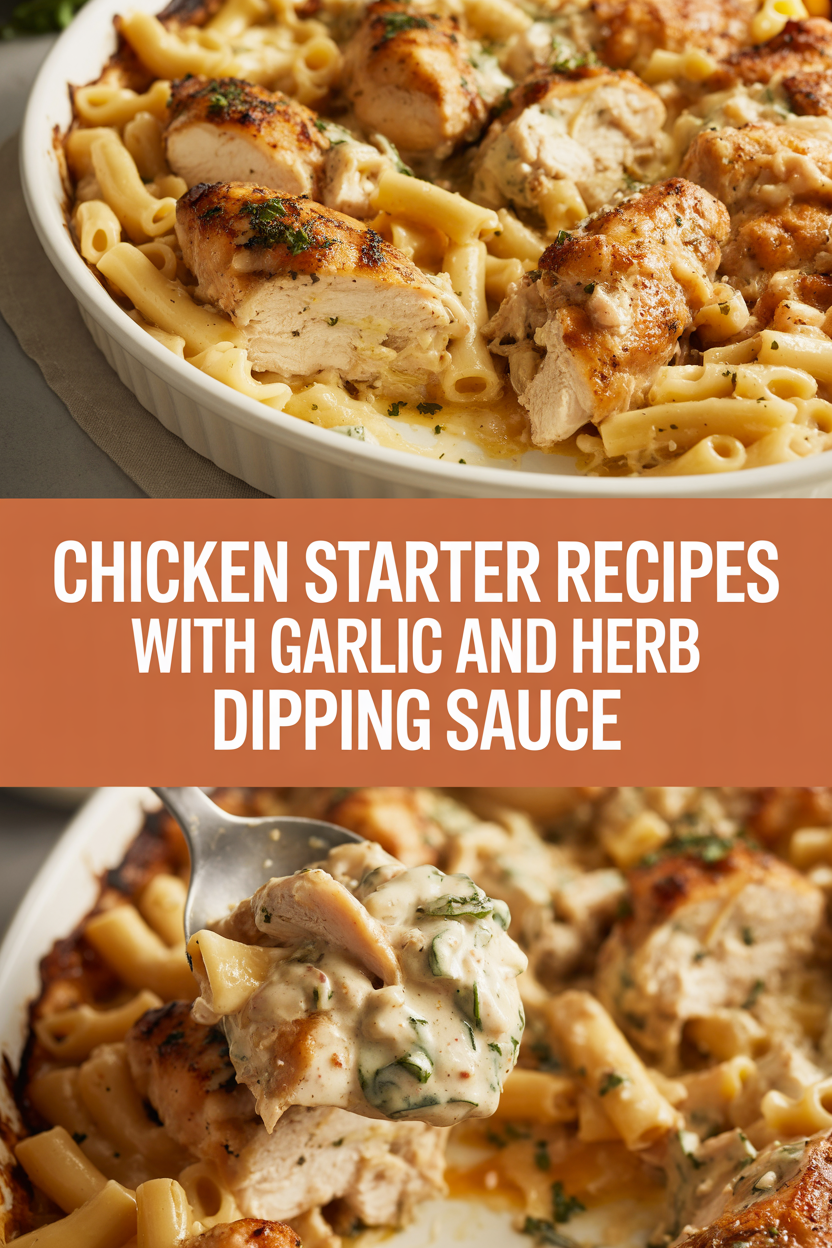
These chicken bites hit three pleasures at once: crunchy exterior, juicy interior, and a dipping sauce that’s bright and garlicky. They smell incredible while they cook — think toasted herbs and butter with a little lemon brightness — and they behave like a crowd-pleaser at potlucks, game nights, or cozy weeknight apps. It’s so easy even your oven can’t mess it up, and the texture contrast keeps people coming back for “one more.”
Ingredients
For the Main Dish:
- 1.5 pounds boneless, skinless chicken breasts or thighs, cut into 1-inch bite-size pieces
- 1 cup panko breadcrumbs (use gluten-free panko to make GF)
- 1/2 cup grated Parmesan cheese
- 1 tsp smoked paprika
- 1 tsp garlic powder
- 1/2 tsp onion powder
- 1 tsp kosher salt
- 1/2 tsp black pepper
- 2 large eggs, beaten
- 2 tbsp olive oil (for pan-frying) or cooking spray for baking
- 2 tbsp unsalted butter (optional for pan finish)
For the Sauce / Garnish (if applicable):
- 1/2 cup plain Greek yogurt or mayonnaise (for creaminess)
- 3 cloves garlic, minced (about 1 tbsp)
- 2 tbsp fresh parsley, finely chopped
- 1 tbsp fresh chives, finely chopped (or 1 tsp dried)
- 1 tbsp lemon juice
- 1/4 tsp salt, more to taste
- 2 tbsp olive oil or 1 tbsp melted butter (for richness)
- Optional: 1/4 tsp red pepper flakes for heat
How I Make It
Step 1:
I start by rinsing and patting the chicken completely dry with paper towels — the drier the surface, the crisper the crust. I toss the chicken pieces with salt, pepper, and a sprinkle of garlic powder. I set up a dredging station: one bowl for the beaten eggs and another for the panko-Parmesan mix. The panko smells lightly toasty and promises crunch.
Step 2:
I dip each piece into the eggs, then press it firmly into the panko-Parmesan mix so it clings. If you press gently, the crumb will stay put and give you that glorious crunch. Tip: don’t overcrowd the plate; give the coated pieces a moment to rest so they set up before cooking.
Step 3:
On the stovetop, I heat a large skillet over medium-high heat with 2 tbsp olive oil. When the oil shimmers, I add the chicken in a single layer — you should hear a confident sizzle. I cook until the bottoms turn deeply golden, about 2–3 minutes, then flip and repeat. If you prefer oven-finished, I preheat the oven to 425°F and bake on a greased sheet for 12–15 minutes, turning once halfway.
Step 4:
When the pieces reach an internal temperature of 165°F, I pull them off the heat. If I pan-fry, I toss in 2 tbsp butter for the last 30 seconds and spoon the melted butter over the bites so they shine and smell irresistible. The edges should look golden and crisp, and the centers should stay juicy and slightly springy.
Step 5:
While the chicken rests for a minute, I whisk together the dipping sauce: Greek yogurt, minced garlic, herbs, lemon juice, olive oil, and salt. I taste and adjust — maybe a pinch more salt or a squeeze more lemon for brightness. I plate the bites with a bowl of sauce, garnish with chopped parsley and lemon zest, and call people to the table before I eat the whole platter myself.
Pro Tips
- For extra crunch, toast the panko in a dry skillet for 3–4 minutes until lightly golden before mixing with Parmesan.
- Use a digital meat thermometer and pull chicken at 165°F for safety and juiciness.
- Make the sauce a day ahead — flavors deepen and it keeps in the fridge up to 3 days.
- If you need gluten-free, swap panko for crushed rice cereal or GF breadcrumbs; adjust salt if using pre-seasoned crumbs.
Common Mistakes to Avoid
- Skipping preheating: Classic rookie move. It changes texture and bake time.
- Overmixing: Leads to dense or chewy results. Mix until just combined.
- Guessing cook time: Always use visual cues or a timer, not just vibes.
- Overcrowding pans: Give your food some breathing room to crisp properly.
Alternatives & Substitutions
- Swap chicken for firm tofu or cauliflower florets for a vegetarian version — toss with the same seasonings and bake until crispy.
- Replace Greek yogurt with mayonnaise for a richer sauce; use a dairy-free mayo to keep it dairy-free.
- Use almond flour or crushed gluten-free crackers instead of panko for a gluten-free crust (texture will be a bit denser).
- If you don’t have fresh herbs, use 1 tsp dried Italian seasoning; fresh gives brighter flavor, dried mellows it.
Variations & Tips
- Spicy: Add 1 tsp cayenne to the panko or sprinkle red pepper flakes into the sauce.
- Kid-friendly: Leave out the pepper and serve with honey mustard instead of the herb dip.
- Garlic lovers: Mix roasted garlic into the panko and swirl roasted cloves into the sauce.
- Skewer version: Thread larger pieces on skewers and grill for a smoky twist.
- Low-carb: Use crushed pork rinds or almond flour coating and pan-sear in butter for richness.
- Creative twist: Add lemon zest to the panko for a subtle citrus kick that brightens each bite.
FAQ (Frequently Asked Questions)
- Can I make this ahead of time?
- Yes! Coat the chicken and store on a baking sheet covered in the fridge for up to 4 hours before cooking. Keep the sauce refrigerated in an airtight container for up to 3 days. Reheat gently in a 350°F oven for 6–8 minutes to restore crispness.
- Can I double the recipe?
- Sure thing. Use two pans or cook in batches so you don’t overcrowd. If baking, spread in a single layer across two sheet pans for even crisping.
- Can I substitute butter with oil?
- Technically yes, but you’ll miss that buttery magic. Use ¾ the amount of oil if swapping (so 1.5 tbsp oil for 2 tbsp butter).
- How do I know it’s done?
- Look for golden, crisp edges and an internal temperature of 165°F. The meat should feel springy, not rubbery, and juices should run clear.
- What if I don’t have ingredient X?
- Short on Parmesan? Swap in 1/4 cup nutritional yeast for a cheesy note. No fresh herbs? Use 1 tsp dried Italian seasoning — it won’t be as bright but still tasty.
How I Like to Serve It
I serve these bites on a big platter surrounded by lemon wedges, extra chopped parsley, and small bowls of the garlic-herb sauce and maybe some sweet chili for variety. They pair beautifully with a crisp white wine or cold beer at a backyard gathering. On a weeknight, I pile them over salad greens for a quick dinner — they turn party food into comfort food in seconds.
Notes
- Store leftover chicken in an airtight container in the fridge up to 3 days; reheat in a 350°F oven to keep crisp.
- Safe cooking temp for chicken: 165°F.
Final Thoughts
Closing: Now go impress someone — or just yourself — with your homemade masterpiece!

Hi, I’m Lina, the creator of Lina Easy Recipes.Cooking has always been my passion, and I love sharing simple, homemade dishes that anyone can prepare.
Love What You See?
Join me on Pinterest and Facebook for daily cooking inspiration, new recipe ideas, and behind-the-scenes kitchen stories. Let’s cook something wonderful together!


