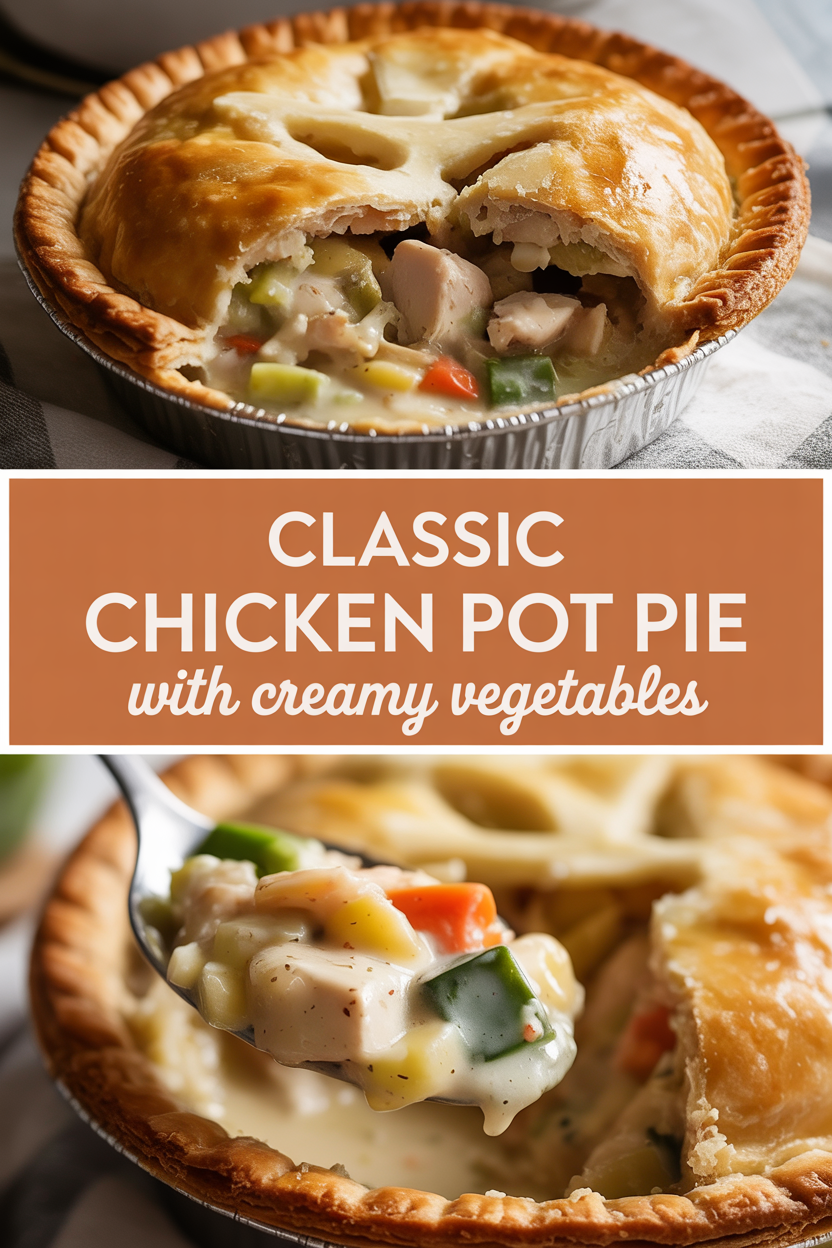
When I was a kid, my grandma used to set a steaming chicken pot pie on the kitchen table and everyone would inhale like Pavlov’s puppies — that buttery crust smell, the warm, herb-scented gravy, and the soft carrots that practically melted on your tongue. I still make this same pot pie the way she taught me: a simple, creamy vegetable filling, shredded chicken, and a flaky top crust that cracks with a satisfying sound when you slice it. It’s the kind of dish that fixes chilly nights, mends bad days, and makes the house feel like home in one buttery, savory bite.
Quick Facts
Yield: Serves 6
Prep Time:25 minutes
Cook Time:45 minutes
Total Time:70 minutes
Why This Recipe is Awesome
This chicken pot pie gives you that classic, cozy comfort without fuss. The filling stays creamy and slightly saucy while the crust crisps to a golden, flaky finish — think soft, savory interior and crunchy, buttery top. It’s forgiving, kid-friendly, and uses easy, store-bought shortcuts if you’re busy (hello, rotisserie chicken and ready-made pie crusts). Plus, the house smells like Sunday supper — who doesn’t love that?
Ingredients
For the Main Dish:
3 cups cooked chicken, shredded or diced (rotisserie works great)
2 tbsp olive oil or vegetable oil
4 tbsp butter (1/2 stick)
1 medium yellow onion, finely chopped (about 1 cup)
2 medium carrots, peeled and diced (about 1 cup)
2 ribs celery, diced (about 1 cup)
1 cup frozen peas, thawed
1 cup potatoes, small dice (optional but nice), or substitute extra carrots
2 cloves garlic, minced
1/3 cup all-purpose flour
2 cups low-sodium chicken broth
1 cup milk (whole or 2%) + optional 1/4 cup heavy cream for richness
1 tsp kosher salt, plus more to taste
1/2 tsp black pepper
1/2 tsp dried thyme (or 1 tsp fresh)
1/2 tsp dried rosemary, crushed
2 (9-inch) pie crusts (store-bought or homemade)
For the Sauce / Garnish (if applicable):
1 large egg beaten with 1 tbsp water for egg wash (optional)
Chopped fresh parsley for garnish (optional)
How I Make It
Step 1:
Preheat your oven to 375°F. I like to use a deep-dish 9-inch pie plate so the filling has room to be generous. Warm a large skillet over medium heat and add 2 tbsp olive oil and 4 tbsp butter. When the butter bubbles, toss in the onion, carrots, celery, and potatoes. Sauté for about 6–8 minutes until vegetables soften and the onions turn translucent — you’ll smell that sweet, savory aroma filling the kitchen.
Step 2:
Add the garlic and cook 30 seconds until fragrant, then sprinkle in the 1/3 cup flour. Stir constantly to make a roux; it should look sandy and coat the veggies. Cook the flour for about 1–2 minutes to remove the raw taste. Tip: don’t let the roux brown — keep the heat moderate.
Step 3:
Slowly pour in the 2 cups chicken broth while whisking to avoid lumps, then add the 1 cup milk and optional cream. Bring the mixture to a gentle simmer; it will thicken into a velvety gravy. Add the shredded chicken, peas, thyme, rosemary, salt, and pepper. Taste and adjust seasoning. The filling should coat the back of a spoon — thick but spoonable. If it gets too thick, splash in a bit more broth.
Step 4:
Pour the filling into your prepared pie plate. Gently lay the second pie crust over the top, crimp the edges to seal, and cut a few vents in the center to let steam escape. Brush the top with the egg wash for that irresistible glossy, golden finish. Slide the pie onto a rimmed baking sheet (to catch any bubbling spillover) and bake at 375°F for 35–45 minutes until the crust turns deep golden and the filling bubbles at the vents. You’ll hear the crust crackle as it cools — music to my ears.
Step 5:
Let the pie rest for 10–15 minutes before slicing so the filling sets a touch. Sprinkle with chopped parsley, slice with a sharp knife, and serve warm. The crust should be crisp on top and the interior creamy and steaming — take a breath and enjoy that first spoonful.
Pro Tips
Use rotisserie chicken for speed without sacrificing flavor — it adds great texture and depth.
If the crust browns too fast, tent with foil and continue baking until the filling bubbles.
Make the filling a day ahead and refrigerate; assemble and bake fresh for the best crust crispness.
For an extra flaky crust, brush the underside of the top crust with melted butter before topping and make sure the filling is warm, not piping hot, to avoid sogginess.
Common Mistakes to Avoid
Skipping preheating: Classic rookie move. It changes texture and bake time.
Overmixing: Leads to dense or chewy results. Mix until just combined.
Guessing cook time: Always use visual cues or a timer, not just vibes.
Overcrowding pans: Give your food some breathing room to crisp properly.
Alternatives & Substitutions
Swap chicken for firm tofu or chickpeas for a vegetarian twist — add extra herbs for depth.
Replace milk/cream with 1 cup plain Greek yogurt thinned with a splash of broth for tang and protein (adds tanginess and thickens faster).
Use gluten-free pie crust and gluten-free flour blend for the roux to make it gluten-free (texture changes slightly, use xanthan gum if needed).
Dairy-free version: substitute butter with coconut oil and milk with unsweetened almond milk + 1 tbsp cornstarch to thicken (you’ll lose some buttery flavor).
Variations & Tips
Spicy: Add 1/2 tsp red pepper flakes or a diced jalapeño with the onions for a warm kick.
Kid-friendly: Omit rosemary and swap peas for corn kernels; use a fun-shaped top crust.
Herb-forward: Double the fresh thyme and add a handful of chopped parsley and tarragon before baking.
Cheesy twist: Stir in 1 cup shredded cheddar or gruyère into the filling for a gooey finish.
One-dish pot pies: Make individual pies in ramekins for portable servings and crisp edges every time.
Creative twist: Add roasted sweet potato and sage for a fall-inspired pot pie with a hint of sweetness.
FAQ (Frequently Asked Questions)
Can I make this ahead of time?
Yes! Make the filling up to 2 days ahead and refrigerate. Bring it to room temperature before assembling and bake as directed. For longer storage, freeze the unbaked assembled pie (wrap tightly) up to 2 months; thaw overnight in the fridge before baking.
Can I double the recipe?
Sure thing. Use two pie dishes or a larger rectangular baking dish and extend baking time by about 10–15 minutes if the pie gets thicker; watch for bubbling filling and a deep golden crust.
Can I substitute butter with oil?
Technically yes, but you’ll miss that buttery magic. Use ¾ the amount of oil.
How do I know it’s done?
Bake until the crust is a deep golden brown and the filling bubbles through the vents — that bubbling proves the center reached temperature and thickened. Let it rest 10–15 minutes to set before slicing.
What if I don’t have ingredient X?
No panic. Swap celery with fennel or extra carrots for crunch, use frozen mixed vegetables if you don’t have fresh, and shredded turkey or canned chicken works in a pinch.
How I Like to Serve It
I serve this pot pie with a simple green salad dressed in lemon vinaigrette to cut the richness, and a glass of chilled apple cider in autumn or crisp white wine in spring. It works for a cozy weeknight dinner, a casual potluck, or when you want to impress without sweating it. Leftovers make for cozy lunches all week.
Notes
Store leftovers in an airtight container in the fridge for up to 3 days. Reheat in a 350°F oven until warmed through to keep the crust crisp.
Cook chicken to a safe internal temperature of 165°F if you cook it at home; use a thermometer for confidence.
Final Thoughts
Closing: Now go make this pot pie — your kitchen will smell amazing, your family will thank you, and you’ll have one more cozy, comforting dish in your weeknight rotation. Enjoy!
Hi, I’m Lina, the creator of Lina Easy Recipes.Cooking has always been my passion, and I love sharing simple, homemade dishes that anyone can prepare.
Spread the love
Love What You See?
Join me on Pinterest and Facebook for daily cooking inspiration, new recipe ideas, and behind-the-scenes kitchen stories. Let’s cook something wonderful together!