
I love pretending I discovered this dish in a dimly lit trattoria during a midnight layover, but here’s the real chef’s secret I can’t keep to myself: the bright lemon-caper sauce that makes chicken piccata sing relies on one tiny technique most home cooks skip. Searing the chicken until the edges go golden-brown and then deglazing the pan with a splash of liquid releases a flavor bomb of caramelized bits — that’s the magic. I’ll show you how to get restaurant-level tang and silky sauce with everyday pantry ingredients and one simple stove-top trick that makes the sauce glossy, silky, and impossibly addictive.
Quick Facts
- Yield: Serves 4
- Prep Time: 15 minutes
- Cook Time: 15 minutes
- Total Time: 30 minutes
Why This Recipe is Awesome
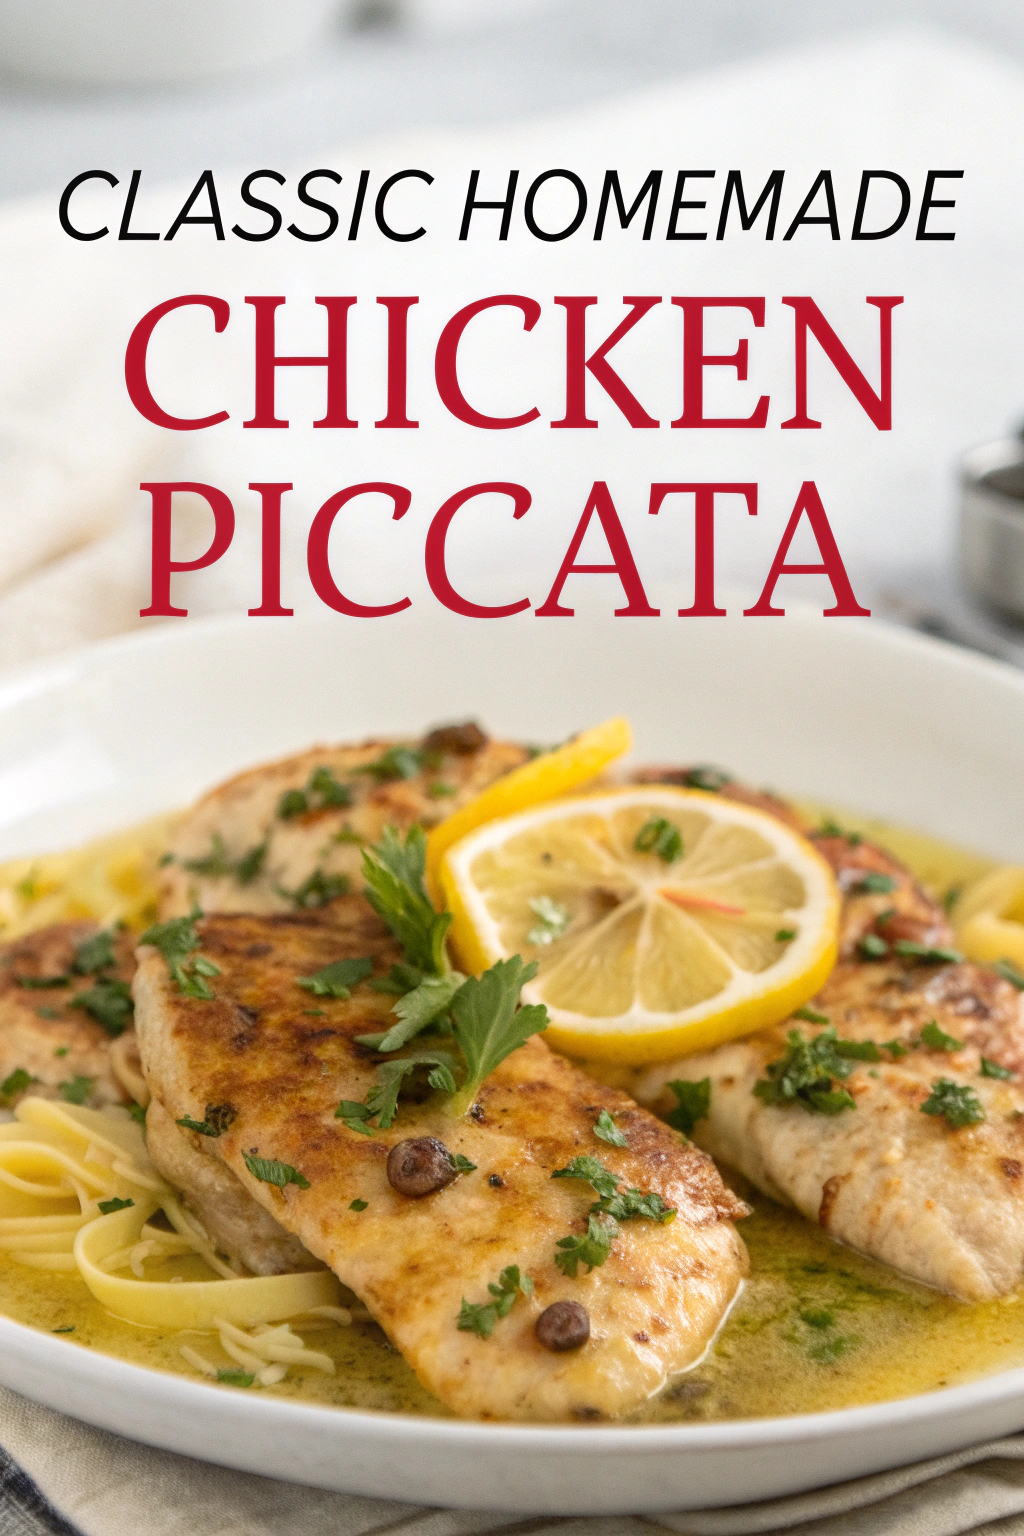
This chicken piccata hits all the home-cook sweet spots: bright lemon zing, briny caper pops, and a silky butter-lemon sauce that clings to tender chicken. It cooks fast, smells like a citrus grove, and the edges get satisfyingly crisp — who doesn’t love a little crunch? It’s simple enough for a weeknight but fancy enough to serve guests when you want to impress without sweating carbs or prep.
Ingredients
For the Main Dish:
- 1 1/2 to 2 lb boneless, skinless chicken breasts (about 4 breasts)
- 1/2 cup all-purpose flour (or 1/2 cup gluten-free flour blend)
- 1 tsp kosher salt, plus extra to taste
- 1/2 tsp freshly ground black pepper
- 2 tbsp olive oil
- 3 tbsp unsalted butter (or dairy-free butter)
- 2 garlic cloves, minced (optional)
- 2 tbsp capers, drained
- 1/4 cup fresh lemon juice (about 2 lemons)
- 1 tsp lemon zest (optional, but so good)
- 1/3 cup dry white wine (or substitute 1/3 cup low-sodium chicken broth)
- 1/2 cup low-sodium chicken broth
- 1/4 cup chopped fresh parsley
For the Sauce / Garnish (if applicable):
- Extra lemon wedges for serving
- Cooked pasta, rice, or roasted potatoes for plating
How I Make It
Step 1:
I start by slicing each chicken breast horizontally to make two thin cutlets, or I pound them to about 1/4-inch thickness between plastic wrap. I season both sides with 1 tsp salt and 1/2 tsp pepper, then dredge the pieces lightly in 1/2 cup flour shaking off excess. Thin cutlets cook quickly and evenly, so don’t skip this — you’ll thank me when everything finishes at the same time.
Step 2:
I heat a large skillet over medium-high heat until it feels hot and I see a faint shimmer. Add 2 tbsp olive oil and 1 tbsp butter. When the butter foams, I lay the chicken in the pan. You should hear a happy sizzle — that sound equals flavor. I cook the cutlets about 2–3 minutes per side, flipping once, until they develop golden-brown edges. Work in batches if needed; don’t overcrowd the pan or the chicken will steam instead of crisp.
Step 3:
Once the chicken rests on a plate, I lower the heat to medium and toss in the minced garlic for 20–30 seconds until fragrant — don’t let it brown. I pour in 1/3 cup dry white wine to deglaze, scraping up the browned bits with a wooden spoon. The smell here is irresistible: bright wine, savory caramel notes, and a little toast from the pan.
Step 4:
I add 1/2 cup chicken broth, 1/4 cup lemon juice, and 2 tbsp capers, simmering for 2–3 minutes to reduce slightly. Then I whisk in the remaining 2 tbsp butter a little at a time until the sauce goes glossy and coats the back of a spoon. Taste and adjust salt and lemon if you want more zing. Return the chicken to the pan and spoon the sauce over for a minute to marry flavors and warm through; the meat stays tender and juicy.
Step 5:
I finish with 1/4 cup chopped parsley and a sprinkle of lemon zest for color and freshness. Serve immediately over pasta, rice, or roasted potatoes with extra lemon wedges. The sauce glistens, the capers pop, and the bright lemon scent fills the room — dig in while it’s hot.
Pro Tips
- Dry the chicken well with paper towels before flouring to help the flour stick and get a crisp sear.
- Use room-temperature chicken so it cooks evenly; cold chicken chills the pan and steals crispness.
- If you don’t drink wine, substitute extra chicken broth plus a teaspoon of white wine vinegar for acidity.
- For a silkier sauce, swirl in cold butter off the heat at the end — it emulsifies and thickens the sauce beautifully.
Common Mistakes to Avoid
- Skipping preheating: Classic rookie move. It changes texture and bake time.
- Overmixing: Leads to dense or chewy results. Mix until just combined.
- Guessing cook time: Always use visual cues or a timer, not just vibes.
- Overcrowding pans: Give your food some breathing room to crisp properly.
Alternatives & Substitutions
- Substitute chicken with firm tofu for a vegetarian take — press and slice the tofu, dredge, and pan-sear. The sauce stays the same but textures shift from tender to meaty.
- Swap white wine for additional chicken broth plus 1 tsp white wine vinegar; the flavor stays bright without alcohol.
- For a dairy-free option, use dairy-free butter or skip the butter and finish with a teaspoon of olive oil; the sauce will taste lighter and slightly less glossy.
- Gluten-free? Use a 1:1 gluten-free flour blend for dredging; texture remains crisp but may brown slightly differently.
Variations & Tips
- Spicy Piccata: Add 1/4 tsp red pepper flakes to the sauce for a faint heat that pairs well with lemon.
- Garlic Lovers: Add an extra garlic clove or two and sauté gently for a more aromatic sauce.
- Herby Twist: Swap parsley for basil or tarragon to change the herb profile — tarragon gives a subtle anise note.
- Kid-Friendly: Omit capers and reduce lemon to 2 tbsp to soften the tang for picky eaters.
- Seafood Swap: Use thin-cut cod or sole fillets in place of chicken for a lighter, delicate version.
- Creative Twist: Stir in 2 tbsp cream or mascarpone at the end for a richer, velvety sauce (skip for dairy-free).
FAQ (Frequently Asked Questions)
- Can I make this ahead of time?
- Yes! Sear the chicken and make the sauce, then cool and store separately in airtight containers for up to 2 days. Reheat gently in a skillet over low heat so the chicken warms without drying and spoon the sauce over just before serving.
- Can I double the recipe?
- Sure thing. Use a larger skillet or cook in batches so the chicken doesn’t steam. Keep sauce proportions the same and combine at the end if needed.
- Can I substitute butter with oil?
- Technically yes, but you’ll miss that buttery magic. Use ¾ the amount of oil and add a small knob of dairy-free butter at the end if you want richness.
- How do I know it’s done?
- Look for golden-brown edges and a tender, juicy center. For safety, check that the internal temperature reaches 165°F. The chicken should feel springy, not rubbery.
- What if I don’t have ingredient X?
- Out of capers? Use green olives chopped fine for briny bite. No fresh lemons? Use 3 tbsp bottled lemon juice and a teaspoon of zest substitute like grated lemon peel.
How I Like to Serve It
I love serving this over a nest of buttered angel hair pasta so the sauce clings to each strand, or alongside roasted baby potatoes and a crisp green salad for contrast. For a cozy winter night, pair with a glass of the same white wine you used in the sauce. In summer, squeeze an extra lemon and serve with grilled asparagus for brightness. It fits weeknights, date nights, and spontaneous dinner guests alike.
Notes
- Store leftovers in the fridge up to 2 days. Reheat gently on the stove over low heat to preserve texture.
- Safe cooking temp for chicken: 165°F. Use an instant-read thermometer to check the thickest part.
Final Thoughts
Closing: Now go impress someone — or just yourself — with your homemade masterpiece!

Hi, I’m Lina, the creator of Lina Easy Recipes.Cooking has always been my passion, and I love sharing simple, homemade dishes that anyone can prepare.
Love What You See?
Join me on Pinterest and Facebook for daily cooking inspiration, new recipe ideas, and behind-the-scenes kitchen stories. Let’s cook something wonderful together!


