
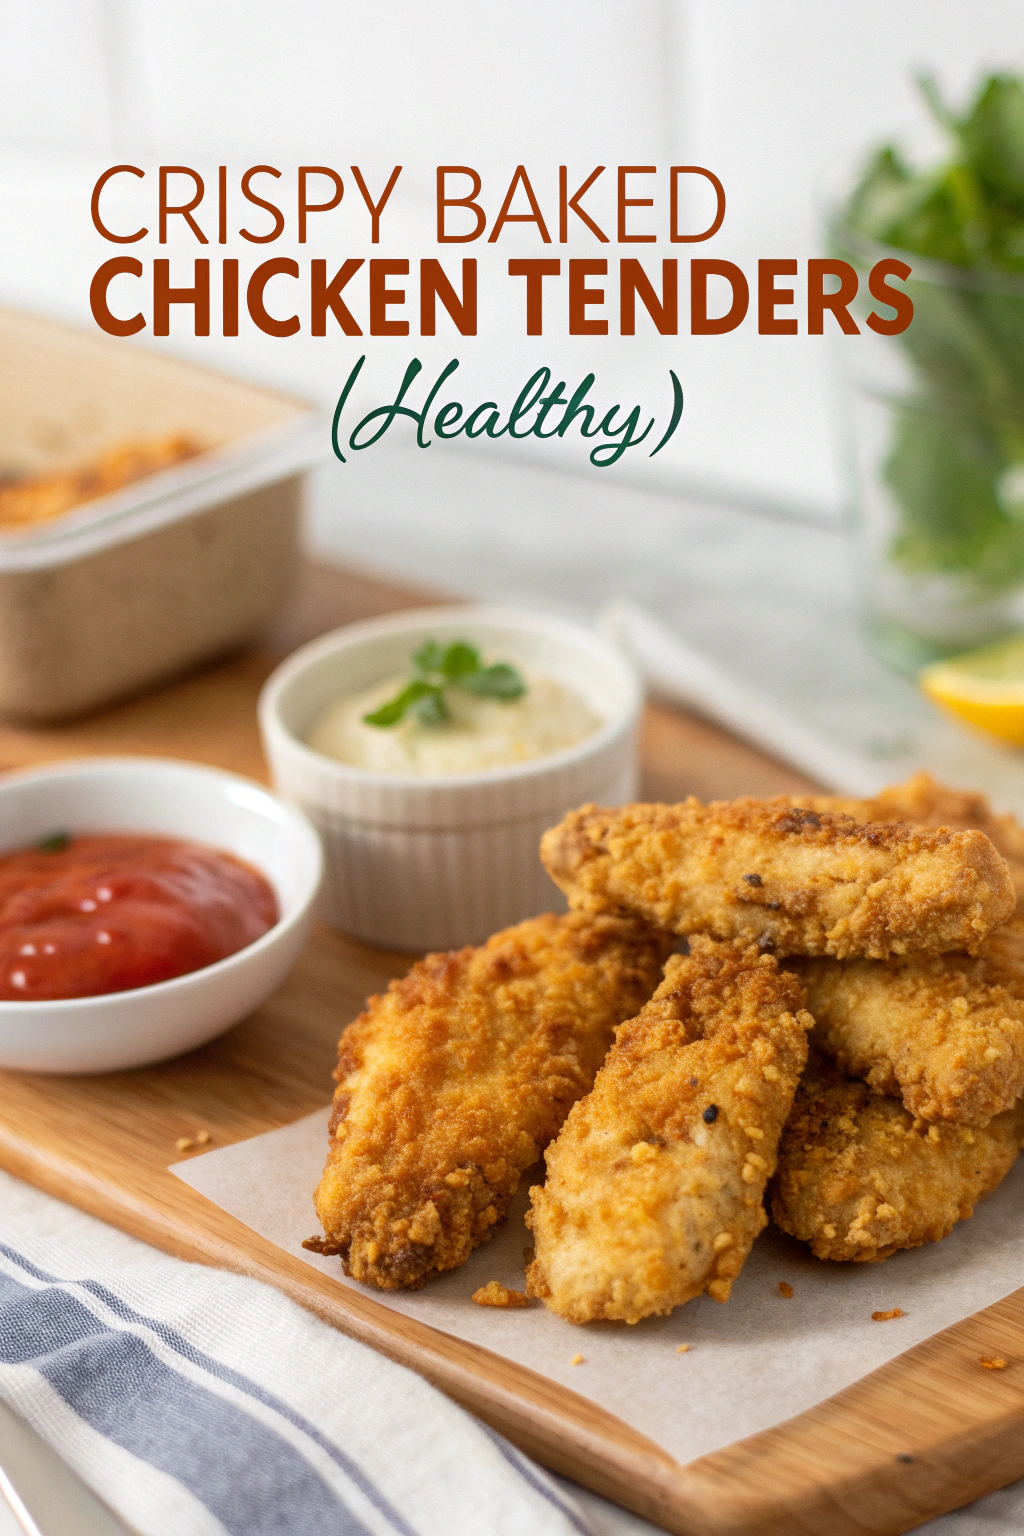
I have a little kitchen secret: when I want crunchy, golden chicken tenders without the greasy aftermath, I reach for my oven like it’s a magic wand. As a former fry-it-at-all-costs person, I swapped habits and discovered that a few pantry staples and a hot oven create crackly edges and juicy centers that make everyone believe I spent way more time on dinner than I did. Today I’ll show you how to get that crunchy, panko-crusted bite, the kind that snaps in your hands and fills the kitchen with warm, toasty bread-crumb aroma — without standing over a pot of oil.
Quick Facts
- Yield: Serves 4
- Prep Time: 15 minutes
- Cook Time: 15–18 minutes
- Total Time: 30–33 minutes
Why This Recipe is Awesome
This recipe gives you crispy, golden tenders with a juicy inside and none of the greasy cleanup. It’s fast, simple, and forgiving — perfect for weeknights or feeding a crowd. The texture? Think crackly panko exterior, tender white meat center. The taste? Lightly seasoned, slightly lemony, and perfect for dunking. It’s so easy even your oven can’t mess it up.
Ingredients
For the Main Dish:
- 1.5 pounds boneless, skinless **chicken tenders** (or thin-sliced chicken breasts)
- 1 cup **panko breadcrumbs** (for extra crunch)
- 1/2 cup finely grated **Parmesan cheese** (optional but delicious)
- 1 tsp **garlic powder
- 1 tsp **onion powder
- 1 tsp **paprika** (smoked or sweet)
- 1/2 tsp kosher **salt**
- 1/4 tsp black **pepper**
- 2 large **eggs**, beaten
- 2 tbsp **olive oil** (or melted butter for richness)
- 1 tbsp **lemon juice** (brightens the flavor)
- Cooking spray or a little extra oil for the pan
- Optional: pinch of cayenne or chili flakes for heat
For the Sauce / Garnish (if applicable):
- 1/2 cup plain **Greek yogurt** or **mayo** + 1 tbsp honey and 1 tsp Dijon for a quick dip
- Chopped **parsley** or **lemon wedges** for serving
How I Make It
Step 1:
Preheat the oven to 425°F and line a baking sheet with foil or parchment. I set a wire rack on the sheet so air can circulate and the tenders crisp up all around — that little lift makes a big difference in texture. In a shallow dish, toss together the **panko**, **Parmesan**, **garlic powder**, **onion powder**, **paprika**, **salt**, and **pepper**. The mix should look sandy and fragrant; take a deep sniff so you can taste the savory toastiness before anything lands in your mouth.
Step 2:
In another bowl, beat the **eggs** with **olive oil** and **lemon juice**. The oil helps the breadcrumb coating brown, and the lemon keeps the chicken tasting bright. Dip each **chicken tender** into the egg mixture, then press into the panko mixture until it clings in a nice even layer. I double-dip the bigger pieces: egg, panko, egg, panko — extra crunch, no regrets. If the crumbs feel too loose, press them on gently with your palm.
Step 3:
Place the coated tenders on the wire rack with a little space between each one — you want airflow so the exterior becomes crispy and not soggy. Lightly mist with cooking spray or brush with a touch more oil. Slide the tray into the oven and listen: after about 8 minutes you’ll start to hear quiet sizzles and see the breadcrumbs set and turn golden. That sound is the kitchen equivalent of a wink.
Step 4:
Bake at 425°F for 15–18 minutes, flipping once halfway through so both sides get that beautiful golden color. Look for **golden edges**, a firm texture, and juices running clear if you cut into the thickest piece. For safety and perfection, check that the internal temperature reaches 165°F.
Step 5:
Let the tenders rest for 3–5 minutes — that pause helps them stay juicy and avoids scorched tongues. Sprinkle with chopped **parsley**, a squeeze of lemon, and serve with the honey-Dijon dip or your favorite sauce. Watch the crunch reveal itself with each bite — trust me, your ears will know.
Pro Tips
- Use a **wire rack** on the baking sheet to get crispiness all around instead of a soft bottom.
- For extra crunch, add 1–2 tbsp melted butter to the egg wash for a richer, more golden crust.
- Don’t overcrowd the pan; bake in batches if needed. Crowding causes steam, and steam kills crispiness.
- If you want uniform cooking, pound thicker tenders gently to an even thickness so they all finish at the same time.
Common Mistakes to Avoid
- Skipping preheating: Classic rookie move. It changes texture and bake time.
- Overmixing: Leads to dense or chewy results. Mix until just combined.
- Guessing cook time: Always use visual cues or a timer, not just vibes.
- Overcrowding pans: Give your food some breathing room to crisp properly.
Alternatives & Substitutions
- Chicken ↔ Tofu: Use extra-firm tofu pressed and sliced; bake the same way but reduce bake time slightly.
- Panko ↔ Crushed Cornflakes or GF Panko: Cornflakes give a sweet crunch; GF panko keeps it gluten-free.
- Egg wash ↔ Greek yogurt: Thin plain Greek yogurt with a splash of milk for an egg-free binder (keeps coating moist).
- Dairy-free option: Use nutritional yeast instead of Parmesan and a dairy-free mayo or oil — still tasty and crisp.
Variations & Tips
- Spicy: Add 1 tsp cayenne or hot sauce to the egg wash and extra paprika to the crumbs.
- Kid-friendly: Keep it simple with salt, pepper, and a tiny bit of garlic powder; serve with ketchup.
- Herby: Fold 2 tbsp chopped fresh herbs (parsley, thyme) into the panko for a fresh flavor boost.
- Lemon-Parmesan: Add lemon zest to the crumbs and finish with extra grated Parmesan for a bright, tangy crunch.
- Tropical twist: Use panko mixed with shredded coconut and a touch of curry powder for a fun, unexpected flavor.
- Gluten-free: Swap in certified gluten-free panko and check labels on other ingredients.
FAQ (Frequently Asked Questions)
- Can I make this ahead of time?
- Yes! Prep the tenders up to the coating step, then refrigerate on a tray for a few hours. Bake straight from the fridge, adding a minute or two to the time if needed. Store leftovers in an airtight container for up to 3 days and reheat in a 400°F oven for 8–10 minutes to revive the crunch.
- Can I double the recipe?
- Sure thing. Use two baking sheets and rotate them halfway through baking so each batch crisps evenly. Avoid piling everything on one sheet.
- Can I substitute butter with oil?
- Technically yes, but you’ll miss that buttery magic. Use ¾ the amount of oil if swapping for melted butter to keep richness without greasiness.
- How do I know it’s done?
- Look for golden, crisp coating and a firm texture. Check the thickest piece with a thermometer — it should hit 165°F, or cut into it: juices should run clear and the center should feel tender, not rubbery.
- What if I don’t have ingredient X?
- Ran out of panko? Crush plain crackers or cornflakes. No eggs? Thin Greek yogurt or a flax egg (1 tbsp flax + 3 tbsp water per egg) works in a pinch.
How I Like to Serve It
I serve these tenders with a cold, crisp salad or buttery mashed potatoes for comfort, or pile them into wraps with slaw for lunches. They shine at game day with an array of dips — honey mustard, BBQ, or ranch. In summer I pair them with a citrusy slaw and a cold beer; in winter I stick to cozy sides and a big pot of soup.
Notes
- Store leftovers in an airtight container in the fridge for up to 3 days. Reheat in an oven or toaster oven at 400°F to keep them crisp.
- Safe internal temperature for chicken: 165°F. Always check the thickest piece.
Final Thoughts
Closing: Now go impress someone — or just yourself — with your homemade masterpiece! These tenders crisp up fast and vanish even faster, so prep more than you think you’ll need.

Hi, I’m Lina, the creator of Lina Easy Recipes.Cooking has always been my passion, and I love sharing simple, homemade dishes that anyone can prepare.
Love What You See?
Join me on Pinterest and Facebook for daily cooking inspiration, new recipe ideas, and behind-the-scenes kitchen stories. Let’s cook something wonderful together!


")


