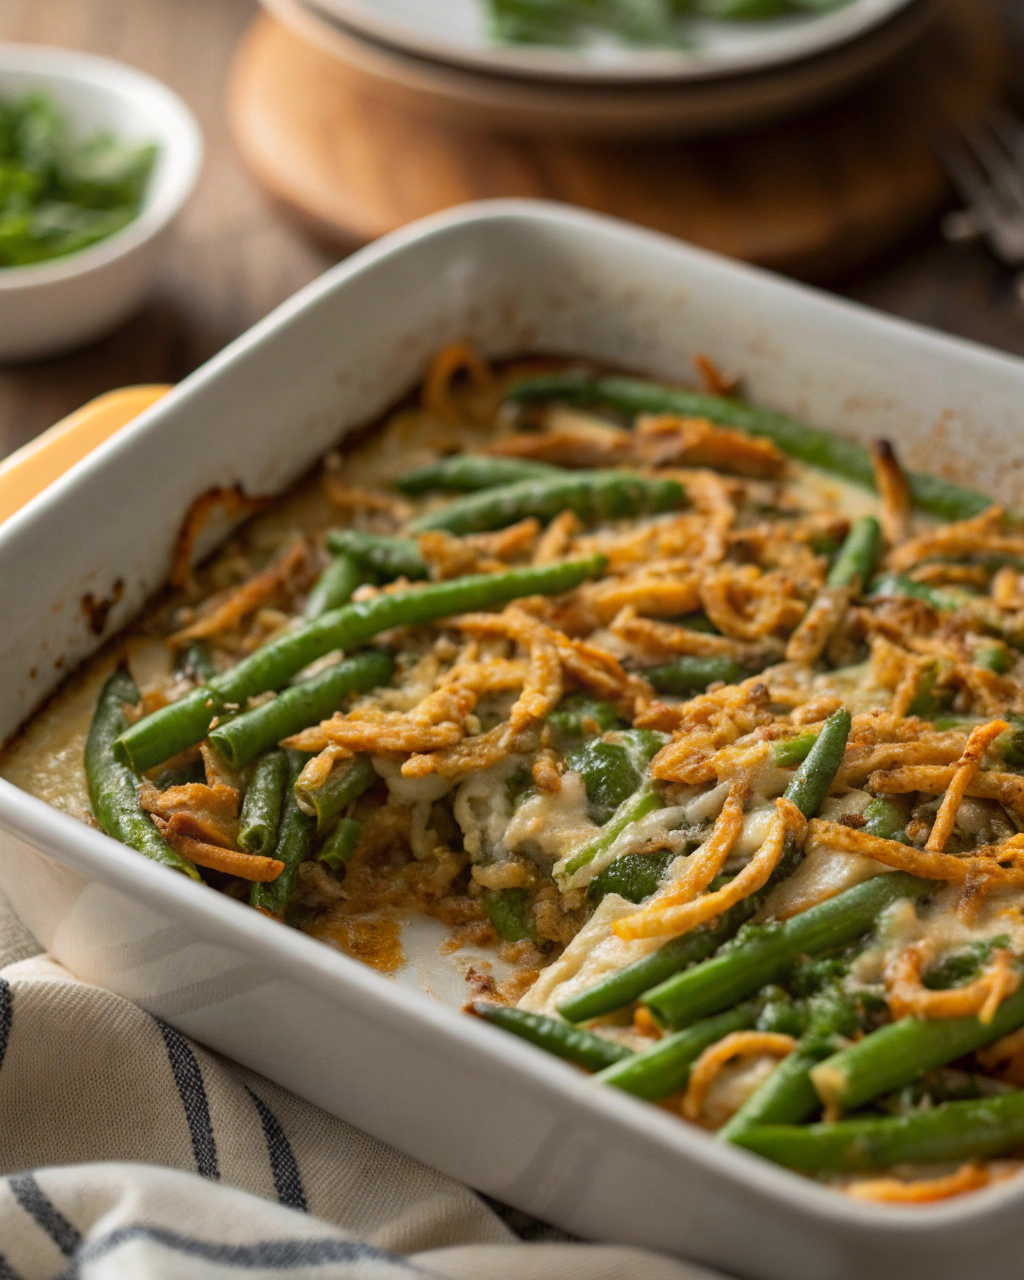
Dairy-Free Green Bean Casserole
Alright, friends, let me tell you—this dairy-free green bean casserole is a game changer! If you think traditional casseroles have to be smothered in cream-of-mushroom soup and cheese, think again. I’ve been playing around with cozy, comforting flavors that don’t rely on dairy, and this recipe came out creamy, flavorful, and totally satisfying. Imagine tender green beans, a velvety mushroom sauce, and that crispy, crunchy topping that makes you want to dive right in—without a drop of milk or butter in sight. Plus, it’s super simple to whip up, perfect for a weeknight side or a holiday spread where you want everyone, including friends with dietary needs, to feel included. Ready to swap out the usual suspects for something fresh, dairy-free, and delicious? Let’s do this!
Quick Facts
- Yield: Serves 6
- Prep Time: 15 minutes
- Cook Time: 30 minutes
- Total Time: 45 minutes
Ingredients
For the Main Dish:
- 1½ pounds fresh green beans, trimmed and halved
- 8 ounces cremini or white mushrooms, sliced
- 1 medium yellow onion, finely chopped
- 3 cloves garlic, minced
- 3 tablespoons olive oil, divided
- 3 tablespoons all-purpose flour
- 1½ cups unsweetened almond milk (or other dairy-free milk)
- 1 cup vegetable broth
- 1 teaspoon soy sauce or tamari (gluten-free if needed)
- ½ teaspoon dried thyme
- Salt and freshly ground black pepper, to taste
For the Topping:
- 1 cup dairy-free crispy fried onions (store-bought or homemade)
- 2 tablespoons olive oil or melted dairy-free margarine
How I Make It
Step 1:
Start by blanching your green beans: boil a big pot of salted water, toss in the green beans, and cook for just 3-4 minutes until crisp-tender and bright green. Drain and immediately shock them in ice water to keep that fresh color and stop the cooking—this step really makes a difference!
Step 2:
Heat 2 tablespoons of olive oil in a large skillet over medium heat. Add the chopped onion and cook until translucent and soft, about 5 minutes. Then, toss in the sliced mushrooms and cook until they release their moisture and start to brown, around 7-8 minutes. Stir in the garlic for the last minute so it doesn’t burn.
Step 3:
Sprinkle the flour over the mushroom mixture and stir well to coat everything. This acts as your thickener, so don’t skip it! Slowly pour in the almond milk and vegetable broth while stirring constantly to avoid lumps. Add the soy sauce and thyme, then simmer gently until the sauce thickens up, about 5 minutes. Season with salt and pepper to taste.
Step 4:
Preheat your oven to 350°F. In a large mixing bowl, combine the blanched green beans with the creamy mushroom sauce. Pour everything into a 9×13-inch baking dish and spread evenly.
Step 5:
In a small bowl, toss your dairy-free crispy onions with olive oil for extra crunch and golden color, then sprinkle them generously over the casserole.
Step 6:
Bake uncovered for about 20 minutes, until the topping is golden brown and crispy. Let it cool for a few minutes before digging in—this allows the sauce to set slightly for the perfect spoonful every time.
Variations & Tips
- Swap green beans with steamed asparagus or broccoli for a twist.
- If you can’t find dairy-free crispy onions, use crushed gluten-free crackers mixed with sautéed shallots.
- Add a pinch of smoked paprika to the sauce for a subtle smoky kick.
- Use coconut or oat milk instead of almond if you prefer a different flavor profile.
- For extra depth, stir in a splash of white wine before adding the almond milk and broth.
- Make the dish ahead and refrigerate; bake just before serving for easy entertaining.
How I Like to Serve It
This dairy-free green bean casserole is my go-to for holiday dinners, pairing beautifully with turkey or roasted chicken. It also makes a cozy side for autumn weeknight meals—especially when you’re craving that classic comfort-food vibe but need a lighter touch. I love adding a fresh salad or roasted potatoes alongside to balance textures and flavors.
Notes
- Store leftovers in the fridge for up to 3 days; reheat covered in the oven at 325°F until warmed through.
- You can prep the sauce and blanched beans a day ahead, then assemble and bake just before serving.
Closing: Once you try this dairy-free version, you’ll see how easy and delicious it is to transform a classic into something everyone can enjoy—crispy, creamy, and totally comforting every single time!


")

