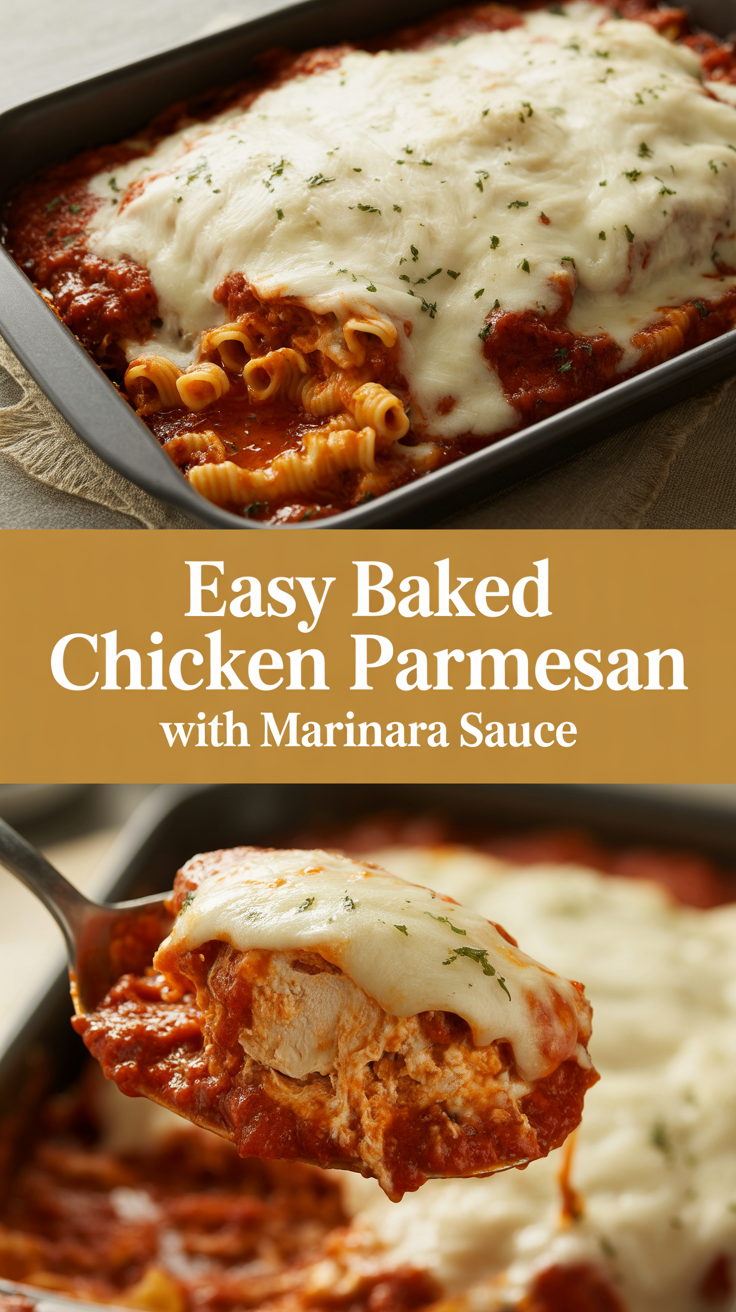
Okay, here’s a little kitchen secret: a crisp, golden chicken parmesan doesn’t require a deep fryer or a culinary degree — just a few smart swaps and pantry staples. I learned this trick when I wanted that bubbly, cheesy comfort food on a weeknight without standing over a stove drowning in oil. I use panko for crunch, a quick pan-simmered marinara for bright tomato flavor, and a hot oven to finish everything with a gorgeous melted cap of cheese. Follow my steps and you’ll get that satisfying sizzle, fragrant basil perfume, and tender, juicy chicken every time — like restaurant food, but faster and way cozier.
Quick Facts
Yield: Serves 4
Prep Time: 20 minutes
Cook Time: 20–25 minutes
Total Time: 40–45 minutes
Why This Recipe is Awesome
This baked chicken parmesan gives you crunchy breadcrumbs, melty cheese, and tangy tomato sauce without frying. It delivers crispy edges, a juicy center, and that bubbly mozzarella pull we all crave. It’s forgiving, fast, and perfect for weeknights — seriously, it’s so easy even your oven can’t mess it up. Plus, the kitchen smells like Sunday dinner in thirty minutes.
Ingredients
For the Main Dish:
1.5 lb boneless, skinless chicken breasts (about 3 medium breasts)
1/2 tsp salt and 1/4 tsp black pepper
1/2 tsp garlic powder
1 tsp Italian seasoning
1/2 cup all-purpose flour
2 large eggs, beaten
1 cup panko breadcrumbs
1/2 cup finely grated Parmesan cheese (divided)
2 tbsp olive oil (for brushing or drizzling)
8 oz shredded mozzarella (about 2 cups loosely packed)
For the Sauce / Garnish (if applicable):
1 1/2 cups marinara sauce (store-bought or homemade)
1 tbsp olive oil
1 small garlic clove, minced
Pinch of red pepper flakes (optional)
Fresh basil leaves and extra Parmesan for garnish
How I Make It
Step 1:
I preheat my oven to 425°F and line a rimmed baking sheet with foil. I place a wire rack on the sheet if I have one — it helps the air circulate so the crust turns extra crisp. I slice each chicken breast horizontally to make two thinner cutlets (about 1/2″ thick) or pound them gently between plastic wrap with a rolling pin. I season both sides with salt, pepper, garlic powder, and Italian seasoning.
Step 2:
Set up a three-bowl station: flour, beaten eggs, and a mixture of panko + 1/4 cup Parmesan. Dredge each cutlet in flour, shake off excess, dip in egg, then press into the panko mixture until well coated. I tap off loose crumbs and arrange cutlets on the rack; I brush or lightly drizzle with 2 tbsp olive oil so they brown well in the oven. Tip: press the panko on firmly — that stubborn little crust makes all the difference.
Step 3:
I slide the pan into the hot oven and bake for 15–18 minutes until the edges look golden and the crust sings with crunch. While the chicken bakes, I heat 1 tbsp olive oil in a small skillet, toss in the minced garlic and red pepper flakes until fragrant (about 30 seconds), then pour in 1 1/2 cups marinara and warm through. The sauce should smell bright and slightly sweet — that garlic note lifts everything.
Step 4:
When the chicken reaches an internal temperature close to 160°F or the crust is golden, I spoon 2–3 tbsp of the warm marinara onto each cutlet and scatter shredded mozzarella and a sprinkle of the remaining Parmesan over the top. I return the pan to the oven for another 4–7 minutes until the cheese melts and bubbles. If you want a golden, slightly charred top, I broil for 1–2 minutes while watching closely.
Step 5:
I remove the chicken and let it rest for 5 minutes; juice redistributes and the cheese settles. I finish with torn fresh basil and a little extra grated Parmesan. Slice and serve over pasta, cauliflower rice, or a pile of buttery garlic green beans. That first bite should give you a crisp crackle, a warm tomato tang, and gooey mozzarella stretching like a little celebration.
Pro Tips
Use a wire rack on the baking sheet to get all-around crispiness — no soggy bottoms.
Measure the thickest part of the chicken with an instant-read thermometer; pull at 160°F then rest to reach 165°F.
Mix panko with grated Parmesan for extra flavor and a sturdier crust that browns nicely.
If your breadcrumbs brown too fast, tent loosely with foil and finish under the broiler for cheese only.
Common Mistakes to Avoid
Skipping preheating: Classic rookie move. It changes texture and bake time.
Overmixing: Leads to dense or chewy results. Mix until just combined.
Guessing cook time: Always use visual cues or a timer, not just vibes.
Overcrowding pans: Give your food some breathing room to crisp properly.
Alternatives & Substitutions
Chicken ↔ Firm tofu: Press tofu, slice, coat the same way, and bake a bit longer; you get a vegetarian crunch but less juiciness.
Panko ↔ Gluten-free breadcrumbs: Use GF panko for a gluten-free version; texture stays similar.
Mozzarella ↔ Dairy-free cheese: Use a meltable vegan cheese for dairy-free; expect a slightly tangier finish.
Flour ↔ Almond flour: Use almond flour for low-carb; crust browns faster and tastes nuttier.
Variations & Tips
Spicy: Add 1/2 tsp red pepper flakes to the panko and a dash to the sauce for kick.
Kid-friendly: Skip the pepper flakes and serve with plain pasta and extra Parmesan.
Caprese twist: Top with sliced fresh tomatoes and basil after baking instead of extra sauce.
Herb crust: Mix chopped fresh parsley and oregano into the panko for bright herb flavor.
One-pan dinner: Bake chicken on top of sliced zucchini and peppers tossed with olive oil for a full meal.
Creative twist: Dollop whipped ricotta mixed with lemon zest on the finished cutlets for a tangy, creamy contrast.
FAQ (Frequently Asked Questions)
Can I make this ahead of time?
Yes! Bread the chicken and keep it covered in the fridge for up to 24 hours; bake when ready. You can also assemble (sauce + cheese) and refrigerate, then bake for the same time, adding a few extra minutes if cold from the fridge.
Can I double the recipe?
Sure thing. Use two baking sheets and rotate them halfway through baking so everything browns evenly. Don’t overcrowd — give each piece room to crisp.
Can I substitute butter with oil?
Technically yes, but you’ll miss that buttery magic. Use ¾ the amount of oil.
How do I know it’s done?
Look for golden, crisp edges and bubbling cheese. Use an instant-read thermometer — the thickest part should register 165°F after resting. Cut into one piece to check for clear juices if you don’t have a thermometer.
What if I don’t have ingredient X?
No stress. Swap panko for regular breadcrumbs mixed with a little oil, use bottled marinara if you lack fresh ingredients, or trade Parmesan for Pecorino for a saltier bite.
How I Like to Serve It
I love this chicken parmesan over a bed of spaghetti tossed with a little olive oil and garlic — classic comfort. It also pairs nicely with a simple arugula salad dressed in lemon to cut the richness, or roasted asparagus for spring dinners. For a casual weekend, I pile it into crusty rolls for chicken parm sandwiches and serve with sweet potato fries and a cold beer.
Notes
Store leftovers in an airtight container in the fridge for up to 3 days; reheat in a 350°F oven for 10–12 minutes to revive the crust. Freeze up to 2 months (wrap tightly).
Safe internal temperature for chicken: 165°F when measured in the thickest part after resting.
Final Thoughts
Closing: Now go impress someone — or just yourself — with your homemade masterpiece!
Hi, I’m Lina, the creator of Lina Easy Recipes.Cooking has always been my passion, and I love sharing simple, homemade dishes that anyone can prepare.
Spread the love
Love What You See?
Join me on Pinterest and Facebook for daily cooking inspiration, new recipe ideas, and behind-the-scenes kitchen stories. Let’s cook something wonderful together!