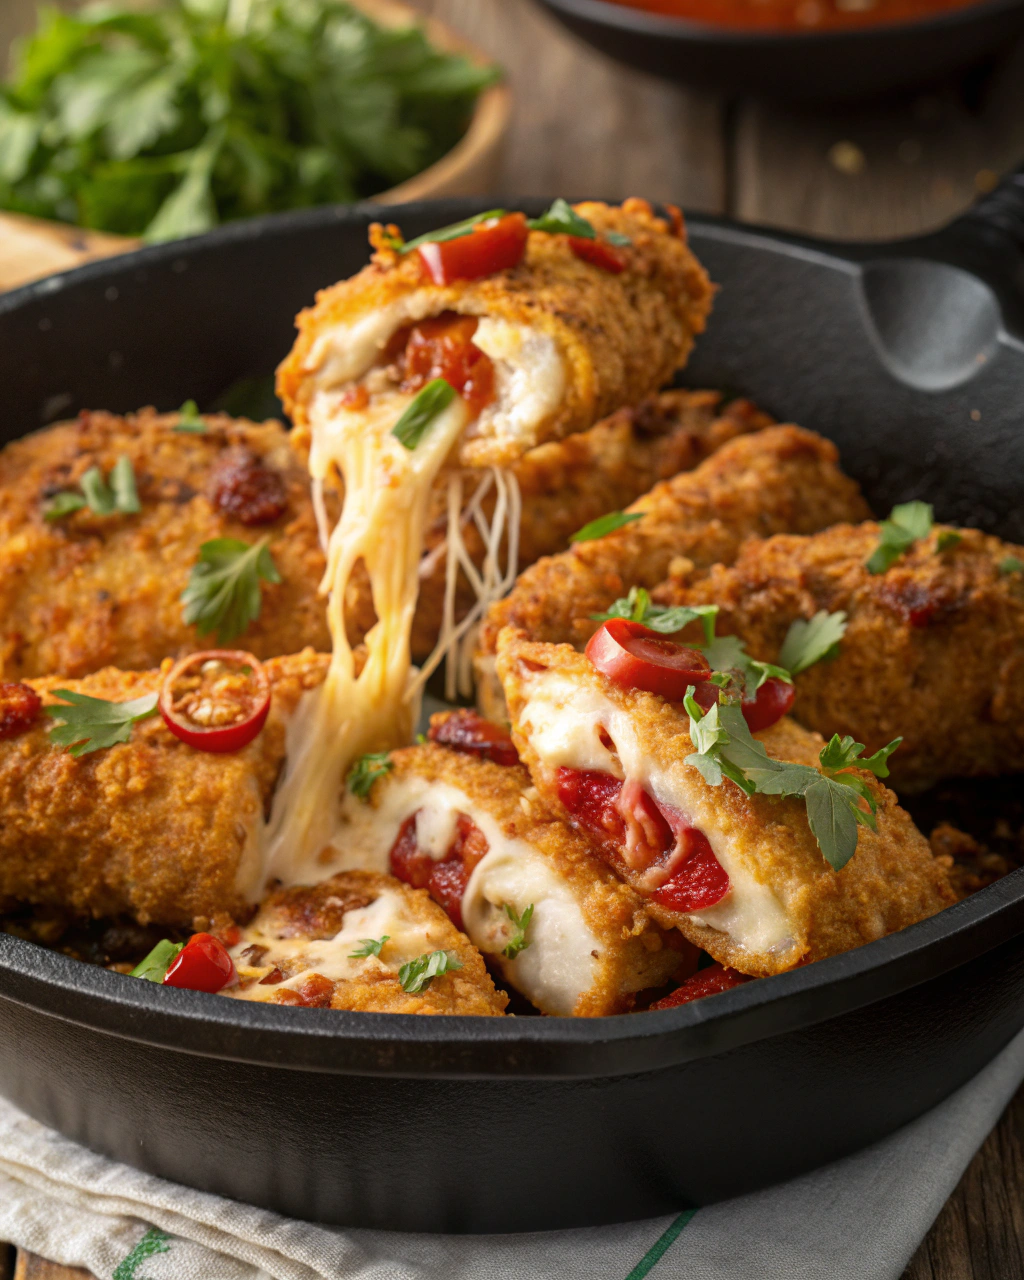
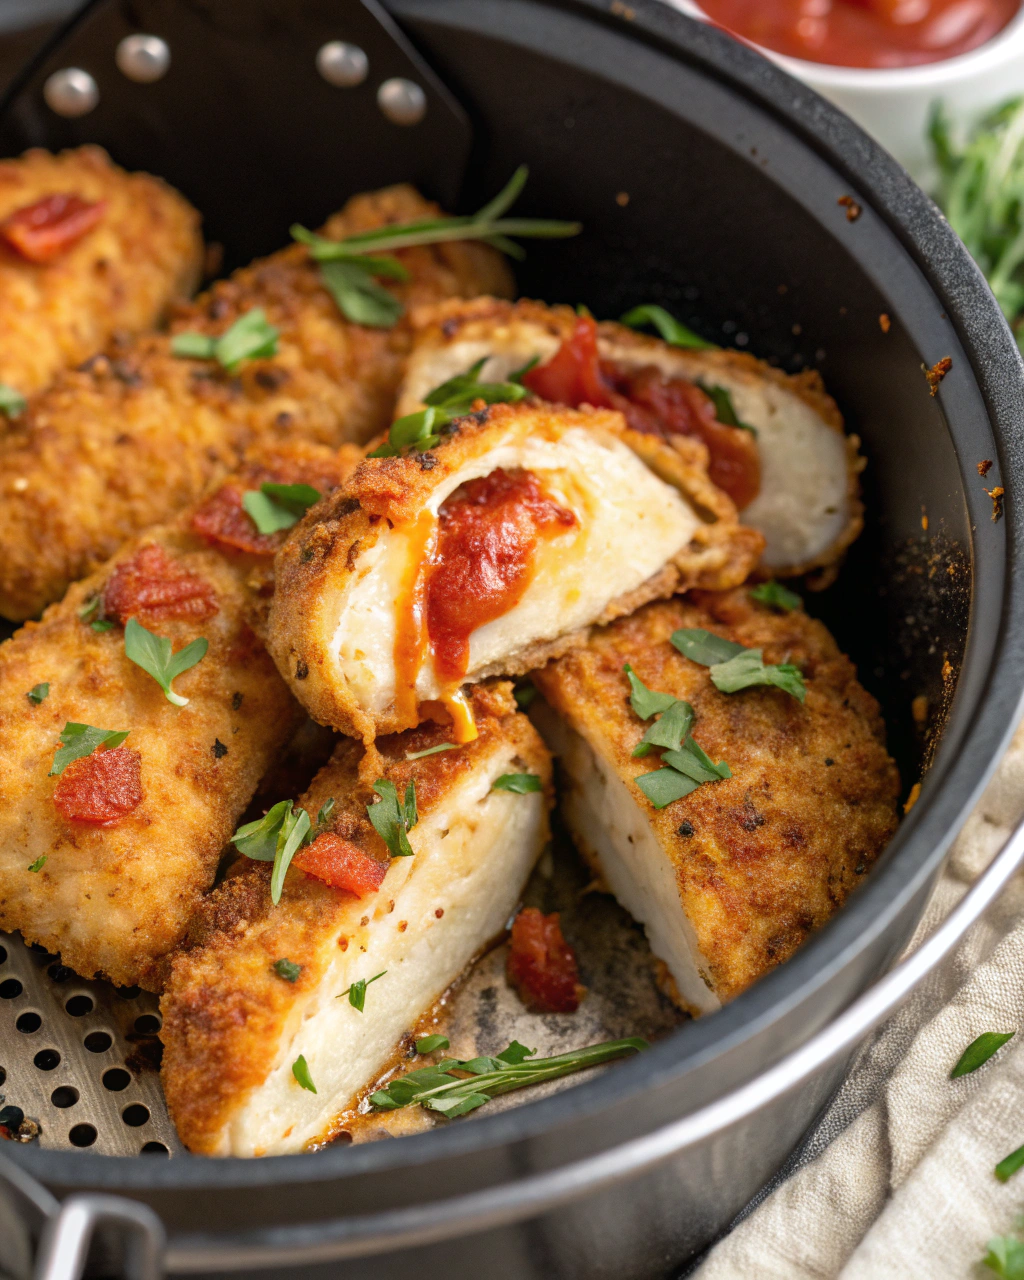
I’m going to be honest: I once ate an entire box of chicken tenders and pretended it was a practical cooking experiment. Funny, right? If you love crunchy golden edges that sing with a little garlic and buttery tang, you’ll love this copycat Canes-style chicken tender recipe. I leaned into the simple, punchy seasoning and a buttermilk soak that gives the meat a juicy, tender center while the outside crackles into pure comfort. Expect bright smells of garlic and paprika, a satisfying sizzle as the tenders hit the oil, and a dipping sauce that disappears faster than I can make it. Let’s make something that tastes like a hug in finger-food form.
Quick Facts
- Yield: Serves 4
- Prep Time: 25 minutes (including a quick 20-minute soak)
- Cook Time: 12 minutes
- Total Time: 37 minutes
Why This Recipe is Awesome
This recipe nails that crispy exterior and juicy center you crave. The crust gives a satisfying crunch while the interior stays tender and flavorful thanks to a quick buttermilk soak. It’s so easy even your takeout app will feel threatened. Who doesn’t love crispy edges and a garlicky, slightly tangy dip? The texture contrast and bold, simple flavors make these tenders dangerously moreish.
Ingredients
For the Main Dish:
- 1.5 lb chicken tenderloins (or boneless skinless chicken breasts cut into strips)
- 1 cup buttermilk
- 1 large egg
- 1 tbsp pickle juice (optional — I love the tang)
- 1 1/4 cups all-purpose flour
- 1/2 cup cornstarch
- 2 tsp garlic powder
- 2 tsp onion powder
- 1 tsp paprika
- 1 tsp kosher salt
- 1/2 tsp freshly ground black pepper
- 1/4 tsp cayenne pepper (optional for a kick)
- About 2 cups vegetable oil or peanut oil for frying
- Fresh parsley and lemon wedges for garnish (optional)
For the Sauce / Garnish (if applicable):
- 1/2 cup mayonnaise
- 2 tbsp ketchup
- 1 tbsp Worcestershire sauce
- 1 tsp garlic powder
- 1 tsp lemon juice or a dash of hot sauce
- Salt and pepper to taste
How I Make It
Step 1:
I whisk together 1 cup buttermilk, 1 egg, and 1 tbsp pickle juice in a bowl until smooth. The mixture smells tangy and fresh. I add the chicken tenders, push them down so they soak, and let them hang out in the fridge for at least 20 minutes (up to 4 hours if I plan ahead). Tip: if you forget to marinate, even a quick 20 minutes gives noticeable tenderness.
Step 2:
While the chicken relaxes, I build the coating: I combine 1 1/4 cups flour, 1/2 cup cornstarch, 2 tsp garlic powder, 2 tsp onion powder, 1 tsp paprika, 1 tsp salt, 1/2 tsp black pepper, and 1/4 tsp cayenne. The cornstarch keeps the crust light and crisp. I set up a dredging station: wet chicken, then into the flour mix. For extra crunch, I double-dredge: back into the buttermilk briefly, then back in the flour mix.
Step 3:
I heat oil in a heavy skillet over medium-high heat and bring it to 350°F on a thermometer. You should hear a confident sizzle when a strip hits the oil—music to my ears. I fry in batches so the pan stays at temp, about 3–4 minutes per side until the crust turns deep golden-brown. The kitchen fills with toasty, garlicky aromas.
Step 4:
I check doneness with an instant-read thermometer (aim for 165°F internal), then lift the tenders to a wire rack so the oil drains and the crust stays crisp. If you stack them on paper towels, the steam makes the crust go soft—don’t do that unless you like soggy edges.
Step 5:
I whisk the sauce ingredients (mayo, ketchup, Worcestershire, garlic powder, lemon) and season to taste. I sprinkle chopped parsley and squeeze a lemon wedge over the tenders for brightness. Serve immediately while they still crackle when you bite into them.
Pro Tips
- Use an instant-read thermometer and aim for 165°F for safe, juicy chicken.
- Keep the oil at a steady 350°F. Too cool and the crust soaks up oil; too hot and the outside burns before the inside cooks.
- Don’t overcrowd the pan—fry in small batches so each tender crisps properly.
- Save time: marinate overnight for deeper flavor, or skip the double-dredge if you’re short on time.
Common Mistakes to Avoid
- Skipping preheating: Classic rookie move. It changes texture and bake time.
- Overmixing: Leads to dense or chewy results. Mix until just combined.
- Guessing cook time: Always use visual cues or a timer, not just vibes.
- Overcrowding pans: Give your food some breathing room to crisp properly.
Alternatives & Substitutions
- Swap chicken for extra-firm tofu or cauliflower florets for a vegetarian option; expect different texture and shorter cook time for cauliflower.
- For dairy-free, replace buttermilk with 1 cup unsweetened almond milk + 1 tbsp apple cider vinegar and let sit 5 minutes (adds acidity and tenderness).
- To go gluten-free, use a 1:1 gluten-free flour blend or a mix of rice flour and cornstarch; crust will be slightly crisper but less bouncy.
- Don’t have Worcestershire? Use a dash of soy sauce and a pinch of sugar for similar umami.
Variations & Tips
- Spicy: Add 1 tsp cayenne to the flour and toss the finished tenders with a bit of hot sauce.
- Kid-friendly: Omit cayenne and serve with honey mustard or plain ketchup.
- Air-fryer version: Spray tenders lightly with oil and air-fry at 400°F for 8–10 minutes, flipping halfway.
- Panko-crusted: Replace half the flour with panko for a chunkier crunch.
- Honey-Glazed: Brush with a honey + hot sauce mix for a sweet-heat finish.
- Creative twist: Add a teaspoon of smoked paprika and a pinch of brown sugar for a smoky-sweet crust.
FAQ (Frequently Asked Questions)
- Can I make this ahead of time?
- Yes! Marinate the chicken and keep it covered in the fridge up to 24 hours. After frying, cool completely and store in an airtight container for up to 3 days. Reheat in a 400°F oven for 5–8 minutes to restore crispness.
- Can I double the recipe?
- Sure thing. Fry in smaller batches and work in waves so your oil temperature stays steady. You’ll need a larger pot or two skillets to move quickly.
- Can I substitute butter with oil?
- Technically yes, but you’ll miss that buttery magic. Use ¾ the amount of oil if a recipe calls for butter to keep richness balanced.
- How do I know it’s done?
- Look for a deep golden-brown crust and check the internal temp of the thickest piece with a thermometer—aim for 165°F. The juices should run clear and the meat should feel firm but still juicy.
- What if I don’t have ingredient X?
- No panic: swap pickle juice for a splash of apple cider vinegar, use plain yogurt thinned with a little milk for buttermilk, or use soy sauce + a pinch of sugar in place of Worcestershire.
How I Like to Serve It
I serve these tenders with warm fries, a thick slice of buttered Texas toast, and a big bowl of coleslaw. I love an ice-cold sweet tea or a crisp lager alongside. They work for weeknight dinners, game-day snacks, or picnic platters—perfect for feeding a small crowd or for pretending you didn’t just eat dinner with your hands.
Notes
- Store cooked tenders in the fridge up to 3–4 days; reheat in a hot oven to keep them crisp.
- Always cook chicken to a safe internal temperature of 165°F.
Final Thoughts
Closing: Now go impress someone — or just yourself — with your homemade masterpiece!

Hi, I’m Lina, the creator of Lina Easy Recipes.Cooking has always been my passion, and I love sharing simple, homemade dishes that anyone can prepare.
Love What You See?
Join me on Pinterest and Facebook for daily cooking inspiration, new recipe ideas, and behind-the-scenes kitchen stories. Let’s cook something wonderful together!

