
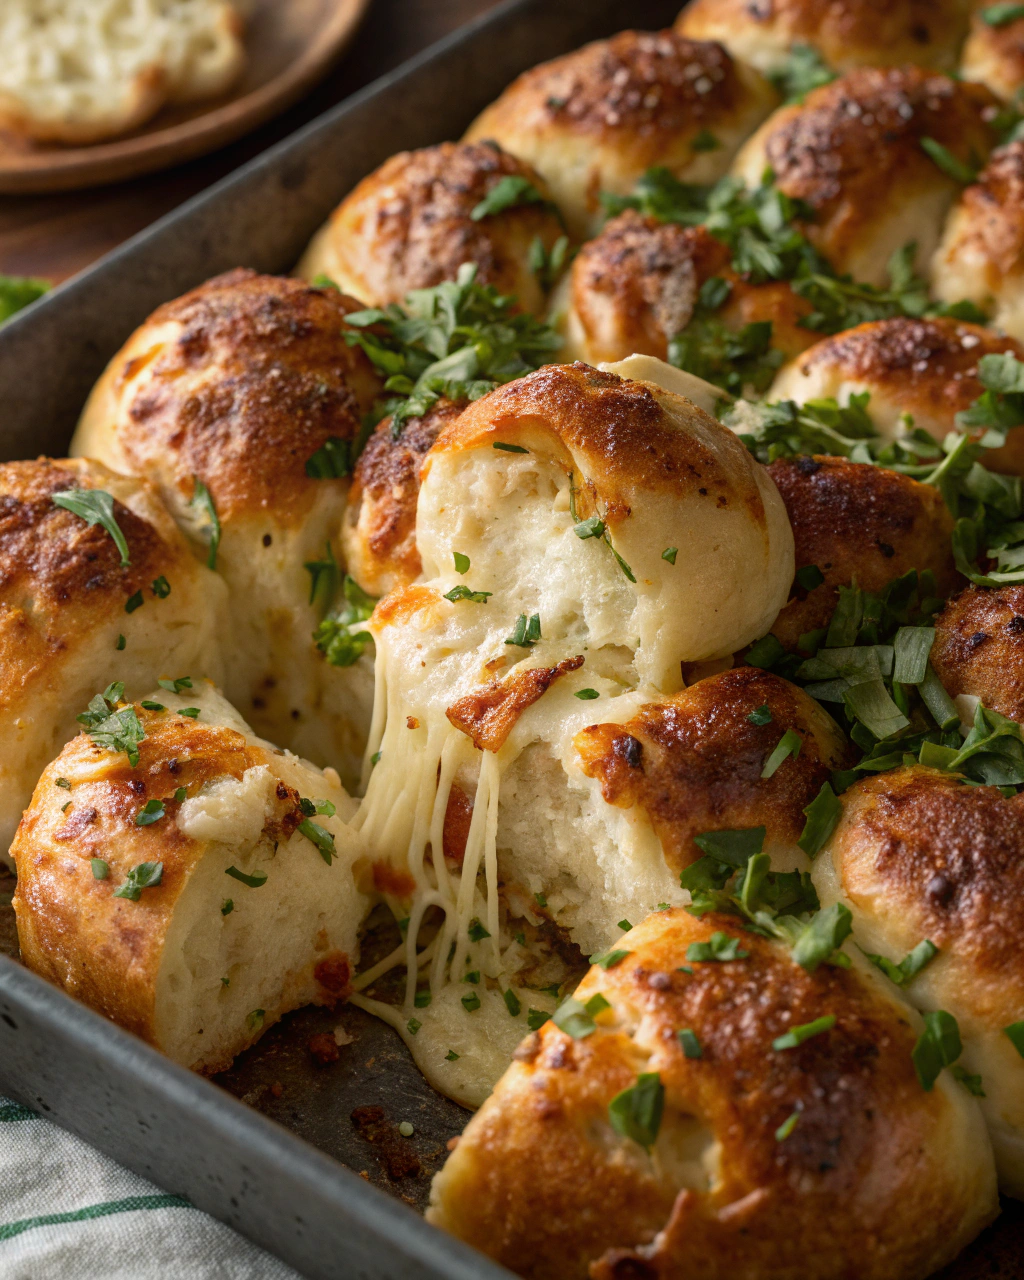
Garlic Knots That Pull Apart in the Most Satisfying Way
Raise your hand if you’ve ever found yourself staring at a pile of soft, buttery knots wondering if you should just eat the entire batch before anyone notices. Yep, that’s me every time! There’s just something magical about those tiny twists of garlicky dough that pull apart with such buttery, savory goodness. They’re not just rolls; they’re an experience—a bit chewy, perfectly golden, with garlic and herbs that make your kitchen smell like heaven. Today, I’m sharing my tried-and-true method for making garlic knots at home that deliver that pull-apart effect you’ll want to savor bite by bite (or devour all at once, I won’t judge!). Ready to make your own? Let’s get twisting!
Quick Facts
- Yield: Serves 8
- Prep Time: 15 minutes
- Cook Time: 15 minutes
- Total Time: 30 minutes
Ingredients
For the Main Dish:
- 2 ½ cups all-purpose flour
- 1 tsp instant yeast
- 1 tsp sugar
- ¾ tsp salt
- ¾ cup warm water (about 110°F)
- 2 tbsp olive oil (plus extra for coating)
For the Sauce / Garnish:
- 4 tbsp unsalted butter, melted
- 3 cloves garlic, minced
- 2 tbsp fresh parsley, finely chopped
- ½ tsp salt
- Optional: ¼ tsp red pepper flakes for a little kick
How I Make It
Step 1:
In a large bowl, whisk together flour, instant yeast, sugar, and salt. Add the warm water and olive oil, stirring until a shaggy dough forms. Then, get your hands in there and knead for about 8 minutes on a lightly floured surface until the dough is smooth and elastic. It might be sticky at first—just dust flour sparingly as you go to avoid tough knots!
Step 2:
Place the dough in a lightly oiled bowl, cover with a clean kitchen towel, and let it rise in a warm spot for about 1 hour, or until it’s doubled in size. If your kitchen is chilly, the oven with just the light on is a perfect cozy spot.
Step 3:
Once risen, punch down the dough gently and divide it into about 12 equal pieces. Roll each piece into a 6-inch rope, then tie each rope into a loose knot—don’t worry about perfection, rustic charm is the point here!
Step 4:
Place the knots on a parchment-lined baking sheet. Cover loosely with a towel and let them rest for 15 minutes to puff up slightly.
Step 5:
Preheat your oven to 400°F. Meanwhile, melt the butter with minced garlic, salt, and parsley. Brush some of this buttery garlic goodness over each knot generously (save a little for when they come out of the oven).
Step 6:
Bake the knots for 12-15 minutes until golden brown and irresistible. Brush again with the remaining garlic butter immediately after baking for that extra shine and flavor punch. Let them cool just enough to pull apart and enjoy!
Variations & Tips
- Swap parsley for fresh basil or oregano for a different herbal note.
- Add ¼ cup grated Parmesan to the garlic butter for cheesy richness.
- Use whole wheat flour for a nuttier flavor and heartier texture.
- If you don’t have instant yeast, active dry yeast will work—just proof it first in warm water with sugar for 5 minutes.
- For a spice twist, toss the knots with smoked paprika or cayenne in the garlic butter.
- Don’t skip the resting time after knotting; this step keeps your knots tender and airy.
How I Like to Serve It
These garlic knots shine as a side for cozy weeknight pasta dinners or hearty soups. They also make perfect handheld snacks for game day or casual gatherings, especially when paired with a zesty marinara or creamy ranch dip. And trust me, the smell alone will have everyone gathering in the kitchen before the first bite!
Notes
- Store leftovers in an airtight container at room temperature for up to 2 days; reheat gently in the oven to bring back that fresh-baked warmth.
- You can freeze the baked knots in a zip-top bag for up to 3 months; thaw and reheat in the oven at 350°F for 10 minutes.
Closing: These garlic knots always steal the show with their perfect pull-apart texture and buttery, garlicky flavor—I promise they’ll become a household favorite in no time!

Hi, I’m Lina, the creator of Lina Easy Recipes.Cooking has always been my passion, and I love sharing simple, homemade dishes that anyone can prepare.
Love What You See?
Join me on Pinterest and Facebook for daily cooking inspiration, new recipe ideas, and behind-the-scenes kitchen stories. Let’s cook something wonderful together!

")


