Chef’s Secret: Okay, pro moment—if you want restaurant-level chicken Parmesan without the wait or the pantry of a trattoria, I’ve got a trick: a little minced garlic mixed into the breadcrumb coating and a quick pan-sear before the oven. I promise, this tiny step makes the crust crackle and the flavor sing like someone’s casually playing an accordion in the background. I learned it in a cramped but fragrant kitchen from a line cook who swore by garlic and heat. Stick with me and I’ll show you how to get golden, garlicky crust, molten cheese, and juicy chicken that stays tender under a blanket of bright tomato sauce.
Quick Facts
Yield: Serves 4
Prep Time:25 minutes
Cook Time:20 minutes
Total Time:45 minutes
Why This Recipe is Awesome
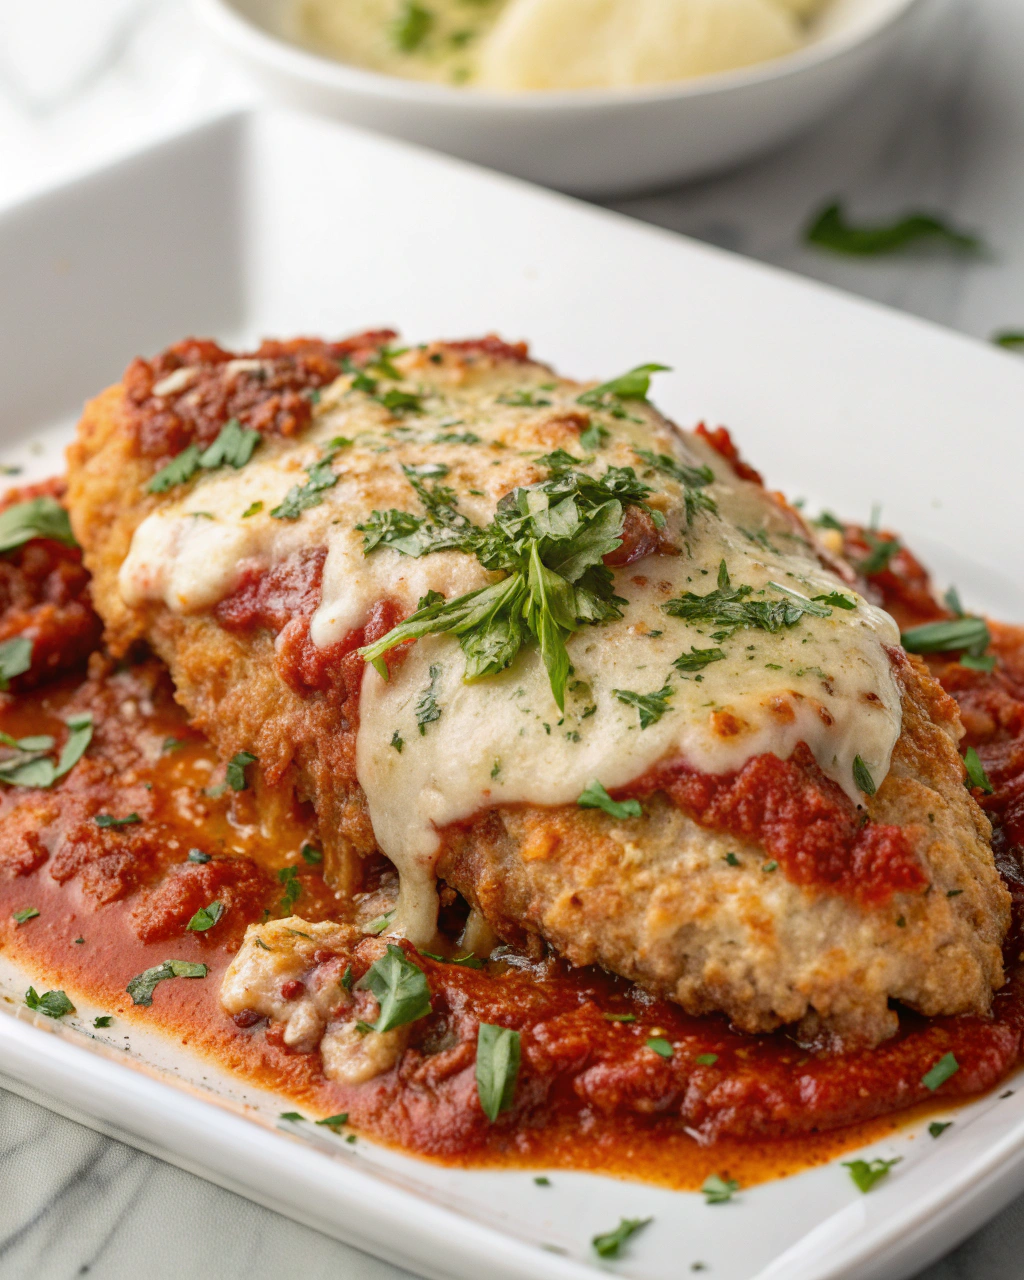
This chicken Parmesan hits all the comfort-food notes: a crunchy, garlicky crust, tangy tomato sauce, and gooey melted cheese. It tastes like something your favorite Italian restaurant would charge way too much for, but it comes together fast on a weeknight. It smells like garlic and basil in the best way, offers contrasting textures (crispy edges, tender center), and uses pantry-friendly ingredients. Also: it’s so forgiving even your distracted self can pull it off.
Ingredients
For the Main Dish:
4 boneless, skinless chicken breasts (about 1½ to 2 lbs), halved horizontally to make 8 cutlets
½ cup grated Parmesan cheese, plus extra for serving
3 cloves garlic, minced (or 1½ tsp garlic powder in a pinch)
1 tsp dried oregano
1 tsp dried basil
Salt and black pepper, to taste
3 tbsp olive oil (for pan-searing)
4 oz shredded mozzarella cheese per 2 cutlets (about 8 oz total)
1 lemon, zested (optional, brightens flavors)
For the Sauce / Garnish (if applicable):
2 cups marinara or crushed tomatoes (store-bought or homemade)
1 tbsp tomato paste (optional, for deeper flavor)
1 tbsp olive oil
Fresh basil or parsley for garnish
Crushed red pepper flakes (optional, for heat)
How I Make It
Step 1:
I preheat the oven to 425°F. While it warms, I slice each chicken breast in half horizontally to make thin cutlets (about ½-inch thick). I pat them dry and season both sides with salt and pepper. For the breading station, I set out three shallow bowls: one with flour, one with two beaten eggs plus 2 tbsp water (my egg wash), and one with the breadcrumb mix — panko, grated Parmesan, minced garlic, oregano, basil, and a pinch of salt. The scent of garlic and Parmesan already starts to make the kitchen feel cozy.
Step 2:
I dredge each cutlet in flour, shake off the excess, dip into the egg wash, then press firmly into the breadcrumb mixture so the crumbs cling. Want extra-crispy? Let the breaded cutlets rest on a rack for 5–10 minutes to set. Heat a large skillet over medium-high heat, add 3 tbsp olive oil, and when the oil shimmers, lay in the cutlets. I cook until the crust turns deep golden and makes a satisfying sizzle — about 2–3 minutes per side. You don’t cook through here; you just build the crunch and color.
Step 3:
I spread half the marinara in the bottom of a baking dish, arrange the seared cutlets snugly, spoon more sauce over each one, then top each with about 1–2 oz shredded mozzarella and a sprinkle of extra Parmesan. If you like a bright note, add a little lemon zest now. The kitchen smells like roasted garlic and tomato — that warm, familiar aroma that makes mouths water.
Step 4:
I bake at 425°F for 10–12 minutes until the cheese bubbles and the cutlets reach an internal temperature of 165°F. Look for bubbly, golden cheese and slightly crisp edges on the breadcrumbs. If the edges brown too quickly, I loosely tent foil for the last few minutes. The sound of the cheese bubbling is pretty much music to my ears.
Step 5:
I let the dish rest for 5 minutes, then finish with torn basil and a drizzle of olive oil. Serve over spaghetti, zucchini noodles, or on a crusty roll. The first bite should give you a crackle of crust, a juicy center, and a molten cheese pull that makes everyone at the table smile.
Pro Tips
Use panko for extra crunch; it stays lighter and crisper than regular crumbs.
Don’t overcrowd the skillet — cook cutlets in batches so they sear, not steam.
Use a digital thermometer to hit that safe temp of 165°F without overcooking.
Want even tastier crust? Add 1–2 tbsp melted butter to the breadcrumb mix for richer flavor.
Common Mistakes to Avoid
Skipping preheating: Classic rookie move. It changes texture and bake time.
Overmixing: Leads to dense or chewy results. Mix until just combined.
Guessing cook time: Always use visual cues or a timer, not just vibes.
Overcrowding pans: Give your food some breathing room to crisp properly.
Alternatives & Substitutions
Swap chicken for extra-firm tofu (press and slice) for a vegetarian twist — bread and bake the same way; texture shifts but flavor holds.
Use gluten-free breadcrumbs or crushed gluten-free crackers to make it gluten-free; add an extra egg wash if crumbs don’t stick well.
For dairy-free, skip the cheese and stir 2 tbsp nutritional yeast into the breadcrumbs for a savory note.
Swap marinara for pesto and use fresh tomato slices for a bright, less saucy version.
Variations & Tips
Spicy: Add ½ tsp crushed red pepper to the breadcrumb mix and ¼ tsp cayenne to the marinara.
Kid-friendly: Keep the sauce mild, use plain breadcrumbs, and serve with garlic buttered noodles.
Caprese Style: Top with fresh tomato slices and basil after baking, drizzle with balsamic glaze.
Air Fryer: Cook breaded cutlets at 400°F for 8–10 minutes, flipping halfway, then top with sauce and cheese and air-fry 2 more minutes.
Pesto Twist: Swap half the marinara for pesto and finish with a sprinkle of pine nuts.
Creative: Turn leftover chicken parm into sandwiches with arugula and pickled onions.
FAQ (Frequently Asked Questions)
Can I make this ahead of time?
Yes! You can bread the cutlets and keep them in the fridge for up to 24 hours or freeze them raw on a tray, then transfer to a bag. Assemble and bake from frozen, adding a few extra minutes. Reheat baked leftovers at 350°F until warmed through to keep the crust crisp.
Can I double the recipe?
Sure thing. Use two baking dishes or a larger pan and cook in batches if your skillet gets crowded. Baking time stays similar but check internal temps.
Can I substitute butter with oil?
Technically yes, but you’ll miss that buttery magic. Use ¾ the amount of oil.
How do I know it’s done?
Look for bubbly, slightly golden cheese and crisp, golden-brown breadcrumbs. Use a thermometer: chicken should read 165°F in the thickest part.
What if I don’t have ingredient X?
No panic. No Parmesan? Use extra mozzarella and a tablespoon of nutritional yeast. No panko? Crush crackers or use regular breadcrumbs.
How I Like to Serve It
I serve this over a nest of spaghetti tossed with olive oil, garlic, and parsley on weeknights. For company, I add a simple arugula salad with lemon vinaigrette and a chilled glass of Pinot Grigio. It also makes a killer sandwich on a toasted ciabatta for weekend lunches — leftovers transform into something new and delicious.
Notes
Store leftovers in an airtight container in the fridge for up to 3 days. Reheat in a hot oven to revive the crust.
Always cook chicken to a safe internal temperature of 165°F.
Final Thoughts
Closing: Now go impress someone — or just yourself — with your homemade garlicky chicken Parmesan. It crisps, it melts, it comforts. You’ve got this.
Hi, I’m Lina, the creator of Lina Easy Recipes.Cooking has always been my passion, and I love sharing simple, homemade dishes that anyone can prepare.
Spread the love
Love What You See?
Join me on Pinterest and Facebook for daily cooking inspiration, new recipe ideas, and behind-the-scenes kitchen stories. Let’s cook something wonderful together!