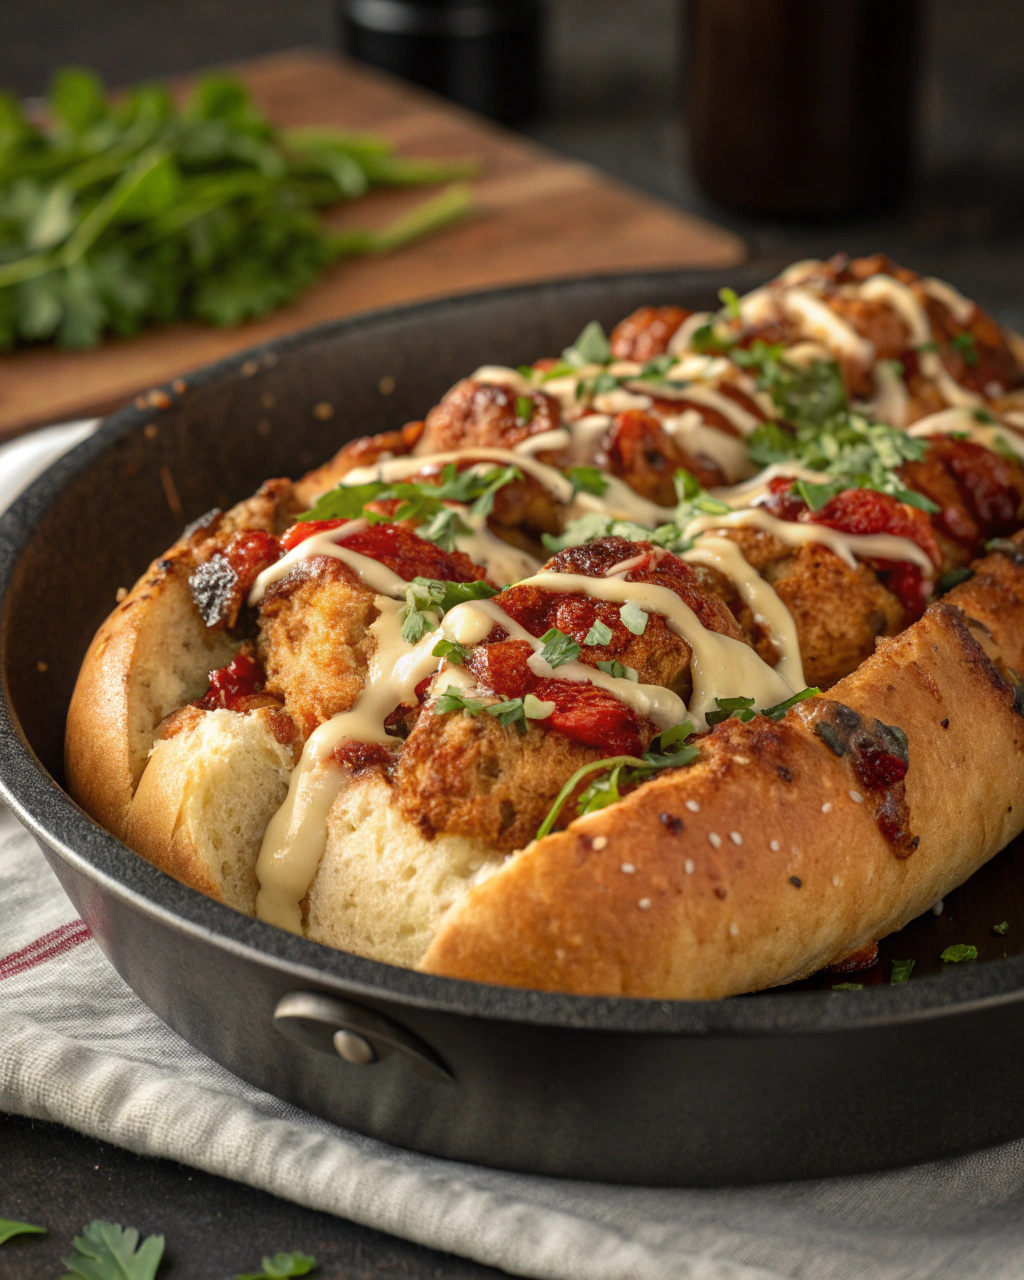
Okay, picture this: I once tried to recreate Raising Cane’s chicken after midnight with nothing but a half-empty jar of mayo and cosmic optimism — the kitchen smelled like garlic and regret, but the crunchy goodness won. I still laugh about that clumsy, delicious disaster because the core idea stuck: tender, garlicky strips, a whisper of tang, and an outrageously addictive dipping sauce. This version keeps the soul of Cane’s — crisp outside, juicy inside — but turns up the garlic to eleven. It’s fast, forgiving, and perfect for game day, weeknights, or when you need to impress your friends without breaking a sweat.
Quick Facts
- Yield: Serves 4
- Prep Time: 20 minutes
- Cook Time: 12–15 minutes
- Total Time: 35 minutes
Why This Recipe is Awesome
It delivers that irresistible combo of crunchy exterior and juicy interior with a garlicky zing — basically comfort food that claps. It’s so straightforward that even your busiest weeknight can handle it, and the sauce? I dare you not to lick the spoon. Texture-wise, you get a satisfying crisp snap, and flavor-wise, garlic and a tangy mayo-ketchup dip make every bite sing.
Ingredients
For the Main Dish:
- 1.5 lb boneless, skinless chicken tenders or strips
- 1 cup buttermilk (or 1 cup milk + 1 tbsp lemon juice, let sit 5 minutes)
- 4 garlic cloves, minced (or 2 tsp garlic paste)
- 1 tsp kosher salt, plus more to taste
- 1/2 tsp black pepper
- 1 tsp hot sauce (optional but tasty)
- 1 1/2 cups all-purpose flour
- 1/4 cup cornstarch (for extra crisp)
- 1 tsp paprika
- 1 tsp onion powder
- 1/2 tsp garlic powder
- 1/4 tsp cayenne (optional)
- Vegetable oil for frying (about 3–4 cups depending on your pan)
For the Sauce / Garnish (if applicable):
- 1/2 cup mayonnaise
- 1/4 cup ketchup
- 1 tsp Worcestershire sauce
- 1 garlic clove, finely minced or 1/2 tsp garlic powder
- 1/2 tsp smoked paprika
- 1 tsp lemon juice
- Pickle slices and lemon wedges for serving (optional)
How I Make It
Step 1:
I start by marinating the chicken to lock in moisture. In a bowl, whisk together 1 cup buttermilk, 4 minced garlic cloves, 1 tsp kosher salt, 1/2 tsp black pepper, and 1 tsp hot sauce. Toss the 1.5 lb chicken strips in the mixture so every piece gets a garlicky hug. Let it rest at room temp for 10–15 minutes or refrigerate up to 4 hours. Pro tip: if you’re short on time, even 10 minutes helps.
Step 2:
While the chicken marinates, set up a dredging station. In a wide bowl, combine 1 1/2 cups flour, 1/4 cup cornstarch, 1 tsp paprika, 1 tsp onion powder, 1/2 tsp garlic powder, and 1/4 tsp cayenne. Remove the chicken from the marinade, let excess drip off, and dredge each piece, pressing the flour mix so a generous coating sticks. For extra-crispy, double dredge: dip once quickly back into the buttermilk and flour again.
Step 3:
Heat oil in a heavy skillet or Dutch oven to 350°F (use a thermometer — it pays off). Carefully add chicken pieces without overcrowding; you want a sizzle, not steam. Fry for about 3–4 minutes per side until the crust turns golden brown and crunchy. You’ll hear that delicious crisping sound and smell fragrant garlic and toasted spices. If you don’t have a thermometer, look for a steady bubble pattern around the chicken and golden edges.
Step 4:
Transfer cooked pieces to a wire rack set over a sheet pan to drain — don’t use paper towels (they trap steam and soften the crust). Let the chicken rest 3–5 minutes; the juices settle and the center hits the safe temp. Check a thick piece with an instant-read thermometer; it should read 165°F at the thickest point. If it needs another minute, give it one.
Step 5:
Whisk the dipping sauce together: 1/2 cup mayo, 1/4 cup ketchup, 1 tsp Worcestershire, 1 minced garlic clove, 1/2 tsp smoked paprika, and 1 tsp lemon juice. Taste and add salt or a few drops of hot sauce if you like heat. Serve warm chicken with the sauce, pickle slices, and buttery toast on the side for full Cane’s vibes. The first bite should crunch, then flood your mouth with juicy, garlicky comfort.
Pro Tips
- Keep the oil at a steady 350°F. Too hot burns the crust; too cool makes soggy chicken.
- Use a wire rack to rest fried chicken so the bottom stays crisp — paper towels make it limp.
- Add 1/4 cup cornstarch to the flour for an extra-crunchy shell that stays crisp longer.
- If you double-dredge, press the flour firmly into the wet chicken so it adheres and creates a thicker crust.
Common Mistakes to Avoid
- Skipping preheating: Classic rookie move. It changes texture and bake time.
- Overmixing: Leads to dense or chewy results. Mix until just combined.
- Guessing cook time: Always use visual cues or a timer, not just vibes.
- Overcrowding pans: Give your food some breathing room to crisp properly.
Alternatives & Substitutions
- Swap chicken for firm tofu strips (press and marinate) for a vegetarian take — expect a firmer texture but similar flavor.
- Use plain Greek yogurt instead of buttermilk; it adds tang and keeps the chicken juicy but gives a slightly thicker coating.
- For dairy-free, substitute buttermilk with almond milk + lemon and use dairy-free mayo in the sauce.
- Ground rice or gluten-free flour mix can replace flour for a gluten-free crust (texture will vary).
Variations & Tips
- Spicy: Add 1 tsp cayenne to the flour and a few dashes of hot sauce to the marinade.
- Garlic-Parmesan: Toss hot tenders in grated Parmesan and chopped parsley right after frying.
- Oven-baked: Bake at 425°F on a rack for 18–22 minutes, flipping once (less crispy than frying).
- Air fryer: Cook at 400°F for 10–12 minutes, flipping halfway, spritzing with oil for crispiness.
- Kid-friendly: Skip the cayenne and serve with slightly sweeter sauce by adding a teaspoon of honey.
- Creative twist: Add lemon zest to the flour mix for a bright, citrusy pop.
FAQ (Frequently Asked Questions)
- Can I make this ahead of time?
- Yes! Marinate the chicken up to 4 hours ahead and keep covered in the fridge. Dredge right before frying. Store cooked tenders in an airtight container in the fridge for up to 3 days. Reheat in a 375°F oven on a rack for 6–8 minutes to revive crispiness.
- Can I double the recipe?
- Sure thing. Use a larger pot or fry in batches so you don’t drop the oil temp. More batches mean more time, but the results stay consistent if you keep oil temp steady.
- Can I substitute butter with oil?
- Technically yes, but you’ll miss that buttery magic. Use ¾ the amount of oil when substituting in recipes that call for melted butter.
- How do I know it’s done?
- Look for a deep golden crust, steady sizzling, and an internal temperature of 165°F. The juices should run clear, and the meat should feel springy, not rubbery.
- What if I don’t have ingredient X?
- No drama: replace buttermilk with milk + lemon juice, swap cornstarch with rice flour for crispiness, or use onion powder if you’re out of fresh garlic (but fresh tastes best).
How I Like to Serve It
I pile these tenders on a plate with slices of toasted Texas bread, dill pickles, and a big bowl of that garlicky sauce. They shine at game nights, backyard BBQs, or lazy Friday dinners. Pair with fries, coleslaw, or a crisp green salad and a cold soda or beer — simple, satisfying, and crowd-pleasing year-round.
Notes
- Store leftovers in an airtight container for up to 3 days. Reheat in the oven at 375°F on a rack to keep crust crisp.
- Safe internal cooking temperature for chicken: 165°F.
Final Thoughts
Closing: Now go impress someone — or just yourself — with your homemade garlicky Raising Canes chicken. Crunch, garlic, and a dreamy dip: life’s little victories on a plate.

Hi, I’m Lina, the creator of Lina Easy Recipes.Cooking has always been my passion, and I love sharing simple, homemade dishes that anyone can prepare.
Love What You See?
Join me on Pinterest and Facebook for daily cooking inspiration, new recipe ideas, and behind-the-scenes kitchen stories. Let’s cook something wonderful together!

