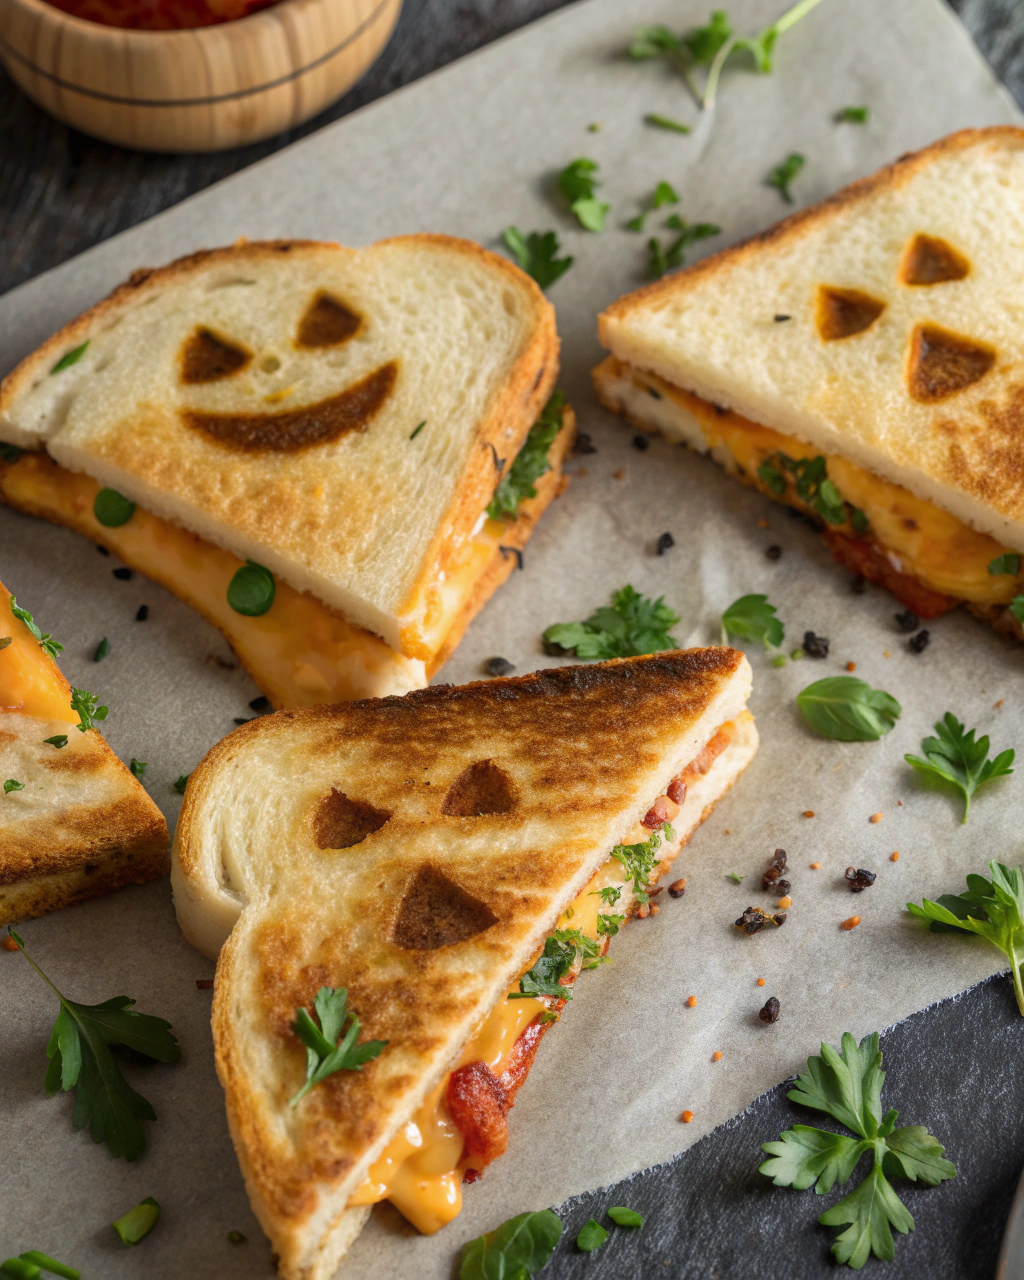
Ghost-Shaped Grilled Cheese Sandwiches – easy Halloween lunch for kids
Alright, picture this: It’s a crisp October day, and you want to whip up something fun and spooky for the little goblins at home. Enter these ghost-shaped grilled cheese sandwiches—cute enough to make your kids giggle but seriously delicious too! The golden crust, that melty cheddar peeking out, and the soft, gooey center make every bite pure comfort with a side of festive charm. Plus, cutting sandwiches into ghost shapes is a breeze with a cookie cutter, turning lunch prep into a mini Halloween party. I can’t wait to share how easy and fun this is—no tricks here, just yummy treats!
Quick Facts
- Yield: Serves 4
- Prep Time: 10 minutes
- Cook Time: 8 minutes
- Total Time: 18 minutes
Ingredients
For the Main Dish:
- 8 slices sandwich bread (white or whole wheat)
- 6 oz shredded sharp cheddar cheese (about 1 1/2 cups)
- 4 tbsp unsalted butter, softened
- 1 ghost-shaped cookie cutter (about 3 to 4 inches tall)
- Optional: black olive slices or edible marker for ghost faces
How I Make It
Step 1:
Start by spreading a thin, even layer of softened butter on one side of each bread slice. This will give you a perfectly crispy, golden-brown exterior once it hits the skillet.
Step 2:
Place 4 slices of bread, buttered side down, on a large cutting board. Evenly sprinkle about 1 1/2 cups shredded cheddar across each slice for that melty, cheesy goodness.
Step 3:
Top with the remaining bread slices, buttered side up, to complete each sandwich.
Step 4:
Using your ghost-shaped cookie cutter, carefully press down on each sandwich to cut out ghost shapes. Save the leftover bread for breadcrumbs or little snack bites!
Step 5:
Heat a large nonstick skillet over medium heat. Place the ghost sandwiches in the skillet and cook for about 3-4 minutes per side until the bread is golden and the cheese is melted. Keep an eye on the heat so they brown evenly without burning.
Step 6:
Once cooked, let them cool slightly. Use black olive slices or an edible food marker to add cute ghost faces – it’s the perfect finishing touch!
Variations & Tips
- Swap cheddar for mozzarella for a stretchier melt.
- Add a thin layer of tomato sauce inside for a mini pizza twist.
- Use whole wheat or sourdough for extra flavor and texture.
- If you don’t have a ghost cutter, cut squares and draw ghost faces instead.
- For extra crunch, sprinkle a little garlic powder on the butter before grilling.
How I Like to Serve It
This sandwich pairs beautifully with a small bowl of tomato soup or your kids’ favorite apple slices. Serve on a festive Halloween plate or alongside some carrot “witch fingers.” These ghost sandwiches make lunch fun, cozy, and festive – perfect for a chilly October day or a school lunchbox surprise.
Notes
- Store leftovers wrapped tightly in the fridge for up to 2 days; reheat in a skillet to keep crisp.
- If the sandwiches feel too buttery, reduce the butter by half or use cooking spray.
Closing: These ghost-shaped grilled cheese sandwiches are a simple but magical way to add some spooky delight to your kids’ lunch—fun shapes and melty cheese never fail to bring smiles!

Hi, I’m Lina, the creator of Lina Easy Recipes.Cooking has always been my passion, and I love sharing simple, homemade dishes that anyone can prepare.
Love What You See?
Join me on Pinterest and Facebook for daily cooking inspiration, new recipe ideas, and behind-the-scenes kitchen stories. Let’s cook something wonderful together!


