Alright, picture this: it’s a sunny Saturday afternoon, and the grill is fired up, sending out those irresistible smoky scents that just scream summer is here. There’s something about juicy grilled chicken that tastes like happiness, especially when paired with a crisp, refreshing tomato cucumber salad that has just the right zing. This combo is my go-to when I want a meal that’s light but still packed with flavor and satisfying textures. Plus, it’s super easy, so whether you’re a grill pro or just getting started, I’ve got you covered with tips to make sure your chicken stays moist and your salad bursts with freshness. Let’s get grilling!
First, let’s make that chicken shine! In a small bowl, whisk together olive oil, garlic powder, smoked paprika, salt, pepper, and lemon juice. Pat your chicken breasts dry with paper towels—this helps get a nice sear—and then rub the marinade all over the chicken. Set it aside to marinate for at least 10 minutes (or up to 30 if you have the time) to soak in all those flavors.
Step 2:
While your chicken is marinating, mix together the salad ingredients! In a large bowl, combine the halved cherry tomatoes, diced cucumber, sliced red onion, and chopped parsley. Drizzle with olive oil and red wine vinegar. Give it a gentle toss and season with salt and pepper to your taste. If you want a little extra creaminess and tang, sprinkle in some crumbled feta cheese.
Step 3:
Preheat your grill to medium-high heat (about 400°F). If you don’t have a grill, a grill pan or cast-iron skillet will work beautifully too—just preheat it well so the chicken gets those gorgeous grill marks and doesn’t stick.
Step 4:
Place the chicken on the hot grill and cook for about 6-7 minutes per side. Resist the urge to move it around too much; letting it sit will help develop that beautiful char. Use a meat thermometer to check doneness—the safe internal temperature for chicken is 165°F. If you don’t have one, cut slightly into the thickest part to make sure it’s no longer pink inside.
Step 5:
Once cooked, transfer the chicken to a plate and let it rest for 5 minutes. Resting helps those juices redistribute so each bite stays juicy and tender.
Step 6:
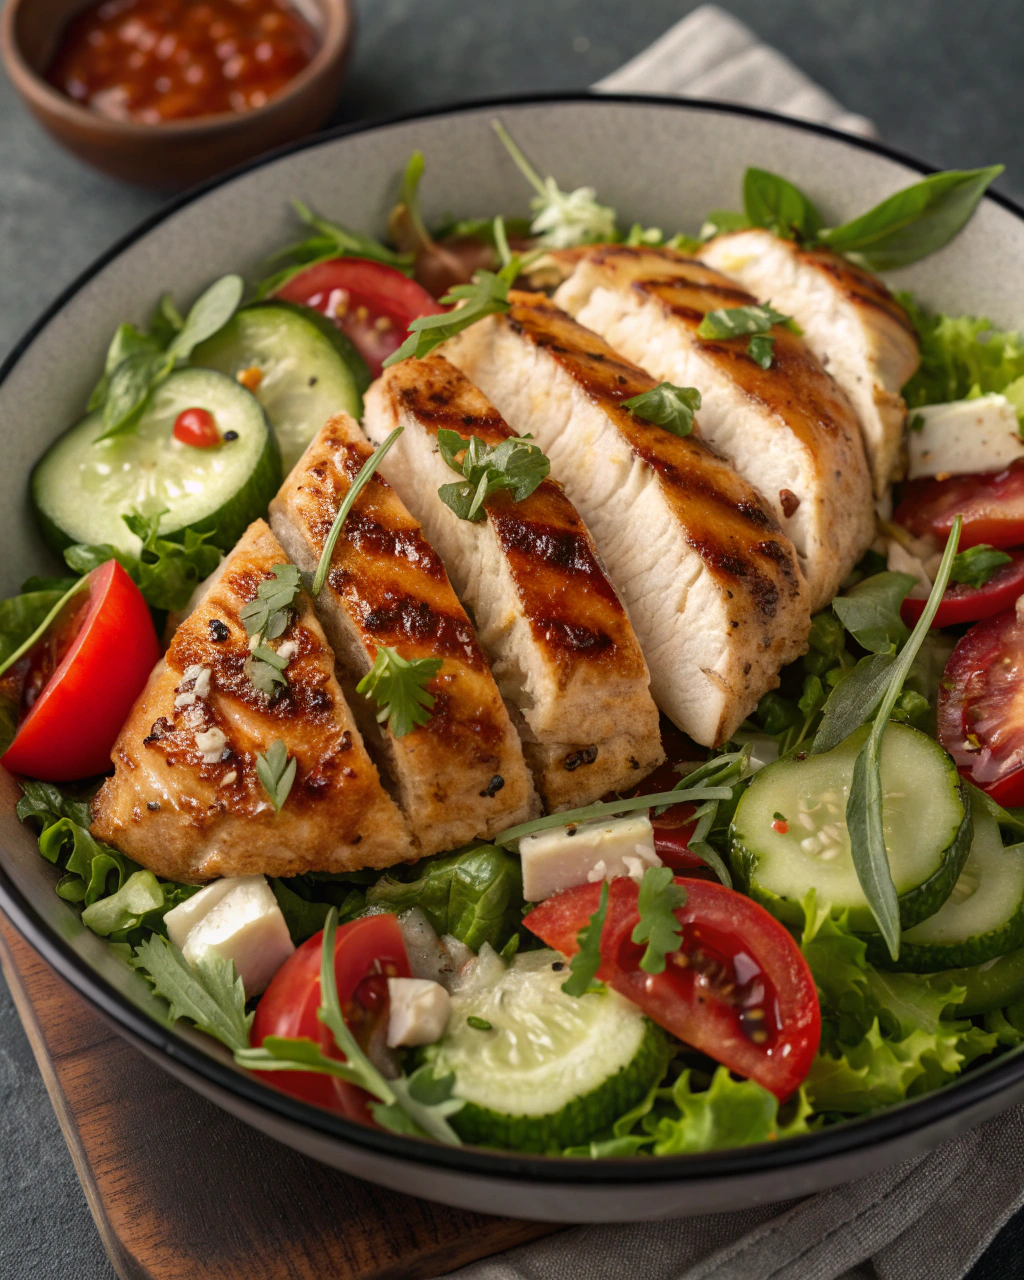
Slice your chicken against the grain and plate it alongside a big scoop of the vibrant tomato cucumber salad. That contrast of hot, smoky chicken with cool, crisp salad is just unbeatable!
Variations & Tips
Use bone-in thighs for juicier meat with a slightly longer cook time.
Add fresh basil or mint to the salad for a herby twist.
For a spicy kick, sprinkle some red pepper flakes on the salad or chicken.
Swap the red wine vinegar with lemon juice for a brighter, citrusy dressing.
If you prefer, marinate the chicken overnight for even deeper flavor.
Grill some lemon halves alongside the chicken and squeeze the grilled lemon over the top before serving.
How I Like to Serve It
This grilled chicken and fresh salad combo is perfect for a relaxed summer dinner on the patio or a weekend family lunch. It pairs beautifully with crusty bread or even some fluffy couscous for a heartier meal. I also love making extra salad for easy leftovers that brighten up lunch the next day.
Notes
Store leftover chicken and salad separately in airtight containers in the fridge for up to 3 days.
Reheat chicken gently in a skillet or microwave to keep it moist; avoid overcooking.
Closing: This recipe strikes that perfect balance between simple and fresh, making it a reliable favorite in my kitchen all year round.
Hi, I’m Lina, the creator of Lina Easy Recipes.Cooking has always been my passion, and I love sharing simple, homemade dishes that anyone can prepare.
Spread the love
Love What You See?
Join me on Pinterest and Facebook for daily cooking inspiration, new recipe ideas, and behind-the-scenes kitchen stories. Let’s cook something wonderful together!