Haunted Gingerbread House – spooky Halloween gingerbread idea
Spread the love
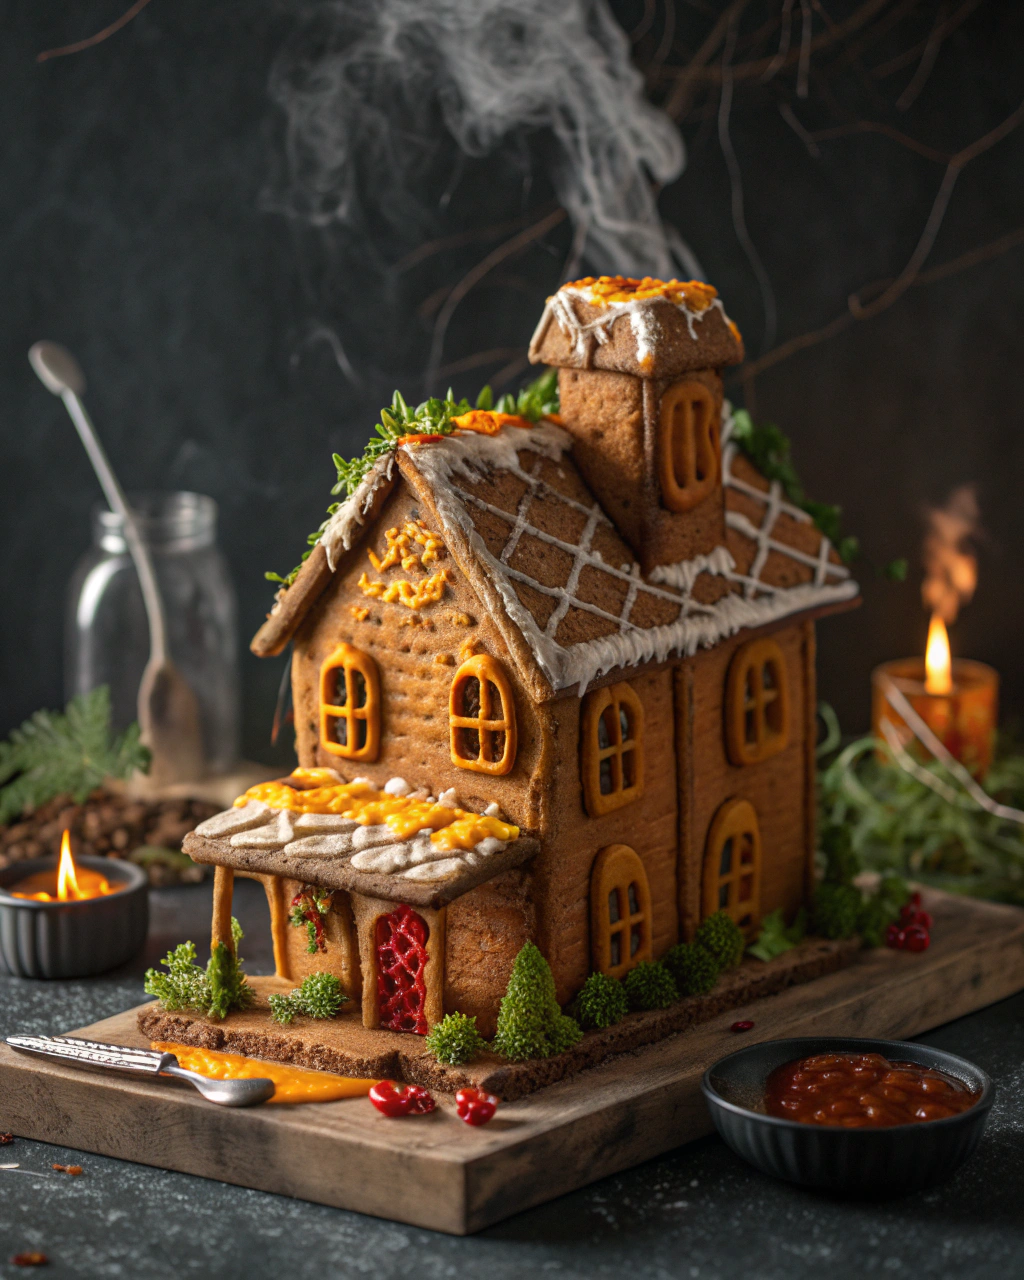
Haunted Gingerbread House – spooky Halloween gingerbread idea
Ah, Halloween wouldn’t be the same without a little spooky fun in the kitchen, right? This Haunted Gingerbread House is my absolute favorite way to mix the cozy smells of gingerbread with eerie, creepy-cute Halloween vibes. Imagine the sweet scent of molasses and ginger filling your home, while you carefully assemble a ghostly, cobwebbed little abode that looks like it popped out of a haunted forest—yep, pure magic! Plus, the best part? You don’t have to be a pro baker to pull this off. I’ll share all my best tricks to help you craft a gingerbread house that’s as sturdy as an old haunted mansion but without the ghostly mess. Ready to get spooky and sweet all at once?
Quick Facts
Yield: 1 haunted gingerbread house (about 6 servings)
Black licorice strings, candy eyeballs, mini marshmallows, and candy corn
Edible glitter or colored sugar
How I Make It
Step 1:
Start by whisking together the flour, baking soda, and spices in a large bowl. In another bowl, cream the butter and brown sugar until fluffy. Beat in the egg, molasses, and vanilla until smooth.
Step 2:
Slowly add the dry mixture into the wet, stirring until a thick dough forms. Wrap it tightly in plastic wrap and chill in the fridge for at least 30 minutes—this makes rolling easier and prevents spreading.
Step 3:
Preheat your oven to 350°F. Roll the dough out on a lightly floured surface to about ¼ inch thick. Use a printed template or freehand carve your haunted house pieces—walls, roof, and spooky details like a crooked door or jagged windows.
Step 4:
Place the cut pieces on parchment-lined baking sheets and bake for 12–15 minutes. They should be firm but not overbaked—edges may darken slightly, adding to the haunted vibe!
Step 5:
While the pieces cool, whisk your royal icing until stiff peaks form. Divide and tint portions with your food coloring—keep some white for “cobweb” effects.
Step 6:
Now, the fun part: assembling! Use thick royal icing as glue and carefully attach the walls, holding each piece for a minute to set. Once the structure stands, pipe on cobwebs, ghosts, and dripping “goo” in white and black icing. Add candy eyes, mini marshmallow ghosts, and sprinkle with edible glitter for that eerie sparkle.
Variations & Tips
Swap molasses for honey or maple syrup for a milder sweetness and softer texture.
Use cardboard templates glued to parchment paper to get perfectly even house pieces every time.
If your royal icing cracks while drying, gently mist with water and smooth with a wet fingertip.
Try adding a splash of black food coloring to your royal icing for extra creepy corners and shadows.
If you don’t want to use raw egg whites, meringue powder is a safe, shelf-stable alternative that works the same.
How I Like to Serve It
I love placing this haunted gingerbread house as a centerpiece on my Halloween party table, surrounded by flickering LED candles and autumn leaves. It also makes a festive gift with a little cellophane wrap and ribbon. And if you’re having a kids’ Halloween baking day, set up a decorating station with endless candy options and watch the spooky creativity unfold!
Notes
Store your finished gingerbread house in a cool, dry place to keep it from softening or getting sticky.
Royal icing hardens best when left uncovered at room temperature; avoid refrigerating it to prevent moisture buildup.
Closing: This haunted gingerbread house always brings that perfect mix of spooky fun and sweet nostalgia—and the best part? You get to eat your masterpiece afterward!
Hi, I’m Lina, the creator of Lina Easy Recipes.Cooking has always been my passion, and I love sharing simple, homemade dishes that anyone can prepare.
Spread the love
Love What You See?
Join me on Pinterest and Facebook for daily cooking inspiration, new recipe ideas, and behind-the-scenes kitchen stories. Let’s cook something wonderful together!


 - spooky Halloween popcorn snack")
