
I will admit something: I once tried to impress a date with chicken piccata and nearly flooded the kitchen with lemon juice like a citrus tsunami. Learn from my dramatic past — this healthy meal-prep version keeps the zingy lemon punch and salty caper pop without the drama or the extra calories. Think bright, glossy sauce that smells like sunshine, golden-seared chicken that snaps when you cut it, and weekly lunches that actually make you excited to eat the same thing three days in a row. I’ll walk you through quick steps, tiny trade-offs, and a couple of ninja moves to keep the sauce silky and the chicken tender every time.
Quick Facts
- Yield: Serves 4
- Prep Time: 15 minutes
- Cook Time: 20 minutes
- Total Time: 35 minutes
Why This Recipe is Awesome
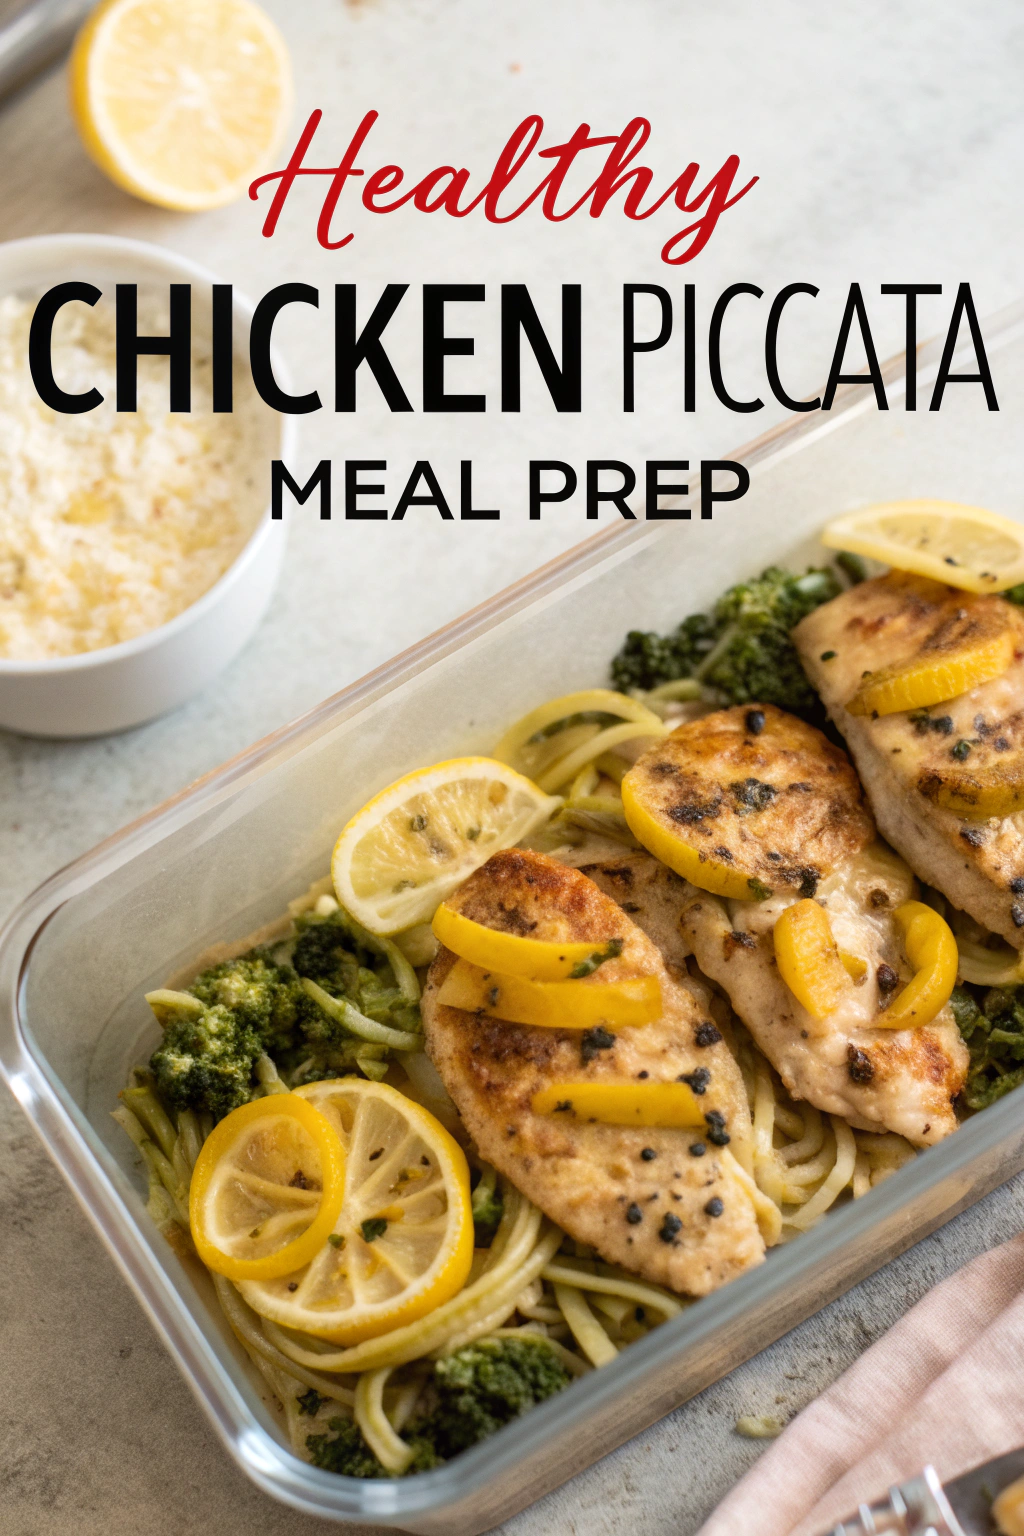
This chicken piccata gives you the bright lemony tang and briny caper bursts of the classic without drowning everything in butter. It stays light, reheats beautifully, and keeps its texture so your weekday lunches don’t turn into sad, soggy leftovers. The sauce clings to the chicken with a glossy finish, the edges get golden and slightly crisp, and the aroma of garlic and lemon will make your whole kitchen feel like a trattoria. It’s so easy even your hurried week can eat like it’s a weekend.
Ingredients
For the Main Dish:
- 1 1/2 pounds boneless, skinless **chicken breasts** (about 3 medium)
- 1/4 cup **whole wheat flour** (or all-purpose; use almond flour for GF)
- 1/2 tsp **salt** and 1/4 tsp black pepper, plus more to taste
- 1 tbsp **olive oil**
- 1 tbsp **butter** (optional — keeps sauce silky)
- 1 tbsp **capers**, rinsed
- 2 cloves **garlic**, minced
For the Sauce / Garnish:
- 3/4 cup low-sodium **chicken broth**
- 1/4 cup fresh **lemon juice** (about 1–2 lemons)
- 1 tsp lemon zest
- 2 tbsp chopped **fresh parsley**
- Optional: **red pepper flakes** for a tiny kick
How I Make It
Step 1:
Start by butterflying or pounding the **chicken breasts** to about 1/2-inch thickness so they cook evenly. Pat them dry with paper towels — dry chicken gets better browning. Season both sides with the **salt** and **pepper** and lightly dredge in the **whole wheat flour**, shaking off the excess. You’ll hear a satisfying sizzle when the chicken hits the pan.
Step 2:
Heat a large skillet over medium-high heat and add the **olive oil**. When it shimmers, add the chicken and sear for 3–4 minutes per side until the edges turn golden and the surface develops that lovely crust. Work in batches if needed; don’t overcrowd the pan or you’ll steam instead of brown. Transfer the chicken to a plate and tent with foil.
Step 3:
Lower the heat to medium and add the **butter** (if using) and **garlic** to the hot pan. Let the garlic smell wake you up — about 30 seconds until fragrant — then pour in the **chicken broth** and **lemon juice**. Use a wooden spoon to scrape up the brown bits stuck to the pan; that’s where the flavor hides. Add the **capers** and **lemon zest**, and let the sauce simmer and reduce for 3–4 minutes until it thickens slightly and glistens.
Step 4:
Return the chicken to the skillet and spoon the sauce over each piece. Simmer for another 2–3 minutes so the chicken finishes cooking and absorbs the lemony goodness. Look for glossy sauce coating the meat and juices that run clear — the chicken should reach an internal temperature of 165°F when you check with a meat thermometer.
Step 5:
Turn off the heat and sprinkle **fresh parsley** over everything. Let the chicken rest for a minute or two so the sauce settles. For meal prep, slice the chicken and divide into containers with a little extra sauce on top to keep it juicy. The bright lemon aroma and the tiny pops from capers make this dish feel celebratory even on a Tuesday.
Pro Tips
- Use a meat mallet or rolling pin to pound chicken to even thickness so it cooks in the same time.
- If your sauce needs more body, whisk in 1 tsp of cornstarch mixed into 1 tbsp cold water; simmer a minute until glossy.
- Rinse capers if they taste too salty — a quick rinse under water tames the brine.
- For meal-prep texture, store sauce separately from rice or pasta to prevent sogginess.
Common Mistakes to Avoid
- Skipping preheating: Classic rookie move. It changes texture and bake time.
- Overmixing: Leads to dense or chewy results. Mix until just combined.
- Guessing cook time: Always use visual cues or a timer, not just vibes.
- Overcrowding pans: Give your food some breathing room to crisp properly.
Alternatives & Substitutions
- Grain-free: Use **almond flour** or arrowroot in place of wheat flour for a gluten-free crust; almond flour gives a nuttier flavor and less crispness.
- Dairy-free: Swap the **butter** for an extra teaspoon of **olive oil** or a smear of coconut oil — you’ll lose a bit of that buttery magic but keep things bright.
- Vegetarian: Use thick **tofu steaks** or seared portobello mushrooms instead of chicken; press tofu well and increase sauce time to penetrate.
- Lower sodium: Use low-sodium **chicken broth** and rinse **capers** thoroughly; add salt to taste at the end.
Variations & Tips
- Spicy: Add 1/4 tsp red pepper flakes to the sauce for a warm kick.
- Kid-friendly: Skip capers and add a splash of chicken broth with a little honey to mellow the lemon.
- Mediterranean twist: Stir in chopped **olives**, sun-dried tomatoes, and a teaspoon of oregano.
- Herb-forward: Swap parsley for chopped basil or tarragon for a different aromatic profile.
- Creative twist: Add thinly sliced apples or pears to the pan for a sweet-and-tangy contrast that plays surprisingly well with lemon and capers.
FAQ (Frequently Asked Questions)
- Can I make this ahead of time?
- Yes! Cook the chicken and sauce, then cool completely and store in airtight containers for up to 4 days. Keep sauce separate if you plan to serve with pasta or grains to avoid sogginess. Reheat gently in a skillet over medium-low with a splash of water or broth to revive the sauce.
- Can I double the recipe?
- Sure thing. Use a larger skillet or work in batches so you don’t overcrowd and lose browning. The sauce scales well — double the lemon and broth and taste as you go.
- Can I substitute butter with oil?
- Technically yes, but you’ll miss that buttery magic. Use 3/4 the amount of oil and finish with a teaspoon of olive oil stirred in off-heat for gloss if you avoid butter.
- How do I know it’s done?
- Look for **golden edges**, a glossy, slightly reduced sauce, and an internal temperature of 165°F. The meat should feel firm but still springy when you press it.
- What if I don’t have ingredient X?
- No capers? Use chopped green olives or a splash of pickle juice for briny tang. Out of lemon? Substitute 2 tbsp white wine vinegar mixed with 2 tbsp water and a pinch of sugar.
How I Like to Serve It
I love this with a bed of fluffy brown rice or whole wheat pasta to soak up the sauce, plus a side of roasted asparagus or bright green beans for crunch. For lunches, I pack sliced chicken over a quinoa salad with cherry tomatoes and cucumbers — the lemon picks up wonderfully cold. On a cozy night, serve with mashed cauliflower and a crisp white wine for a low-calorie date-night vibe.
Notes
- Store cooked chicken and sauce in the fridge for up to 4 days. Reheat gently on the stove to avoid drying out.
- Always cook chicken to a safe internal temperature of 165°F.
Final Thoughts
Closing: Now go impress someone — or just yourself — with your homemade masterpiece!

Hi, I’m Lina, the creator of Lina Easy Recipes.Cooking has always been my passion, and I love sharing simple, homemade dishes that anyone can prepare.
Love What You See?
Join me on Pinterest and Facebook for daily cooking inspiration, new recipe ideas, and behind-the-scenes kitchen stories. Let’s cook something wonderful together!


