
I love that warm, sunlit memory of my mom pulling a steaming pot pie from the oven on chilly Saturdays. The kitchen smelled like butter and thyme, and the crust sang a quiet, flaky song when she tapped it with a spoon. That cozy ritual taught me that comfort food doesn’t have to mean heavy — and that you can make a lighter, meal-prep-friendly version without losing the soul of the dish. This recipe keeps the creamy, savory filling you crave but swaps in whole grains, extra veggies, and a tangy Greek yogurt boost so each reheated portion tastes fresh. Let’s make dinners that feel like a hug and travel well to work lunches, too.
Quick Facts
- Yield: Serves 6
- Prep Time: 25 minutes
- Cook Time: 40 minutes
- Total Time: 65 minutes
Why This Recipe is Awesome
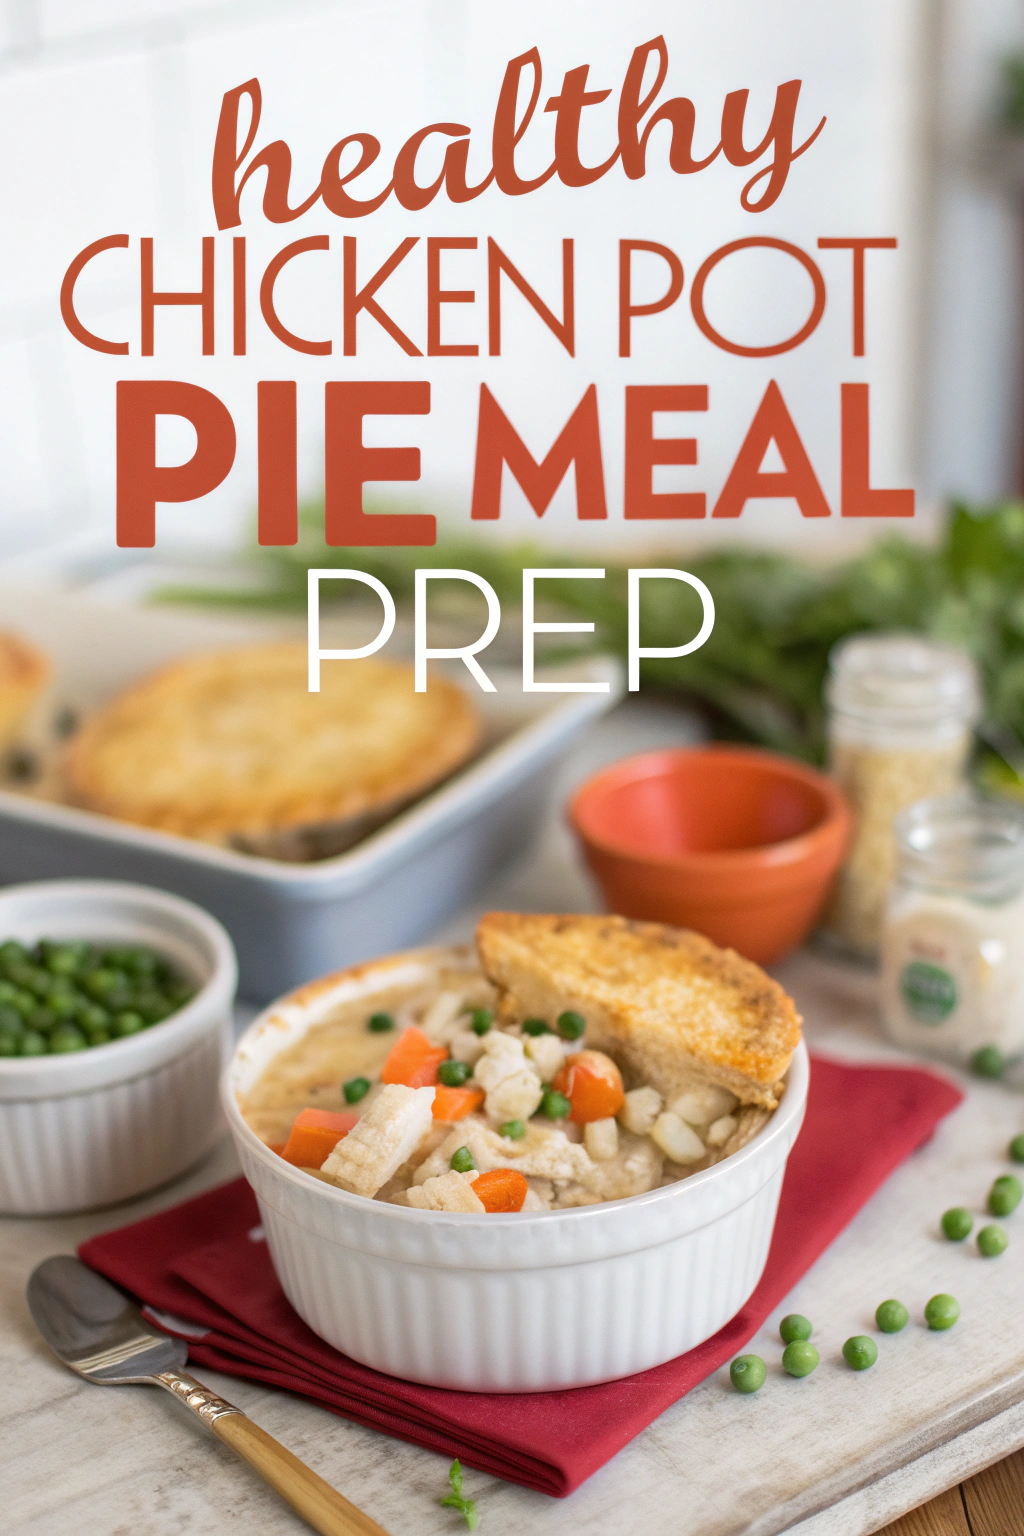
This Healthy Chicken Pot Pie meal prep gives you creamy, herb-scented filling and a light, golden biscuit lid that crisps just right. It’s balanced — lean **chicken**, lots of colorful **veggies**, and a tangy binder from **Greek yogurt** instead of heavy cream. It reheats beautifully for work lunches, and the texture stays pleasingly saucy without getting soggy. Plus, it’s so approachable even if you’re juggling a packed week. Who doesn’t love a dish that smells like home and saves dinner decisions?
Ingredients
For the Main Dish:
- 1 1/2 pounds boneless, skinless **chicken breasts** (about 2 large) or use rotisserie for speed
- 2 tablespoons **olive oil**
- 1 medium **onion**, diced (about 1 cup)
- 2 medium **carrots**, peeled and diced (about 1 cup)
- 2 celery stalks, diced (about 1 cup)
- 1 cup frozen **peas**, no need to thaw
- 3 cloves garlic, minced
- 3 tablespoons **all-purpose flour** (or whole wheat pastry flour)
- 1 1/2 cups low-sodium **chicken broth**
- 1/2 cup plain **Greek yogurt** (full or low-fat)
- 1 teaspoon dried **thyme** or 1 tbsp fresh chopped
- 1/2 teaspoon dried **rosemary**, crushed
- Salt and pepper to taste (start with 3/4 tsp salt)
For the Biscuit Topping / Garnish:
- 1 cup whole wheat flour (or all-purpose)
- 1 teaspoon baking powder
- 1/4 teaspoon salt
- 3 tablespoons cold **butter**, grated (or 2 tablespoons olive oil)
- 1/2 cup plain **Greek yogurt** + 2 tablespoons milk to loosen
- Fresh parsley for garnish (optional)
How I Make It
Step 1:
I preheat the oven to 375°F so it’s ready when the filling needs a golden crown. I season the **chicken breasts** with salt and pepper and sear them in a hot skillet with **olive oil** until they develop light brown edges — you should hear that gentle sizzle. I finish cooking in the oven or slice them thin and simmer briefly in the sauce later. The kitchen fills with a savory aroma that hints at what’s coming.
Step 2:
In the same skillet I add the **onion**, **carrots**, and **celery**. I cook until the veggies soften and the onion turns translucent, about 6–8 minutes. Toss in the garlic and cook 30 seconds until fragrant — the scent jumps forward here. Sprinkle the **flour** over the veggies and stir to coat; this base will thicken the sauce. Keep the heat medium so the flour toasts slightly without burning.
Step 3:
I pour in the **chicken broth** slowly while whisking so the mixture stays smooth. Then I stir in the shredded or chopped chicken, **peas**, **thyme**, and **rosemary**. Let it simmer gently for about 5 minutes until it thickens into a glossy, coat-the-spoon sauce. Remove from heat and stir in the **Greek yogurt** for tang and creaminess — the sauce brightens and thickens. Taste and adjust seasoning.
Step 4:
I spoon the filling into a 9×13 pan or divide it into six 1-cup ramekins for meal prep. For the biscuit topping: I whisk together flours, baking powder, and salt, rub in the grated **butter** until the mix looks sandy, then stir in **Greek yogurt** and milk until just combined. I drop spoonfuls of dough over the filling (or roll and place a sheet over) and brush the tops lightly with milk for color. Bake at 375°F for 20–25 minutes until the biscuits puff and the edges turn golden and the filling bubbles at the sides.
Step 5:
I let the pies rest for 10 minutes before serving — the steam settles and the filling firms slightly. I sprinkle chopped parsley for a fresh green pop. The biscuit tops should offer a soft interior and a slightly crisp, golden exterior; the filling should smell herb-forward and look glossy. Serve warm or cool completely and refrigerate for meal prep.
Pro Tips
- Poach or shred a rotisserie chicken to save time — it adds convenience without sacrificing flavor.
- Don’t overwork biscuit dough; handle it gently for tender, fluffy tops.
- If the filling looks too thin, simmer a few extra minutes; if too thick, stir in 1–2 tablespoons chicken broth.
- To reheat, cover with foil and warm at 350°F for 15–20 minutes (individual ramekins may need less).
Common Mistakes to Avoid
- Skipping preheating: Classic rookie move. It changes texture and bake time.
- Overmixing: Leads to dense or chewy results. Mix until just combined.
- Guessing cook time: Always use visual cues or a timer, not just vibes.
- Overcrowding pans: Give your food some breathing room to crisp properly.
Alternatives & Substitutions
- Swap **chicken** for cubed tofu or cooked lentils for a vegetarian version; tofu keeps texture, lentils add heartiness.
- Replace **Greek yogurt** with low-fat sour cream or heavy cream — sour cream keeps tang, heavy cream makes it richer.
- For dairy-free, use a plant-based yogurt and olive oil in the biscuit dough; for gluten-free, use a 1:1 gluten-free flour blend and check baking powder.
- Use rotisserie chicken to save time — flavor stays strong and prep time drops dramatically.
Variations & Tips
- Spicy twist: add 1/2 teaspoon smoked paprika and a pinch of cayenne to the filling.
- Kid-friendly: swap peas for corn and dice vegetables into smaller pieces for easier bites.
- Lower-carb: skip the biscuit topping and serve over mashed cauliflower or on its own.
- One-pan weeknight: make a skillet version and top with biscuit dough pieces for the last 12–15 minutes of baking.
- Creative twist: stir in a handful of grated sharp cheddar into the filling for a savory, melty surprise.
FAQ (Frequently Asked Questions)
- Can I make this ahead of time?
- Yes! Assemble the filling and biscuit dough, store separately in the refrigerator for up to 48 hours, then top and bake when ready. Fully baked pies keep in the fridge for 3–4 days. Reheat covered at 350°F until warmed through.
- Can I double the recipe?
- Sure thing. Use two 9×13 pans or one large roasting pan. Increase baking time by 5–10 minutes if the pan gets crowded; watch for bubbling filling and golden tops.
- Can I substitute butter with oil?
- Technically yes, but you’ll miss that buttery magic. Use ¾ the amount of oil.
- How do I know it’s done?
- Look for **golden biscuit tops**, **bubbling** filling at the edges, and an internal temp of the chicken at least 165°F if you cooked chicken raw just before baking.
- What if I don’t have ingredient X?
- Out of Greek yogurt? Use sour cream or a splash of cream with an extra tablespoon of flour to thicken. No peas? Use frozen corn or extra diced carrots.
How I Like to Serve It
I love this pot pie on a rainy weeknight with a crisp green salad and a glass of chilled white wine. For lunches, I pack individual ramekins and add a quick side of raw veggies and hummus. It also travels well to potlucks — keep it in a covered dish to stay warm. In summer, I lighten it with more fresh herbs and a lemon zest finish to brighten the dish.
Notes
- Store leftovers in airtight containers for up to 4 days. Freeze portions (without biscuit) up to 3 months; thaw overnight and bake to reheat.
- Always cook chicken to a safe internal temperature of 165°F.
Final Thoughts
Closing: Now go impress someone — or just yourself — with your homemade Healthy Chicken Pot Pie meal prep! It warms the heart, feeds the week, and smells incredible while it bakes.

Hi, I’m Lina, the creator of Lina Easy Recipes.Cooking has always been my passion, and I love sharing simple, homemade dishes that anyone can prepare.
Love What You See?
Join me on Pinterest and Facebook for daily cooking inspiration, new recipe ideas, and behind-the-scenes kitchen stories. Let’s cook something wonderful together!


