
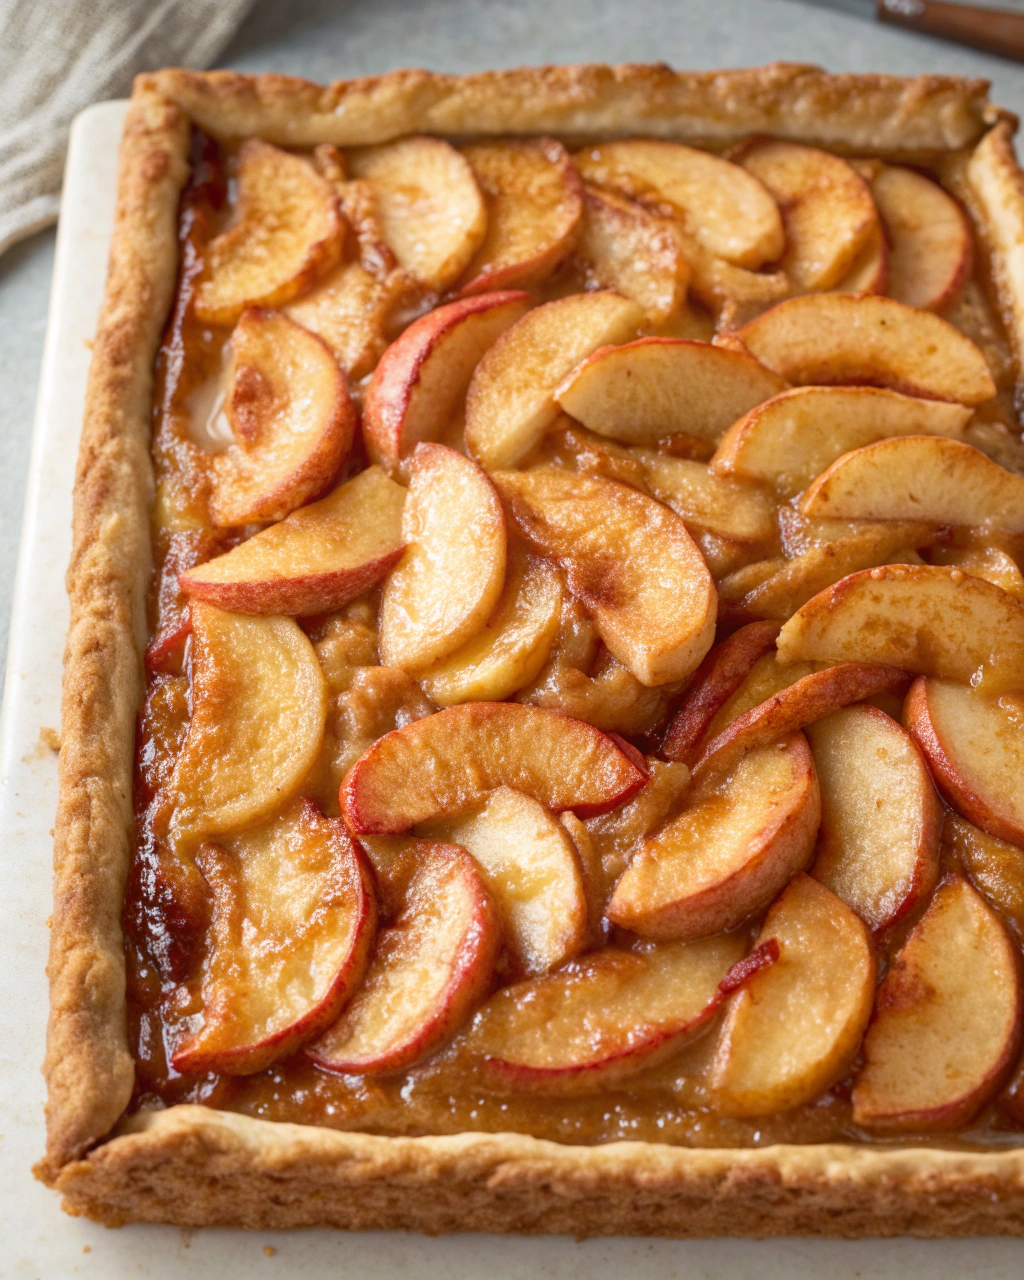
Homemade Apple Slab Pie
You know that warm, freshly baked apple pie smell that instantly makes a kitchen feel like home? Well, imagine that — but on a grand scale. I still remember the huge apple slab pies my grandma used to bake for family gatherings, each slice thick with tender, cinnamon-kissed apples on a buttery, flaky crust. This homemade apple slab pie brings a little bit of that nostalgia right to your countertop, and the best part? It’s way easier than wrestling with a traditional round pie. Plus, baking it in a slab shape means more crispy crust edges—which are honestly my favorite part. Trust me, your home is about to smell like fall all day long (even if it’s the middle of summer). Ready to dive into big, cozy slices of apple heaven? Let’s get baking!
Quick Facts
- Yield: Serves 8–10
- Prep Time: 25 minutes
- Cook Time: 50 minutes
- Total Time: 1 hour 15 minutes
Ingredients
For the Main Dish:
- 2 sheets refrigerated pie crust (or homemade if you prefer)
- 6 cups thinly sliced tart apples (like Granny Smith or Honeycrisp)
- ¾ cup granulated sugar
- ¼ cup brown sugar, packed
- 2 tbsp all-purpose flour
- 1 tsp ground cinnamon
- ¼ tsp ground nutmeg
- 1 tbsp lemon juice
- 1 tsp vanilla extract
- 1 egg, beaten (for egg wash)
- 1 tbsp coarse sugar (optional, for sprinkling)
How I Make It
Step 1:
First, preheat your oven to 375°F. Carefully unroll one pie crust and press it into a 9×13-inch baking dish, making sure it fits snugly and covers all the corners. This will be the base, so don’t forget to gently prick the bottom with a fork to prevent bubbling.
Step 2:
In a large bowl, toss together your sliced apples with both sugars, flour, cinnamon, nutmeg, lemon juice, and vanilla extract. This combo not only sweetens but also thickens the filling as it bakes, so you get that perfect gooey texture without a soggy crust.
Step 3:
Pour the apple mixture evenly over the pie crust in the baking dish, spreading it out so every bite gets a fair share of apple and spice.
Step 4:
Take your second pie crust sheet, and either lay it flat over the filling or cut wide strips for a lattice pattern. If you prefer full coverage, just gently place the crust over the apples, sealing the edges with your fingers or a fork to create a tight seal.
Step 5:
Brush the top crust with the beaten egg — this is the secret to that lovely golden color and beautiful shine. If you want some extra crunch and sparkle, sprinkle on a little coarse sugar.
Step 6:
Bake in the preheated oven for about 50 minutes, or until the crust is golden brown and the filling bubbles thickly around the edges. If the crust starts browning too fast, tent loosely with foil to prevent burning. Let it cool for at least 20 minutes before slicing—it helps the filling set so your slices hold together nicely.
Variations & Tips
- Mix in ½ cup chopped pecans or walnuts for extra crunch inside the filling.
- Swap out half the apples for peeled pears for a sweeter, juicier twist.
- Add a pinch of ground ginger or allspice for a warm, aromatic flavor boost.
- If you don’t have refrigerated dough, homemade pie crust or even puff pastry works beautifully.
- For an extra shine and crackle, brush top crust with a mix of egg wash and a teaspoon of milk.
- Use a jelly roll pan for a thinner pie if you want more slices or a lighter crust-to-filling ratio.
How I Like to Serve It
I adore serving this apple slab pie slightly warmed with a big scoop of vanilla ice cream melting right on top. It’s perfect for family dinners, potlucks, or whenever you need a little slice of cozy indulgence. Bonus: it’s a fantastic dessert for fall parties or holiday gatherings, where everyone can grab generous squares to share the love.
Notes
- Store leftovers covered in the fridge for up to 4 days—warm briefly before serving to revive that just-baked feeling.
- To reheat, bake at 350°F for about 10–15 minutes or microwave individual slices for 30 seconds.
Closing: This homemade apple slab pie always feels like a big, warm hug from the oven—simple, satisfying, and impossible not to love.

Hi, I’m Lina, the creator of Lina Easy Recipes.Cooking has always been my passion, and I love sharing simple, homemade dishes that anyone can prepare.
Love What You See?
Join me on Pinterest and Facebook for daily cooking inspiration, new recipe ideas, and behind-the-scenes kitchen stories. Let’s cook something wonderful together!


