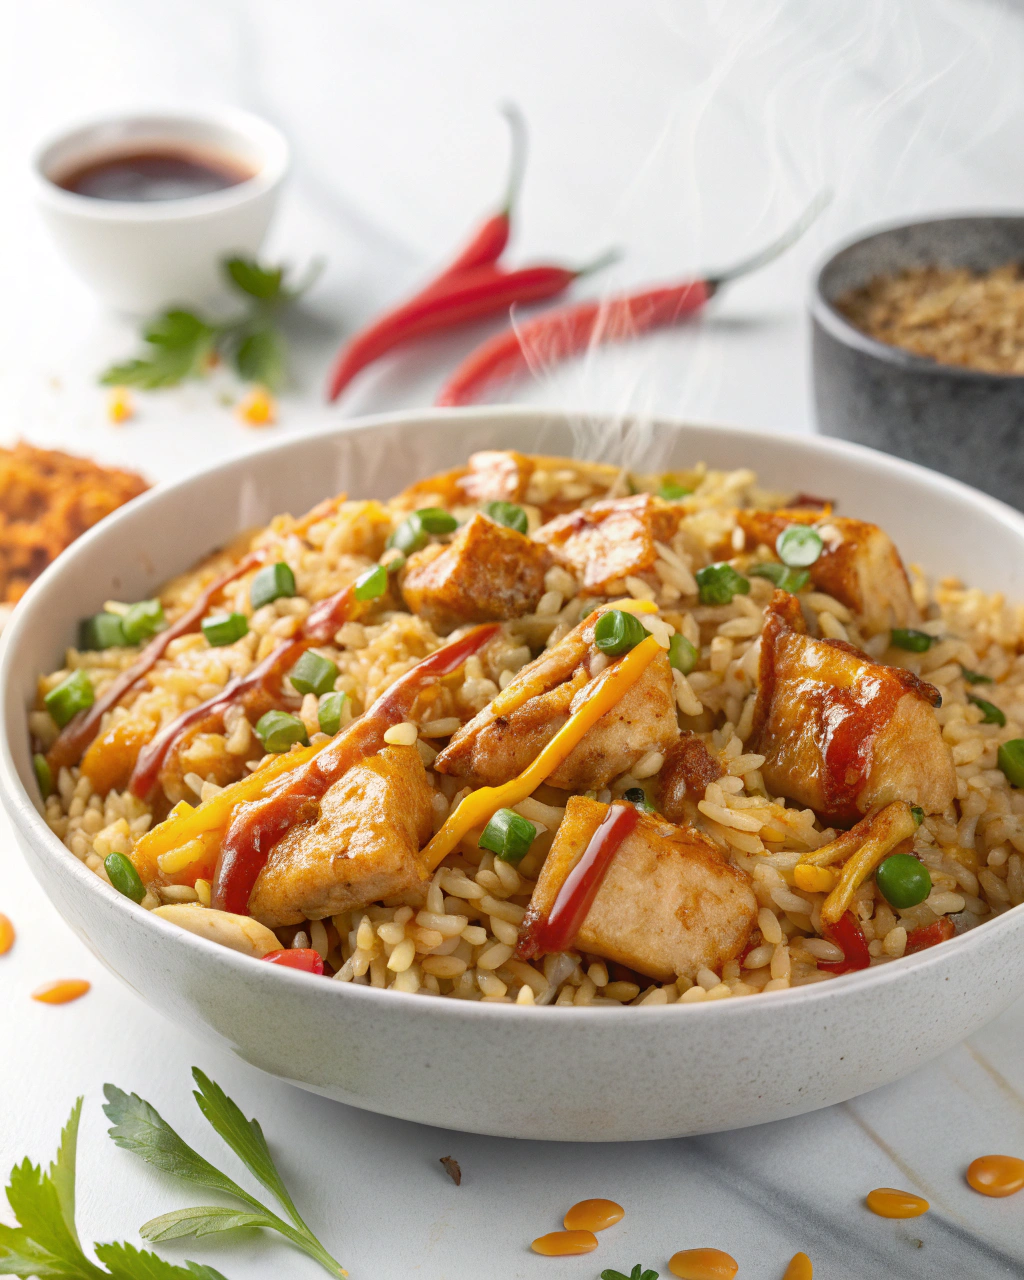
Okay, confession time: I once tried to make fried rice without day-old rice and the kitchen smelled like soggy sadness for hours. This honey-glazed chicken fried rice fixes all that drama—sweet, salty, and a little sticky in the best way. If you like that satisfying sizzle when the rice hits a hot pan, the bright pop of scallions, and a honey glaze that clings to tender chicken pieces, you’re in the right place. I’ll walk you through tricks I learned from burnt edges, late-night cravings, and one very forgiving wok. Bring your appetite and a towel for the triumphant steam—this one’s comfort food with a wink.
Quick Facts
Yield: Serves 4
Prep Time: 20 minutes
Cook Time: 15 minutes
Total Time: 35 minutes
Why This Recipe is Awesome
This recipe hits crunchy, sweet, savory, and a little tangy all at once. It’s fast enough for a weeknight but tasty enough to feed guests. The honey glaze caramelizes slightly on the chicken, the rice gets those coveted toasted edges, and the eggs add silkiness. It’s so forgiving that even your most distracted dinner-hour self can pull it off. Who doesn’t love food that smells like takeout but tastes like you actually tried?
1 lb boneless, skinless chicken breast or thighs, cut into 1/2-inch pieces
2 tbsp vegetable oil, divided
2 large eggs, lightly beaten
1/2 cup frozen peas and carrots, thawed
3 green onions, thinly sliced (whites and greens separated)
3 cloves garlic, minced
1 small yellow onion, finely chopped
Salt and pepper, to taste
For the Sauce / Garnish (if applicable):
3 tbsp low-sodium soy sauce
2 tbsp honey
1 tbsp rice vinegar or apple cider vinegar
1 tsp sesame oil
1/2 tsp crushed red pepper flakes (optional)
1 tbsp cornstarch mixed with 2 tbsp cold water (optional, for thicker glaze)
Extra sliced green onions and toasted sesame seeds for garnish
How I Make It
Step 1:
I start by mixing the sauce: whisk 3 tbsp soy sauce, 2 tbsp honey, 1 tbsp rice vinegar, and 1 tsp sesame oil in a small bowl. Taste for balance—honey should sing, not scream. Season the chicken lightly with salt and pepper. Heat 1 tbsp vegetable oil in a large skillet or wok over medium-high heat until it shimmers. I love that whoosh when oil meets hot metal—it tells me the pan’s ready.
Step 2:
Brown the chicken in a single layer, letting each piece develop golden edges—about 3–4 minutes per side total. If the pan gets crowded, the chicken steams instead of browns; work in batches if needed. Remove the chicken and set aside. If your pan looks dry, add a splash more oil. Pro tip: small brown bits stuck to the pan carry huge flavor—keep them.
Step 3:
Lower heat to medium and add the remaining 1 tbsp oil. Sauté the onion until soft and translucent, about 2 minutes, then toss in the garlic and the white parts of the scallions. Pour in the beaten eggs and scramble quickly until just set—soft curds, not dry. Hear that gentle sizzle? That’s texture being made. Add the chilled rice and gently break up any clumps with the back of your spatula.
Step 4:
Turn heat back up to medium-high and spread the rice in an even layer, letting it sit undisturbed for about 1–2 minutes so the bottom toasts a bit. Stir in the peas and carrots, return the chicken, and pour the sauce over everything. Toss until the sauce glazes the rice and chicken—if you want a thicker sheen, stir the cornstarch slurry into the pan now and cook until glossy, about 1 minute. Look for shiny, slightly sticky rice and caramelized chicken edges as your cue.
Step 5:
Finish with the green parts of the scallions and a sprinkle of toasted sesame seeds. Taste and adjust: more soy for salt, more honey for sweet, or a splash more vinegar for brightness. Serve hot, steam rising and aromas of honey and garlic filling the kitchen. I like a wedge of lime on the side for a fresh pop.
Pro Tips
Use day-old rice chilled in the fridge—it separates and fries instead of clumping.
Keep the heat high when you want toastiness; lower it for scrambling eggs to keep them tender.
If you want more caramelization on the chicken, give it a quick sear in a very hot pan before adding to the rice.
Make the sauce ahead and store in the fridge for busy weeknights—just stir in the cornstarch slurry at the end if you like it glossy.
Common Mistakes to Avoid
Skipping preheating: Classic rookie move. It changes texture and bake time.
Overmixing: Leads to dense or chewy results. Mix until just combined.
Guessing cook time: Always use visual cues or a timer, not just vibes.
Overcrowding pans: Give your food some breathing room to crisp properly.
Alternatives & Substitutions
Swap chicken for 1 lb tofu (press, cube, and pan-sear) for a vegetarian version—expect a firmer texture and less caramel flavor unless you double the glaze.
Use tamari instead of soy sauce for gluten-free; it keeps the savory depth.
Replace honey with 2 tbsp maple syrup for a vegan-friendly sweetener with a different, woodsy flavor.
For a dairy-free option, this recipe already qualifies; just avoid butter and stick to vegetable oil.
Variations & Tips
Spicy: add 1 tbsp sambal oelek or sriracha to the sauce for a fiery kick.
Kid-friendly: omit red pepper flakes and swap peas for diced corn to keep it sweet and familiar.
Veg-forward: throw in bell peppers, mushrooms, or snap peas—stir-fry them first for texture.
Low-carb: serve over cauliflower rice—keep cook time short so cauliflower stays tender-crisp.
Creative twist: finish with a drizzle of toasted sesame oil and a few torn mint leaves for unexpected brightness.
FAQ (Frequently Asked Questions)
Can I make this ahead of time?
Yes! Cook everything through, cool to room temperature, then refrigerate in an airtight container for up to 3 days. Reheat in a skillet over medium heat with a splash of water or oil to revive the rice’s texture; microwave works in a pinch but loses some crispness.
Can I double the recipe?
Sure thing. Use a very large skillet or two pans so you don’t overcrowd. You may need to cook the chicken in batches and combine at the end to keep good browning.
Can I substitute butter with oil?
Technically yes, but you’ll miss that buttery magic. Use ¾ the amount of oil.
How do I know it’s done?
Look for golden-browned chicken edges, glossy sauce coating, and toasted bits of rice. The chicken should reach an internal temperature of 165°F and taste juicy, not dry.
What if I don’t have ingredient X?
Out of scallions? Use a small shallot or sprinkle with chives at the end. No rice vinegar? A squeeze of lemon or 1 tsp apple cider vinegar works fine.
How I Like to Serve It
I serve this honey-glazed chicken fried rice straight from the pan so everyone gets the warm, toasty bites. Add a side of cucumber salad or pickled veggies for brightness, and pour cold beer or jasmine tea. It fits weeknight dinners, casual weekend lunches, or as the centerpiece for a laid-back potluck. In winter it feels cozy; in summer I toss in extra scallions and lime for a fresher vibe.
Notes
Store leftovers in the fridge for up to 3 days. Reheat in a skillet over medium heat with a splash of water or oil to restore texture.
Safe cooking temperature for chicken: 165°F. Use an instant-read thermometer for confidence.
Final Thoughts
Closing: Now go impress someone — or just yourself — with your homemade masterpiece! Don’t forget to take a big inhale when it comes off the stove—those aromas are the best kind of reward.
Hi, I’m Lina, the creator of Lina Easy Recipes.Cooking has always been my passion, and I love sharing simple, homemade dishes that anyone can prepare.
Spread the love
Love What You See?
Join me on Pinterest and Facebook for daily cooking inspiration, new recipe ideas, and behind-the-scenes kitchen stories. Let’s cook something wonderful together!