Hummus With Pita Bread That’s Perfect for Snacking
Spread the love
Hummus With Pita Bread That’s Perfect for Snacking
Alright, can I just tell you how ridiculously satisfying it is to dip a warm, fluffy pita into a bowl of creamy, garlicky hummus? There’s just something about that smooth texture mingling with the soft, chewy bread that makes snacking feel kind of like a mini celebration. Trust me, once you whip up this homemade hummus, you’ll wonder why you ever bought the store-bought stuff. Plus, it’s so quick and easy—you’ll have a party-worthy snack ready in no time. I’m talking about that perfect balance of tangy lemon, rich tahini, and a gentle garlic kick that wakes up your taste buds without stealing the show. Ready to dive in? Let’s get snacking!
Quick Facts
Yield: Serves 4-6
Prep Time: 10 minutes
Cook Time: 0 minutes
Total Time: 10 minutes
Ingredients
For the Main Dish:
1 (15-ounce) can chickpeas, drained and rinsed
1/4 cup fresh lemon juice (about 1 large lemon)
1/4 cup well-stirred tahini
1 small garlic clove, minced
2 tablespoons extra-virgin olive oil, plus more for serving
1/2 teaspoon ground cumin
Salt to taste (about 1/2 teaspoon)
2 to 3 tablespoons cold water
4-6 pita breads, warmed and cut into triangles
How I Make It
Step 1:
Start by adding the drained chickpeas, lemon juice, tahini, minced garlic, and cumin to your food processor or blender. Pulse a few times to combine everything roughly before you go full speed—this helps blend it evenly!
Step 2:
Next, slowly drizzle in the olive oil while the motor is running. This creates that silky texture we’re after. Then, add salt to taste and continue blending.
Step 3:
At this point, your hummus might be thick and a little grainy. That’s totally normal. Slowly add the cold water, one tablespoon at a time, blending between additions until the hummus reaches your perfect creamy consistency. I like mine just a bit thick but still spreadable.
Step 4:
Taste and adjust the seasoning—sometimes a squeeze more lemon or a pinch more salt really brings the flavors alive.
Step 5:
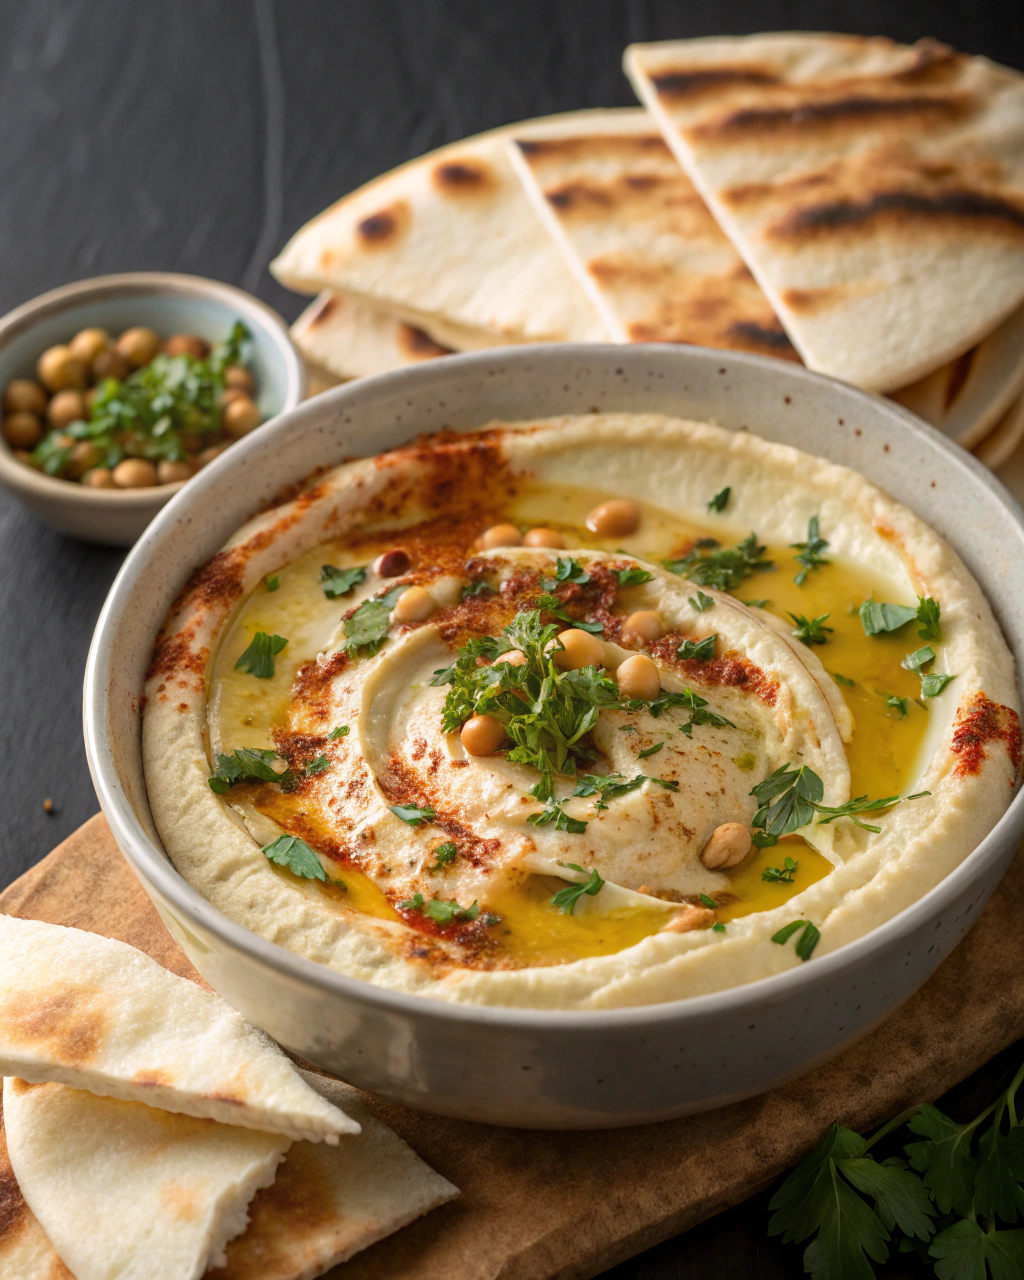
Transfer the hummus to a serving bowl. Use the back of a spoon to create a small swirl on top—it’s perfect for holding a little extra drizzle of olive oil.
Step 6:
Finish it off by drizzling some extra virgin olive oil on top and sprinkle with a pinch of smoked paprika or chopped fresh parsley if you like. Serve immediately with your warm pita triangles and dig in!
Variations & Tips
Add a pinch of cayenne pepper or a few dashes of hot sauce for a spicy kick.
Swap out canned chickpeas for cooked dried chickpeas for an even smoother texture.
Roast a red pepper and blend it into the hummus for a sweet, smoky twist.
If your blender struggles, peel the skins off chickpeas for an ultra-smooth hummus (a bit tedious, but worth it!).
For a nutty variation, mix in a tablespoon of toasted pine nuts or sprinkle on top when serving.
Want it ultra-creamy with zero effort? Use a high-powered blender or food processor and blend longer, scraping down the sides often.
How I Like to Serve It
This hummus-and-pita combo is my go-to for casual get-togethers—it’s perfect on a warm spring afternoon with chilled white wine or as an appetizer before a Middle Eastern-inspired dinner. When fall hits, I love pairing it with roasted veggies alongside. And hey, it’s fantastic just for yourself while binge-watching your favorite shows because some snacks deserve to feel special.
Notes
Store leftover hummus in an airtight container in the fridge for up to 4 days. Stir before serving and add a splash of olive oil if it thickens too much.
Warm pita bread briefly in the oven at 350°F for 5 minutes or wrap in foil and microwave for 30 seconds to make the perfect dipping partner.
Closing: This hummus recipe always wins because it’s super simple, endlessly customizable, and downright delicious every single time.
Hi, I’m Lina, the creator of Lina Easy Recipes.Cooking has always been my passion, and I love sharing simple, homemade dishes that anyone can prepare.
Spread the love
Love What You See?
Join me on Pinterest and Facebook for daily cooking inspiration, new recipe ideas, and behind-the-scenes kitchen stories. Let’s cook something wonderful together!