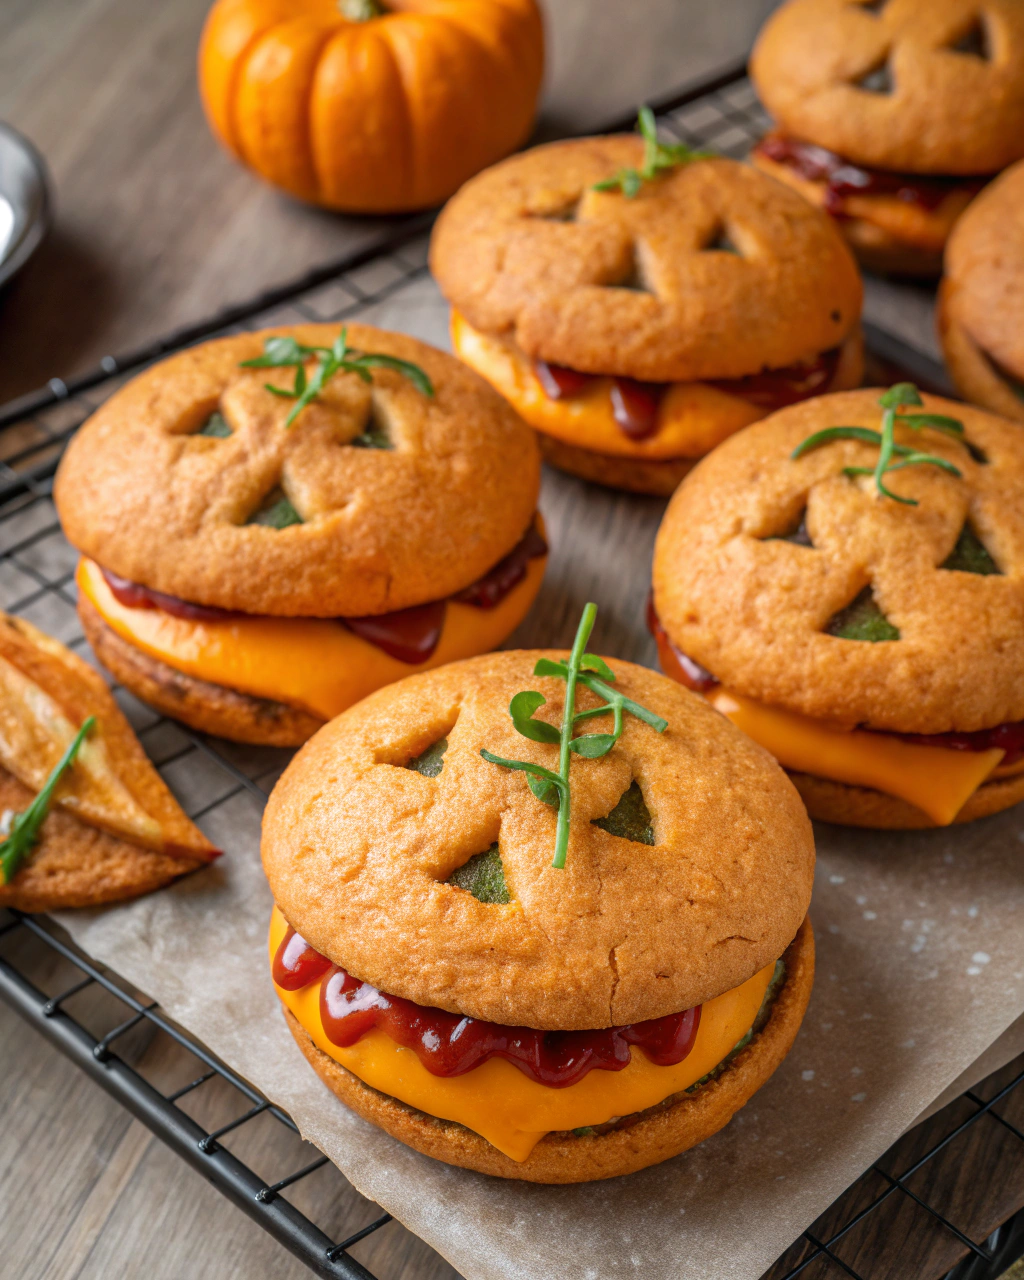
Okay, you’ve got to hear this — these Jack-O’-Lantern whoopie pies are basically Halloween magic sandwiched between two soft, pumpkin-spiced cakes. Imagine biting into a warm, cakey pumpkin cookie with a dreamy, creamy filling that’s just sweet enough to make your taste buds do a little happy dance. Decorating the faces is half the fun; it’s like giving these treats mischievous grins that brighten up any Halloween party. Plus, they’re super simple to whip up, even if you’re not a baking wizard (trust me, I’ve had my fair share of kitchen mishaps). So grab your piping bag, get ready to play with frosting, and let’s make some spooky, tasty memories!
Quick Facts
Yield: Serves 12 whoopie pies
Prep Time: 20 minutes
Cook Time: 15 minutes
Total Time: 40 minutes
Ingredients
For the Main Dish:
1¾ cups all-purpose flour
1 tsp baking powder
½ tsp baking soda
1 tsp ground cinnamon
½ tsp ground ginger
¼ tsp ground nutmeg
¼ tsp ground cloves
¼ tsp salt
½ cup unsalted butter, softened
¾ cup brown sugar, packed
1 large egg
1 cup canned pumpkin puree (not pumpkin pie filling)
1 tsp vanilla extract
For the Filling & Decoration:
8 oz cream cheese, softened
½ cup unsalted butter, softened
2 cups powdered sugar
1 tsp vanilla extract
Orange and black gel food coloring
Chocolate chips or mini chocolate chips (for Jack-o’-lantern faces)
How I Make It
Step 1:
First, preheat your oven to 350°F and line two baking sheets with parchment paper. In a bowl, whisk together the flour, baking powder, baking soda, spices, and salt — this is your pumpkin-spice base. The smell alone will get you hooked!
Step 2:
Using a mixer, beat the softened butter and brown sugar until fluffy and light, about 3 minutes. Add the egg and whisk in the pumpkin puree and vanilla until smooth and combined.
Step 3:
Slowly add the dry ingredients to the wet mixture, mixing just until combined. The batter will be thick but soft enough to scoop.
Step 4:
Using a cookie scoop or spoon, drop generous tablespoons of batter onto the prepared sheets, spacing them about 2 inches apart because they’ll spread just a little. Bake for about 12-15 minutes, or until the edges are set and a toothpick comes out clean.
Step 5:
Let the cakes cool on the baking sheets for 5 minutes, then transfer them to a wire rack to cool completely. While they cool, whip up your delicious filling.
Step 6:
For the filling, beat the cream cheese and butter until creamy, then gradually add powdered sugar and vanilla, beating until fluffy. Tint about half the filling with orange gel food coloring for that perfect pumpkin vibe. Spread or pipe the orange filling on one cake, then sandwich with a plain cake. Use black-filled frosting or mini chocolate chips to create silly Jack-o’-lantern faces. Voilà — Halloween happiness!
Variations & Tips
Swap the spice combo for pumpkin pie spice mix if you want to save time.
Use a piping bag with a small round tip for neater Jack-o’-lantern faces.
If frosting is too soft, chill it for 10 minutes before decorating to avoid a messy design.
Add finely chopped walnuts or pecans to the batter for a crunchy surprise.
Try cream cheese or marshmallow fluff filling for different sweetness and texture.
How I Like to Serve It
These whoopie pies are perfect for Halloween parties or as a fun school treat. I love serving them with a warm cup of apple cider or pumpkin-spiced latte to really amp up the fall vibes. They also make cute, edible decorations on dessert tables — just smile and watch them disappear!
Notes
Store the whoopie pies in an airtight container in the fridge for up to 3 days.
Bring them to room temperature before serving for the best texture and flavor.
Closing: These Jack-O’-Lantern whoopie pies are a festive, foolproof way to bring smiles and pumpkin-spiced joy to your Halloween celebrations every time!
Hi, I’m Lina, the creator of Lina Easy Recipes.Cooking has always been my passion, and I love sharing simple, homemade dishes that anyone can prepare.
Spread the love
Love What You See?
Join me on Pinterest and Facebook for daily cooking inspiration, new recipe ideas, and behind-the-scenes kitchen stories. Let’s cook something wonderful together!