
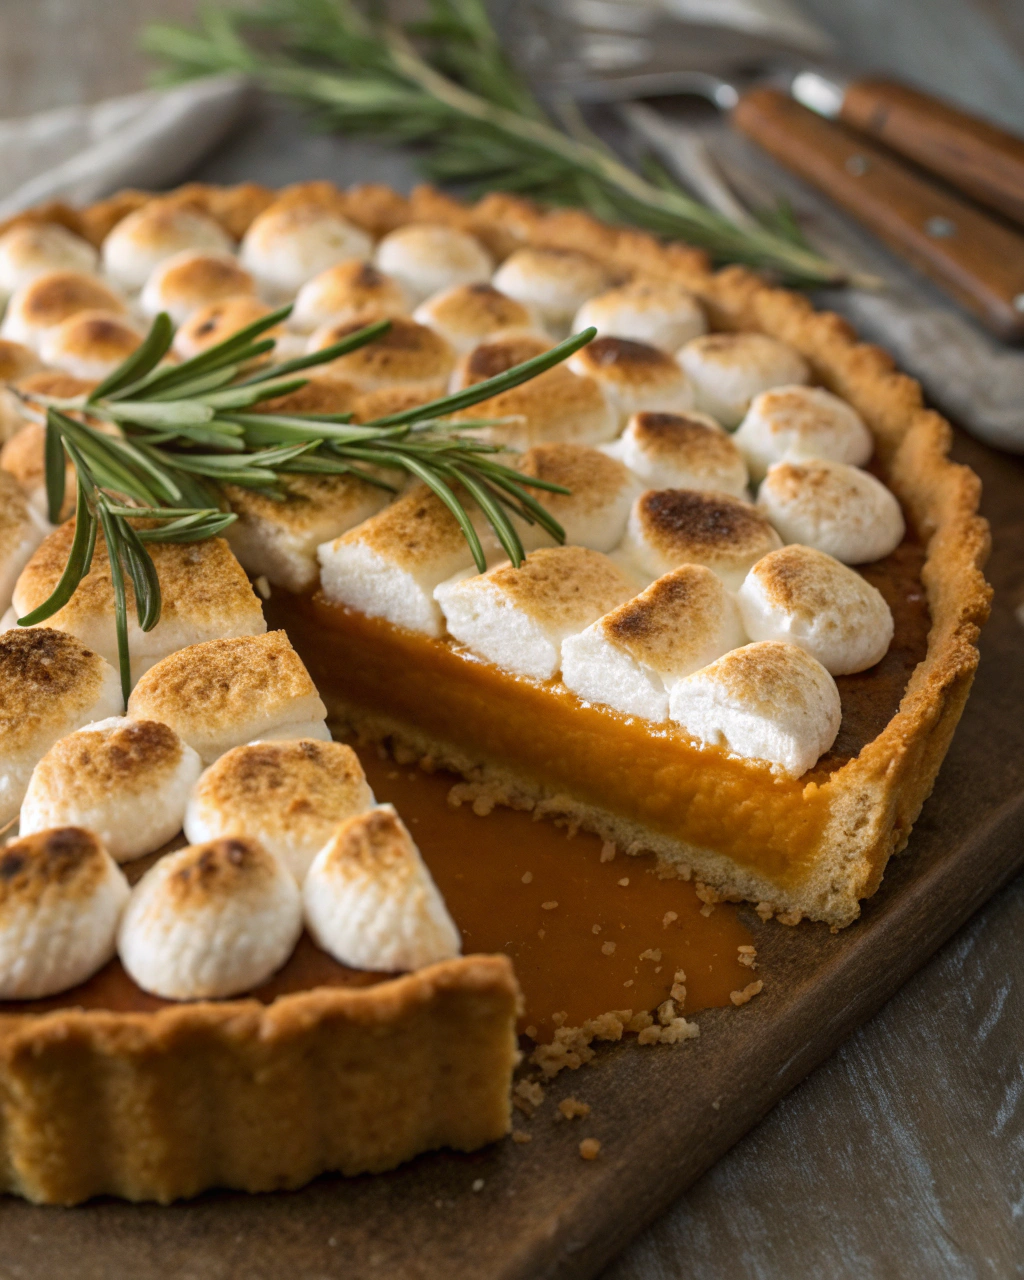
Marshmallow Pumpkin Pie
Picture this: it’s fall, the air smells like cinnamon and crisp leaves, and Grandma’s kitchen is buzzing with the magic of baking. This Marshmallow Pumpkin Pie was always the star of our holiday table—golden crust, velvety pumpkin filling, and that dreamy, gooey marshmallow layer on top. Just slicing into it brings back the sound of laughter and warm hugs. The marshmallows toast up beautifully in the oven, creating a soft, slightly caramelized top that contrasts perfectly with the spiced pumpkin underneath. If you want a pie that’s bursting with nostalgia and just a little bit of pure, sugary fun, you’re in the right spot!
Quick Facts
- Yield: Serves 8
- Prep Time: 20 minutes
- Cook Time: 50 minutes
- Total Time: 1 hour 10 minutes
Ingredients
For the Main Dish:
- 1 (9-inch) unbaked pie crust
- 1 (15-ounce) can pumpkin puree
- 3/4 cup granulated sugar
- 1/2 cup packed brown sugar
- 2 large eggs
- 1 cup evaporated milk
- 1 tsp ground cinnamon
- 1/2 tsp ground ginger
- 1/4 tsp ground nutmeg
- 1/4 tsp ground cloves
- 1/4 tsp salt
- 2 cups mini marshmallows
How I Make It
Step 1:
Start by preheating your oven to 425°F and placing your unbaked pie crust into a 9-inch pie pan. Crimp the edges to give it that pretty, rustic look. While the crust is chilling, mix together the pumpkin puree, granulated sugar, brown sugar, eggs, evaporated milk, cinnamon, ginger, nutmeg, cloves, and salt in a large bowl until smooth and creamy.
Step 2:
Pour the pumpkin filling into the prepared crust. Pop the pie onto the center rack and bake at 425°F for 15 minutes. This initial high heat helps set the crust and starts the custard gently.
Step 3:
After 15 minutes, reduce the oven temperature to 350°F and bake for an additional 30 minutes. The filling should be mostly set but still slightly jiggly in the center—that means it’s perfectly done.
Step 4:
Remove the pie from the oven, and evenly scatter the mini marshmallows all over the top. This is where the fun begins—the marshmallows will become golden and slightly toasted in the last step.
Step 5:
Return the pie to the oven under the broiler for a few minutes—watch carefully! The marshmallows will puff up and turn a gorgeous golden brown. This usually takes about 2-3 minutes, but every oven is different, so keep an eye to avoid burning.
Step 6:
Let the pie cool for at least an hour before slicing to let the filling fully set. Then, serve it up and enjoy the contrast of creamy pumpkin and sweet, toasted marshmallow clouds.
Variations & Tips
- Use fresh pumpkin puree if you want a less processed taste; just roast and mash pumpkin before starting.
- Try swapping mini marshmallows for a homemade marshmallow fluff spread for extra gooey texture.
- Add a pinch of cayenne or black pepper for a spicy-sweet twist that wakes up the flavors.
- If the crust edges brown too quickly, cover them with foil halfway through baking.
- For a gluten-free pie crust, pre-bake a store-bought GF crust to save time.
How I Like to Serve It
I love serving this Marshmallow Pumpkin Pie with a dollop of whipped cream and a sprinkle of cinnamon. It’s the perfect centerpiece for Thanksgiving or any cozy autumn afternoon tea. Leftovers are just as dreamy warmed up gently in the microwave, ideal for a sweet nightcap treat.
Notes
- Store leftovers covered in the fridge for up to 3 days; marshmallows soften over time but stay delicious.
- Reheat individual slices in the microwave for about 15 seconds to bring back that warm, melty texture.
Closing: This pie is one of those special recipes that fills your kitchen with warmth and makes the whole room smile every time it comes out of the oven.

Hi, I’m Lina, the creator of Lina Easy Recipes.Cooking has always been my passion, and I love sharing simple, homemade dishes that anyone can prepare.
Love What You See?
Join me on Pinterest and Facebook for daily cooking inspiration, new recipe ideas, and behind-the-scenes kitchen stories. Let’s cook something wonderful together!


