Monster Cupcake Cones – fun Halloween cupcake treat for kids
Spread the love
Monster Cupcake Cones – fun Halloween cupcake treat for kids
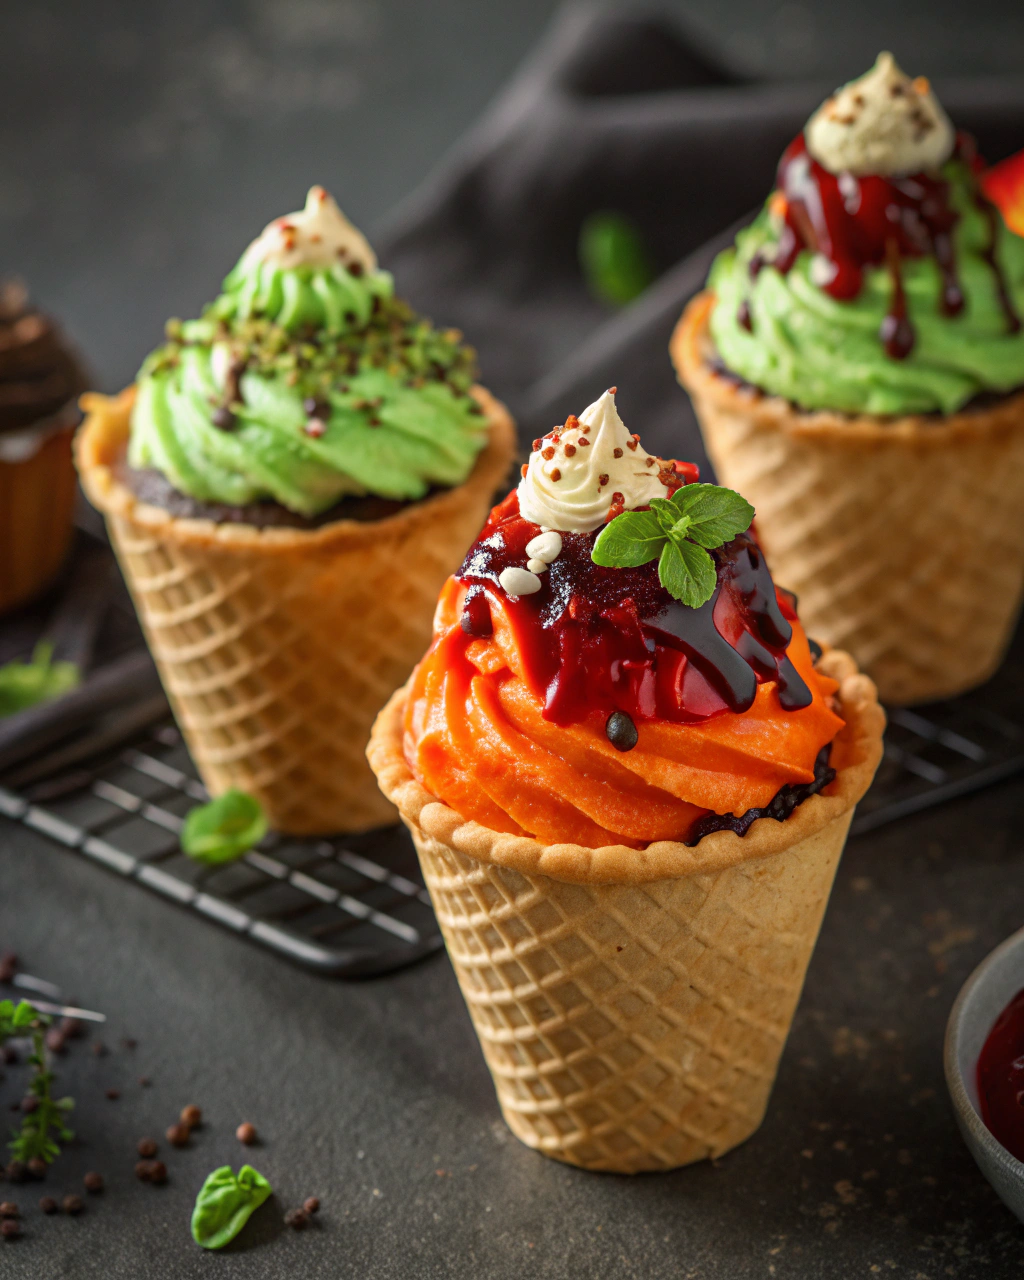
Okay, I have to tell you—these Monster Cupcake Cones are the kind of Halloween treat that gets the whole kitchen buzzing with laughter and sticky fingers. Imagine cupcakes baked right inside waffle cones, bursting with colorful frosting and topped with goofy candy eyes that practically jump off the plate! I first whipped these up to entertain my little monsters, and honestly, they were gobbled up faster than you can say “trick or treat.” The best part? No messy cake cutting, just fun little cones that kids can hold (and slobber on) while giggling over their silly monster creations. If you want a Halloween snack that’s as playful as it is delicious, grab your cones and let’s get baking!
Quick Facts
Yield: 12 cupcake cones
Prep Time: 15 minutes
Cook Time: 20 minutes
Total Time: 35 minutes
Ingredients
For the Main Dish:
1 box yellow cake mix (plus ingredients called for on the box)
12 waffle cones (standard size, sturdy ones work best)
1 cup unsalted butter, softened
3 cups powdered sugar
2 tsp vanilla extract
2–4 tbsp milk (to thin frosting)
Food coloring (green, purple, orange – your choice!)
Assorted candy eyes
Colored sprinkles or edible decorations
How I Make It
Step 1:
Preheat your oven to 350°F and line a muffin tin with the waffle cones standing up. If they don’t stand well on their own, use aluminum foil to help stabilize them in the tray. Prepare the cake batter according to the box instructions. The key here is not to overfill—fill each cone about 2/3 full to leave room for rising.
Step 2:
Bake the cones for 18-20 minutes, or until a toothpick inserted in the center comes out clean. Keep a close eye on them; waffle cones can brown quickly at the edges. Remove from the oven and let them cool completely before frosting.
Step 3:
While the cupcakes cool, whip up your frosting. Beat the softened butter until smooth, then gradually add powdered sugar, vanilla, and milk to get a creamy yet pipeable consistency. Divide the frosting into bowls and tint with your chosen food coloring.
Step 4:
Once cupcakes are cooled, generously frost the top of each cone. These frosting “monsters” should look playful and a bit messy—that’s the charm! Use a spatula or piping bag for extra fun shapes.
Step 5:
Stick on candy eyes and sprinkle colorful edible decorations to create your monster faces. Don’t be shy—oversized eyes and wild colors make these cupcakes come alive!
Step 6:
Serve immediately or chill for a bit if you want the frosting to set. These cupcakes are best enjoyed the same day for the perfect combination of crisp cone and soft, fluffy cake.
Variations & Tips
Use chocolate or pumpkin spice cake mix for seasonal flavor twists.
Try cream cheese frosting tinted pastel for a softer monster look.
If cones get soggy, briefly toast them in the oven before assembling.
For a dairy-free option, swap butter and milk for vegan alternatives.
Add mini marshmallows or gummy worms for extra “creepy crawlies.”
Use a toothpick to swirl multiple frosting colors together for a fun effect.
How I Like to Serve It
These Monster Cupcake Cones are perfect for Halloween parties or school events where you want a grab-and-go treat with minimal mess. They look fantastic when arranged on a spooky-themed platter with cobweb decorations and glow-in-the-dark tableware. Pair them with a pumpkin or apple cider for the ultimate festive snack break.
Notes
Store leftover cupcake cones in an airtight container at room temperature for up to 2 days; cones may soften over time.
If reheating, warm gently in a low oven (300°F for 5 minutes) to restore crispiness, but add fresh frosting after heating.
Closing: These Monster Cupcake Cones always bring smiles and sticky fingers, making Halloween baking ridiculously fun and delicious every single time.
Hi, I’m Lina, the creator of Lina Easy Recipes.Cooking has always been my passion, and I love sharing simple, homemade dishes that anyone can prepare.
Spread the love
Love What You See?
Join me on Pinterest and Facebook for daily cooking inspiration, new recipe ideas, and behind-the-scenes kitchen stories. Let’s cook something wonderful together!