
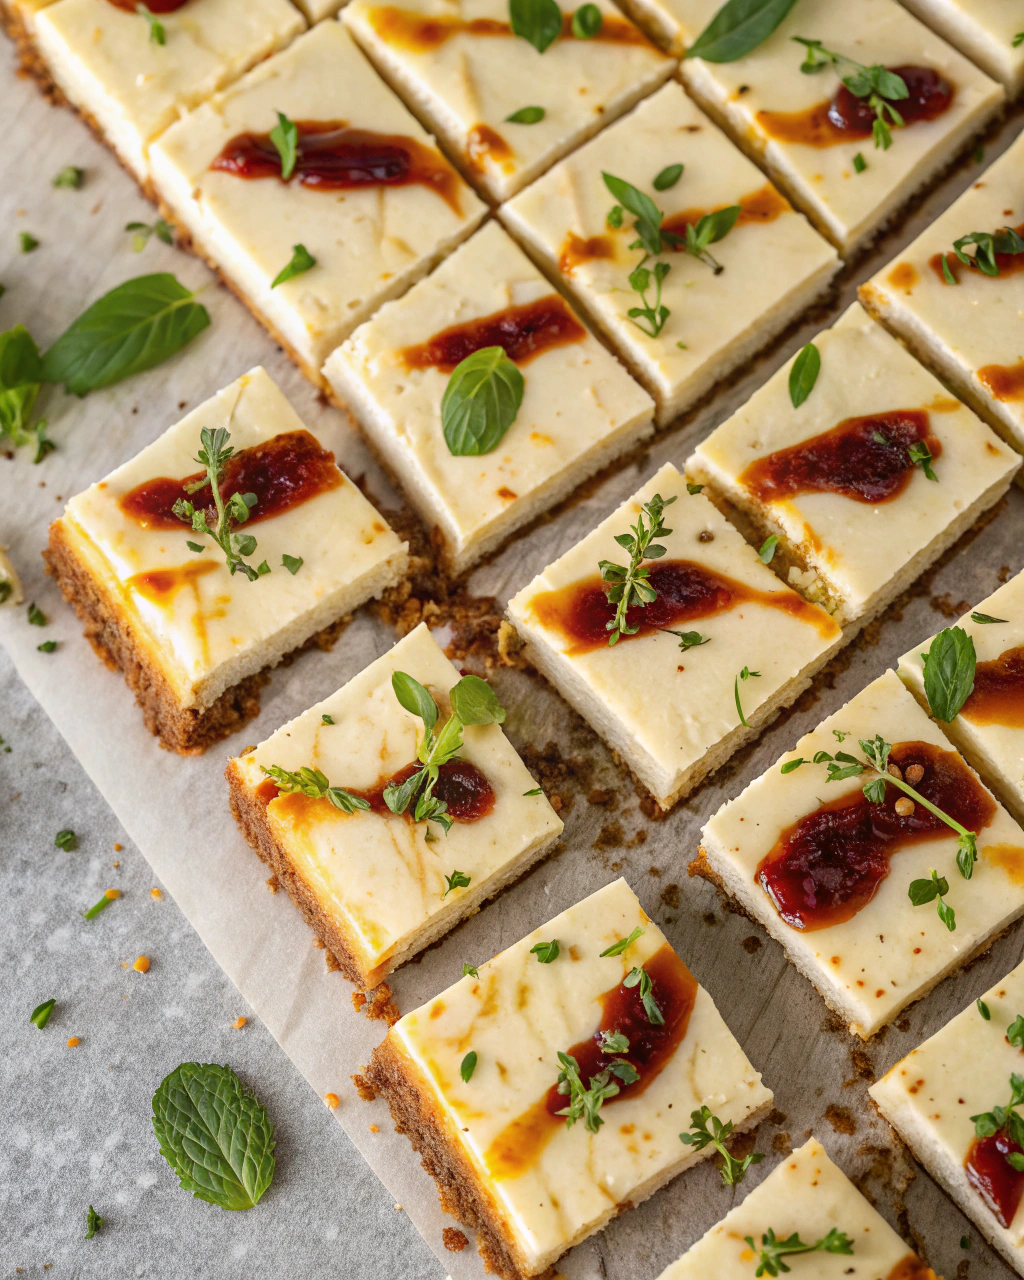
No-Bake Cheesecake Bars
Okay, can we just agree that sometimes, the best desserts are the ones where you don’t have to heat up the oven? These no-bake cheesecake bars are my go-to when I want something creamy, dreamy, and totally fuss-free. Imagine a buttery, crumbly crust holding a cloud-like layer of sweetened cream cheese—so smooth it practically melts on your tongue. Plus, they set up in the fridge, so you can prep them ahead of time for parties, last-minute cravings, or whenever you want to feel like a dessert rockstar. Ready to make your kitchen smell like a little slice of heaven? Let’s dive in!
Quick Facts
- Yield: Serves 9–12
- Prep Time: 15 minutes
- Cook Time: 0 minutes (plus chilling time)
- Total Time: 4 hours (including chilling)
Ingredients
For the Main Dish:
- 2 cups graham cracker crumbs (about 12 full crackers)
- 6 tbsp unsalted butter, melted
- 1/4 cup granulated sugar
- 16 oz (2 packages) cream cheese, softened
- 1 cup powdered sugar
- 1 tsp vanilla extract
- 1 cup heavy whipping cream, cold
How I Make It
Step 1:
First, mix together the graham cracker crumbs, melted butter, and granulated sugar until everything looks like wet sand. Press this mixture firmly into the bottom of an 8×8-inch pan to create the crust. Oh, and a little tip: use the bottom of a measuring cup to really press it down evenly and tightly!
Step 2:
In a large bowl, beat the softened cream cheese with a hand mixer until it’s smooth and creamy—no lumps allowed here. Add in the powdered sugar and vanilla extract, then continue mixing until combined.
Step 3:
Now, whip the cold heavy cream until you get stiff peaks. This means when you lift the whisk or beaters, the cream holds its shape firmly—like little snowy peaks. Gently fold the whipped cream into the cream cheese mixture, being careful not to deflate that fluffy goodness.
Step 4:
Spread that beautiful creamy mixture evenly over the crust. Smooth the top with a spatula or the back of a spoon for a polished look.
Step 5:
Cover the pan with plastic wrap and pop it in the refrigerator for at least 4 hours, or better yet, overnight. This chill time is what allows everything to set into those perfect bars.
Step 6:
Once set, slice into squares and serve! If you want to jazz them up, add fresh berries, a drizzle of chocolate, or even a fruit sauce on top.
Variations & Tips
- Swap graham crackers for chocolate cookies for a richer crust.
- Add a tablespoon of lemon juice to the cream cheese for a subtle tang.
- Mix crushed nuts into the crust for extra crunch.
- Use a hand blender to soften cream cheese faster—just watch for lumps!
- Want a no-sugar version? Use powdered erythritol instead of sugar.
How I Like to Serve It
I love serving these bars chilled as a refreshing summer treat with fresh strawberries and a sprinkle of mint. They’re also perfect for holiday gatherings, dressed up with cranberry sauce or pomegranate seeds. And honestly, they’re a fantastic anytime snack with a cup of coffee or tea—because dessert should never have rules.
Notes
- Store leftover bars covered in the fridge for up to 5 days to keep them fresh and creamy.
- No reheating needed—these bars are best enjoyed cold straight from the fridge.
Closing: Honestly, these no-bake cheesecake bars are my kitchen’s little secret weapon for impressively simple, utterly delicious treats every time.

Hi, I’m Lina, the creator of Lina Easy Recipes.Cooking has always been my passion, and I love sharing simple, homemade dishes that anyone can prepare.
Love What You See?
Join me on Pinterest and Facebook for daily cooking inspiration, new recipe ideas, and behind-the-scenes kitchen stories. Let’s cook something wonderful together!


