No-Bake Cheesecake Cups
Alright, let’s get real: sometimes you just want cheesecake without all the fuss of turning on the oven, waiting forever, and then hoping it sets right. Enter these dreamy No-Bake Cheesecake Cups — creamy, velvety smooth, with just the right crunch from the crust, and best of all, no heavy lifting or heat in the kitchen! Imagine spooning into glossy, luscious cheesecake filling that melts in your mouth, topped with fresh berries or a drizzle of chocolate. The best part? You can whip these up in under 20 minutes and let the fridge do the hard work while you kick back. Trust me, once you try this, you’ll wonder why you ever bothered with a traditional cheesecake at all.
Quick Facts
- Yield: Serves 6
- Prep Time: 15 minutes
- Cook Time: 0 minutes
- Total Time: 3 hours (including chilling)
Ingredients
For the Main Dish:
- 1 ½ cups graham cracker crumbs (about 10 full sheets crushed)
- 5 tbsp unsalted butter, melted
- 16 oz cream cheese, softened
- ½ cup powdered sugar
- 1 tsp vanilla extract
- 1 cup heavy whipping cream, cold
For the Garnish (optional):
- Fresh berries (strawberries, blueberries, raspberries)
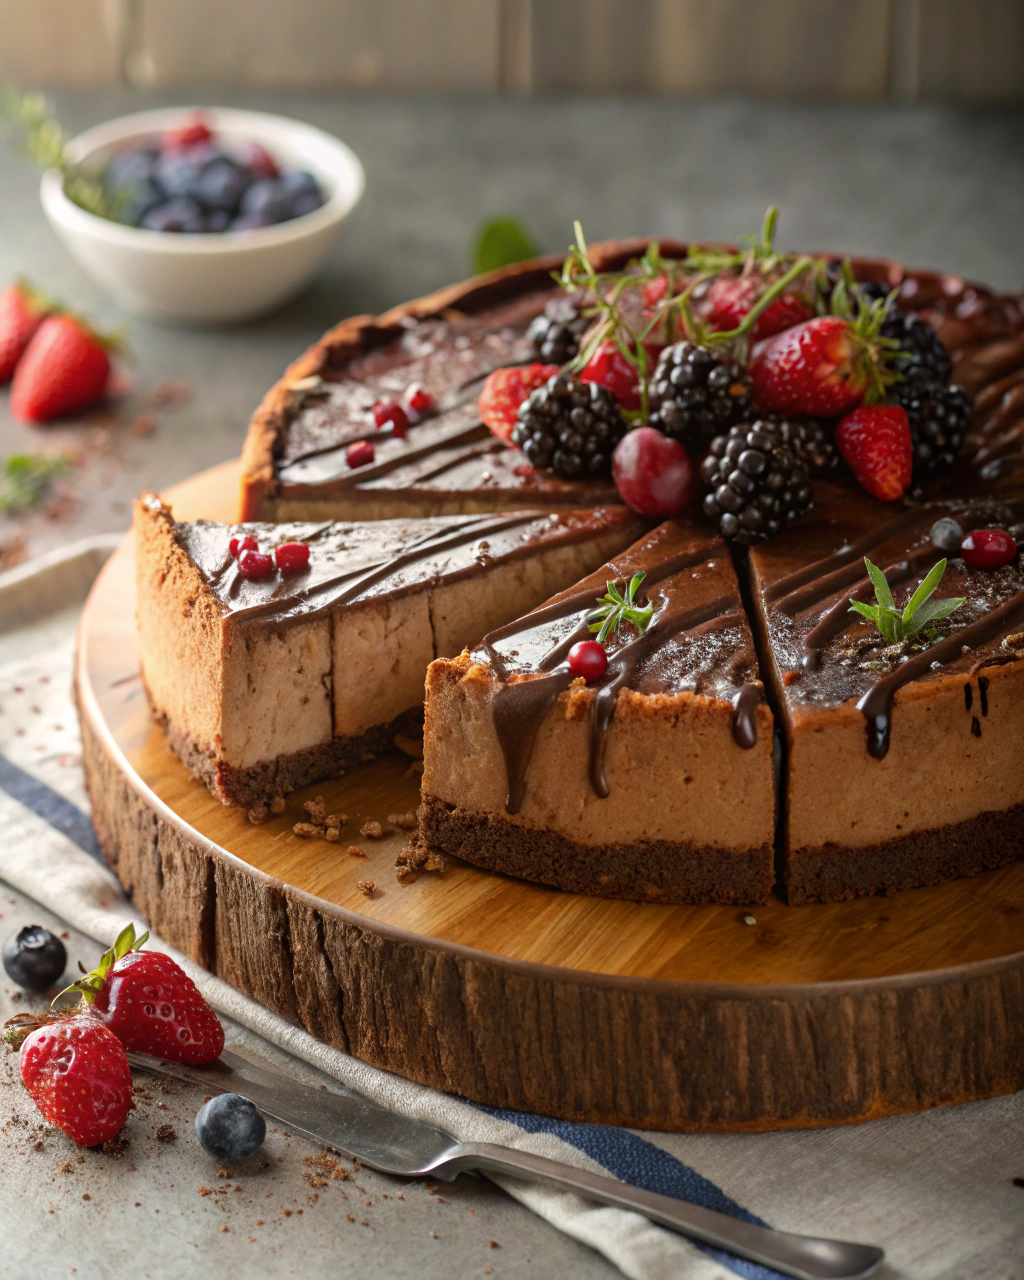
- Chocolate shavings or sauce
- Lemon zest or mint leaves
How I Make It
Step 1:
Start by combining the graham cracker crumbs and melted butter in a bowl. Stir until every crumb is coated and looks like damp sand. Press this mixture firmly into the bottom of your serving cups or small jars—this is your crunchy foundation, so really pack it down!
Step 2:
In a large bowl, beat the softened cream cheese with an electric mixer until super smooth and fluffy, about 2–3 minutes. Add the powdered sugar and vanilla extract, mixing just until combined.
Step 3:
In a separate chilled bowl, whip the cold heavy cream until stiff peaks form. This means when you lift the whisk, the cream holds its shape firmly.
Step 4:
Gently fold the whipped cream into the cream cheese mixture using a spatula. Be careful here—you want to keep it light and airy, so fold slowly and lovingly.
Step 5:
Spoon or pipe the fluffy cheesecake filling over the crust in each cup. Smooth the tops with the back of a spoon or an offset spatula.
Step 6:
Pop the cups into the fridge for at least 3 hours, or overnight if you can wait that long, so they firm up beautifully. Before serving, add your favorite fresh berries, a drizzle of chocolate, or a sprinkle of lemon zest for a fresh pop of flavor.
Variations & Tips
- Swap graham crackers for crushed Oreos or digestive biscuits for a chocolatey or buttery twist.
- Try mixing in a tablespoon of instant coffee or espresso powder into the filling for a mocha kick.
- Add a swirl of fruit preserves or lemon curd on top before chilling for a tangy surprise.
- If your cream cheese isn’t soft enough, microwave in 10-second intervals to avoid lumps.
- For a lighter version, use Greek yogurt instead of some of the cream cheese (up to half), but keep the cream to maintain fluffiness.
How I Like to Serve It
I adore serving these cheesecake cups as an easy summer dessert for backyard BBQs or backyard movie nights. They also shine at holiday brunches, topped with pomegranate seeds or spiced apple compote. Plus, they make an adorable, fuss-free treat for date nights or afternoon tea with friends!
Notes
- Store covered in the fridge for up to 3 days—best enjoyed within 24 hours for peak freshness.
- Since there’s no baking, no reheating is needed—just serve chilled and enjoy!
Closing: This recipe is my fail-proof, quick-fix dessert that always brings smiles and never disappoints—perfect for any time you crave something sweet but easy.

Hi, I’m Lina, the creator of Lina Easy Recipes.Cooking has always been my passion, and I love sharing simple, homemade dishes that anyone can prepare.
Love What You See?
Join me on Pinterest and Facebook for daily cooking inspiration, new recipe ideas, and behind-the-scenes kitchen stories. Let’s cook something wonderful together!

