
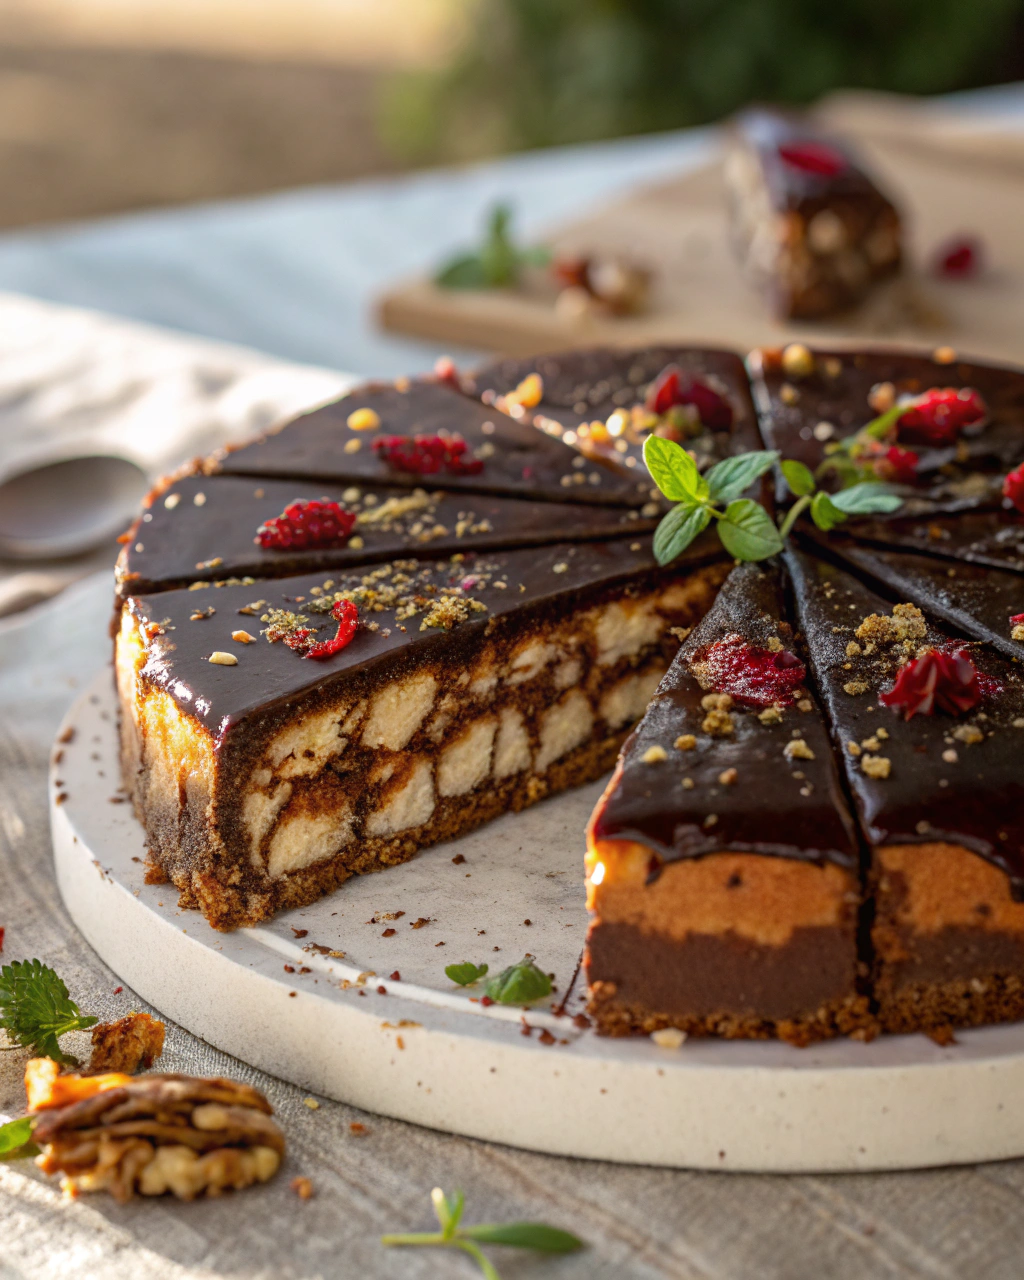
No-Bake Chocolate Biscuit Cake
Okay, imagine this: you’re craving something utterly indulgent but frankly, the last thing you want to do is turn on the oven. Enter the no-bake chocolate biscuit cake — a heavenly mix of crunchy, creamy, and chocolaty magic all rolled into one. It’s like the ultimate cheat-day dessert that actually looks impressive enough to serve to guests! The best part? You can literally whip this up with pantry staples, no fancy equipment required. I love that satisfying snap of the biscuits against the rich, fudgy chocolate — trust me, it’s comfort in every bite without any of the baking stress. Ready? Let’s dive into this ridiculously simple, yet totally decadent treat.
Quick Facts
- Yield: Serves 8
- Prep Time: 15 minutes
- Cook Time: 0 minutes
- Total Time: 4 hours (including chilling)
Ingredients
For the Main Dish:
- 3 cups broken digestive biscuits (or graham crackers)
- 10 oz semi-sweet chocolate chips
- 1/2 cup unsalted butter
- 1/2 cup sweetened condensed milk
- 1 tsp vanilla extract
- 1/4 cup chopped nuts (optional, walnuts or pecans work well)
How I Make It
Step 1:
Start by roughly breaking your biscuits into bite-sized chunks. You want enough texture here so that every bite has that delightful crunch—don’t crush them into crumbs!
Step 2:
In a medium saucepan, combine the butter, semi-sweet chocolate chips, and sweetened condensed milk over low heat. Stir gently until everything is melted and smooth, making sure to keep the heat low so the chocolate doesn’t seize up. Stir in the vanilla extract.
Step 3:
Remove the chocolate mixture from the heat. Add the broken biscuits and nuts if you’re using them, then fold everything together until all the biscuit pieces are coated in the luscious chocolate.
Step 4:
Line a loaf pan with parchment paper or plastic wrap, leaving some overhang for easy removal. Pour the chocolate biscuit mixture into the pan and press down firmly to compact the cake so it holds its shape.
Step 5:
Cover the pan with plastic wrap and refrigerate for at least 3 hours or until completely set. The longer it chills, the easier it is to slice—and we want neat slices, not crumbles.
Step 6:
When ready, gently lift the cake out using the parchment or wrap, slice into thick slabs, and serve. Watch out — it’s seriously addictive!
Variations & Tips
- Swap digestive biscuits for Oreos or chocolate wafers for extra flavor twists.
- Add a splash of coffee or espresso powder to the chocolate mix for depth.
- For a boozy version, stir in 2 tbsp of rum or whiskey.
- Use white or milk chocolate instead if you want it sweeter and creamier.
- Toast the nuts lightly for a nuttier crunch.
- Sprinkle the top with flaky sea salt before chilling for a gourmet touch.
How I Like to Serve It
This cake is perfect chilled right out of the fridge, paired with a dollop of whipped cream or a scoop of vanilla ice cream. It also shines as a celebratory treat for birthdays or any cozy weekend coffee dates. If you’re feeling fancy, drizzle some raspberry sauce on the side for a fresh, tangy contrast!
Notes
- Store leftovers wrapped tightly in the fridge for up to 5 days.
- This cake doesn’t freeze well because the biscuit texture softens, so best to enjoy fresh.
Closing: This no-bake chocolate biscuit cake has become my go-to for dessert emergencies—quick, fuss-free, and always a crowd-pleaser!

Hi, I’m Lina, the creator of Lina Easy Recipes.Cooking has always been my passion, and I love sharing simple, homemade dishes that anyone can prepare.
Love What You See?
Join me on Pinterest and Facebook for daily cooking inspiration, new recipe ideas, and behind-the-scenes kitchen stories. Let’s cook something wonderful together!


