No-Bake Oreo Cheesecake Cups (15 Minutes)
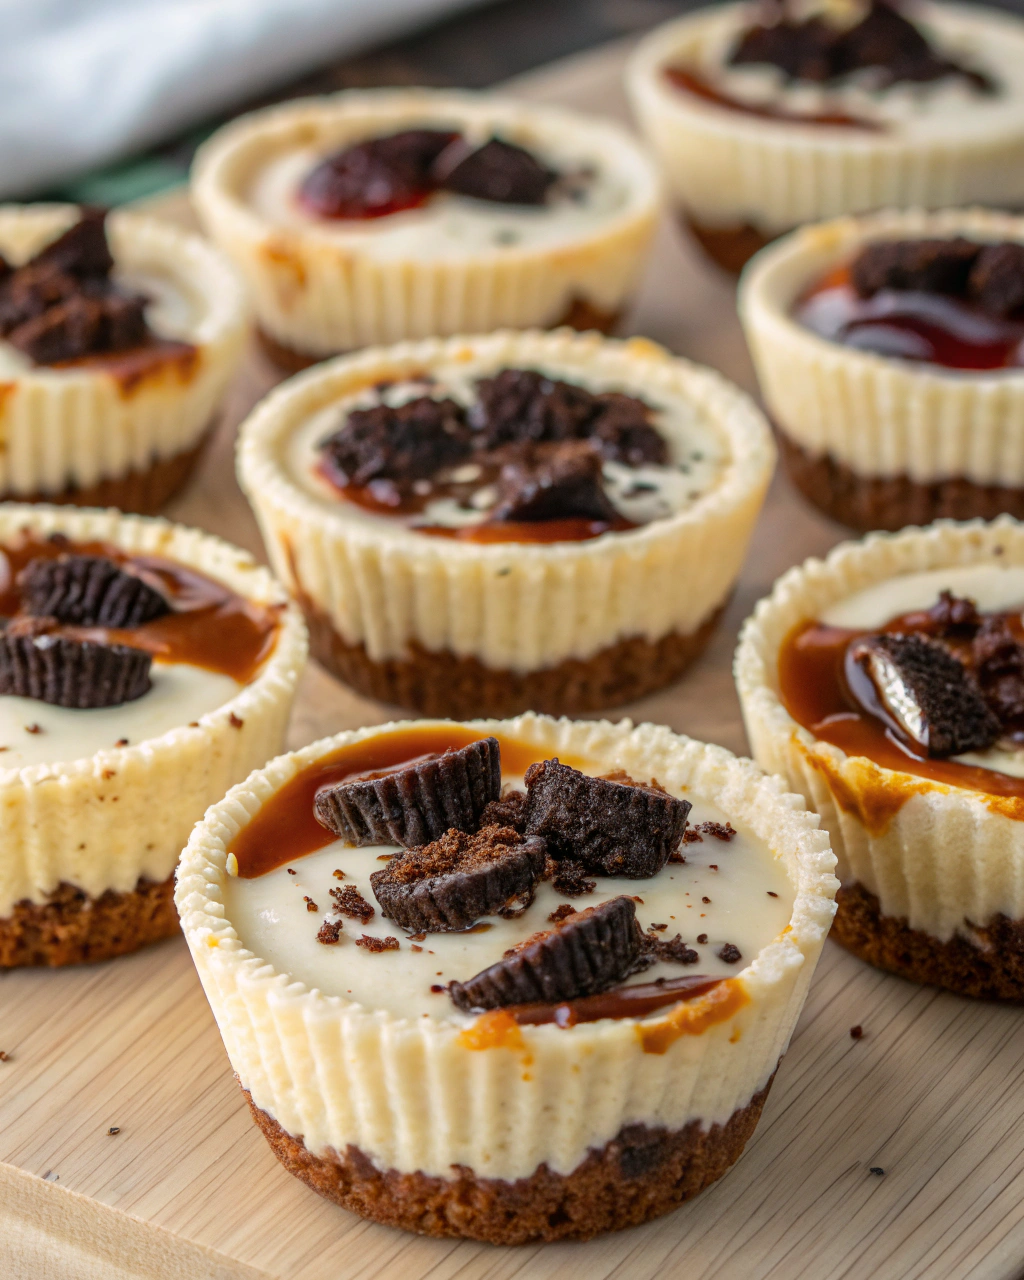
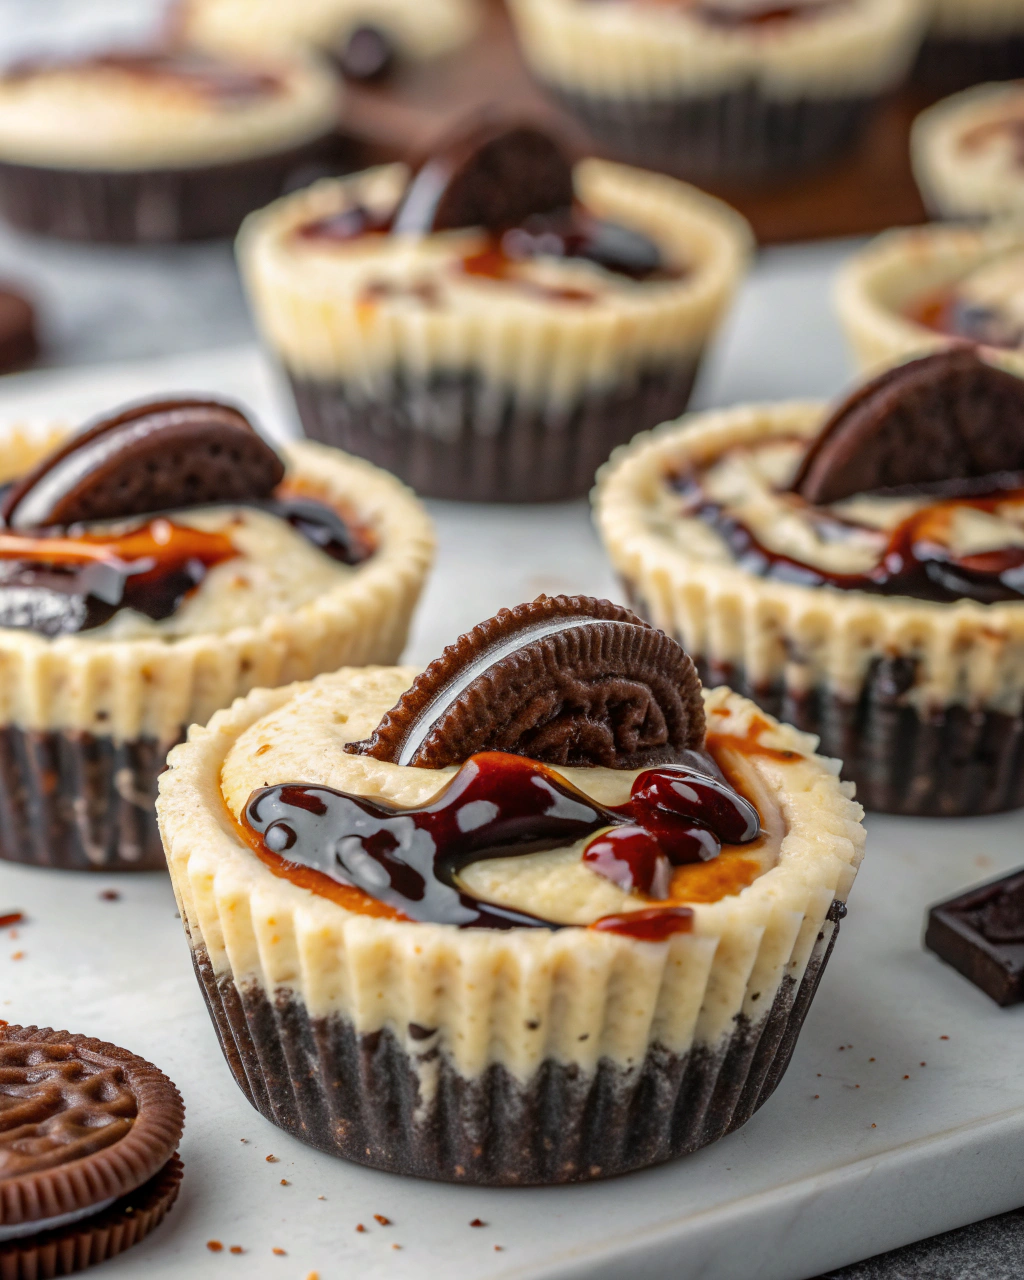
Okay, picture this: a sweet little dessert that’s as easy as it is dreamy. No oven drama, no complicated tools—just creamy cheesecake filling, crushed Oreos, and a quick chill before diving in. Honestly, these Oreo cheesecake cups feel like a cheat code for busy days when you want something special but don’t have an hour to spare. Plus, that crushed cookie crust combined with the silky filling? So satisfying to spoon into your mouth. I seriously can’t wait for you to whip up a batch and taste that chocolate-vanilla magic mingling in every bite. Get ready—this is going to be your new favorite quick treat!
Quick Facts
- Yield: Serves 6
- Prep Time: 15 minutes
- Cook Time: 0 minutes
- Total Time: 15 minutes (+ chilling)
Ingredients
For the Main Dish:
- 20 Oreo cookies, divided
- 8 oz cream cheese, softened
- 1 cup heavy whipping cream
- 1/2 cup powdered sugar
- 1 tsp vanilla extract
How I Make It
Step 1:
Start by taking about 15 Oreos and crushing them until they’re fine crumbs (I use a zip-top bag and a rolling pin—that way, no mess!). This crumbly texture will be the base and partial topping.
Step 2:
In a mixing bowl, beat the softened cream cheese with powdered sugar and vanilla extract until it’s smooth and lump-free. This step is key for that creamy, dreamy filling you’re aiming for.
Step 3:
In a separate bowl, whip the heavy cream until stiff peaks form. It should be fluffy and hold its shape when you lift the whisk.
Step 4:
Gently fold the whipped cream into the cream cheese mixture. Take your time here—folding keeps it light and airy, so you don’t squash all that goodness into a dense pudding.
Step 5:
Now, grab 6 small cups or jars. Spoon a layer of Oreo crumbs into each, then add a dollop of the cheesecake filling, followed by more crumbs, and finish with a final swirl of filling on top.
Step 6:
Crush the remaining 5 Oreos roughly and sprinkle over the tops for a crunchy, eye-catching garnish. Pop the cups in the fridge for at least 1 hour to firm up before serving.
Variations & Tips
- For kids, swap the Oreo topping for crushed chocolate chips or mini M&Ms for fun color and crunch.
- Use chocolate sandwich cookies with different cream flavors to mix up the taste—mint Oreos are a delightful twist.
- If you forget to soften cream cheese, microwave in 5-second bursts but watch closely to avoid melting.
- Blend a handful of Oreos into the filling itself to make a cookies-and-cream swirl inside.
- Use disposable plastic cups for an easy party-friendly presentation and less cleanup.
How I Like to Serve It
These cheesecake cups are perfect for casual weekend hangouts or a quick after-dinner treat when company drops by unexpectedly. In summer, they’re lovely chilled and refreshing, and during holiday seasons, I love adding a sprinkle of crushed peppermint candies on top. Serve with a dollop of fresh berries for an extra pop of color and tartness.
Notes
- Store covered in the fridge for up to 3 days—best eaten fresh for the creamiest texture.
- This dessert isn’t ideal for freezing, as the texture can get grainy.
Closing: Seriously, this recipe nails that perfect balance of sweet, creamy, and crunchy every single time—it’s like dessert magic in a cup!

Hi, I’m Lina, the creator of Lina Easy Recipes.Cooking has always been my passion, and I love sharing simple, homemade dishes that anyone can prepare.
Love What You See?
Join me on Pinterest and Facebook for daily cooking inspiration, new recipe ideas, and behind-the-scenes kitchen stories. Let’s cook something wonderful together!

