
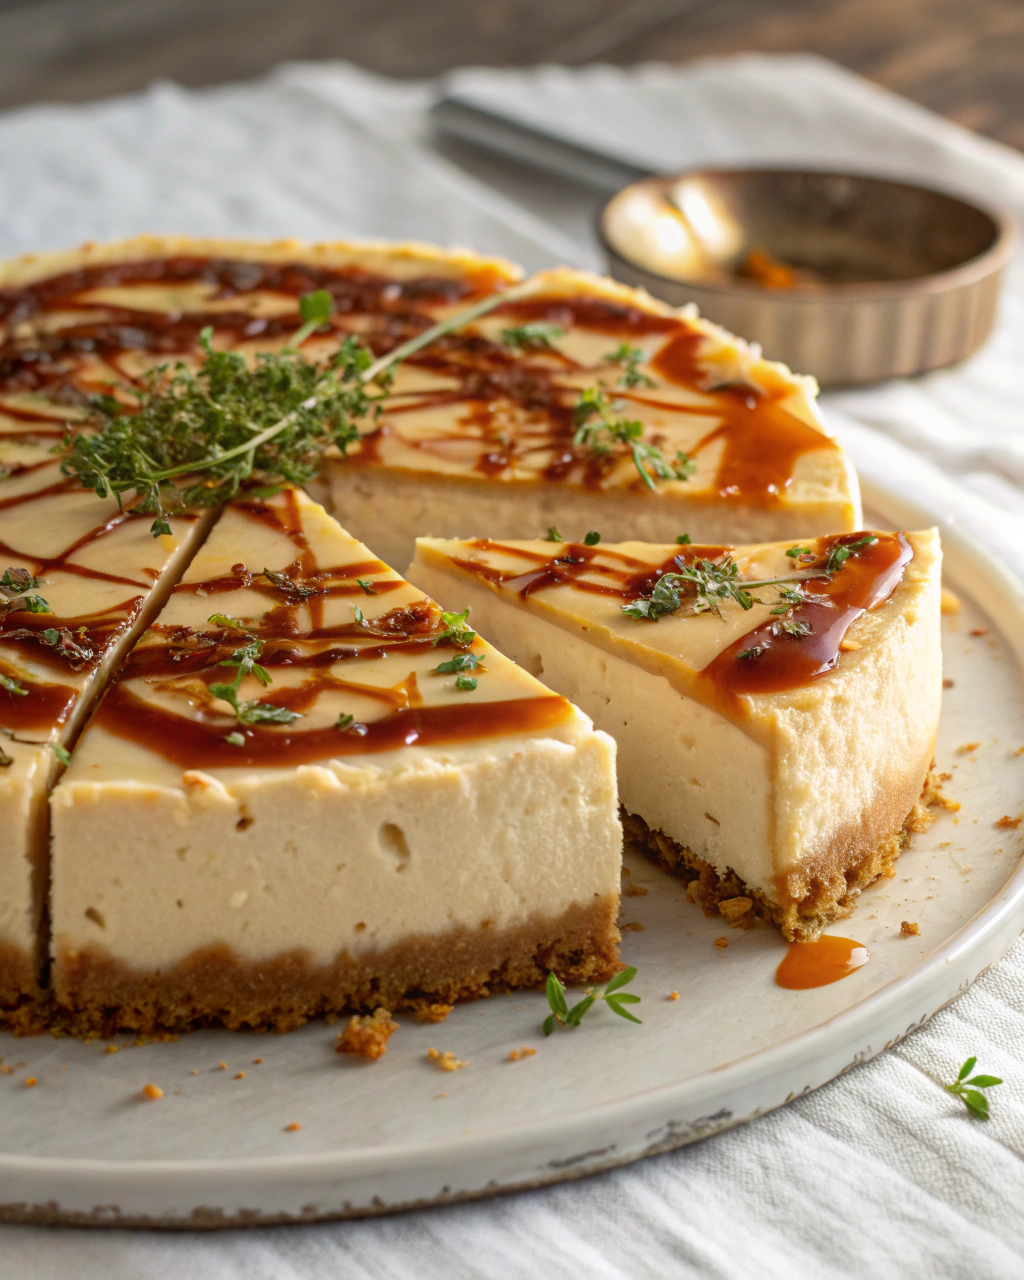
No-Bake Peanut Butter Cheesecake
Alright, imagine this: you’re craving something insanely creamy, peanut-buttery, and just the right kind of sweet without having to fire up the oven. That’s exactly what this No-Bake Peanut Butter Cheesecake delivers! It’s like a silky dream you can scoop right from your fridge, with that perfect, buttery crust that crunches just enough beneath each bite. Trust me, the combination of rich peanut butter swirled into smooth cream cheese makes every spoonful feel like a cozy hug. And because it sets in the fridge, you barely have to wait to enjoy it—major win for the impatient (aka me!). Grab your mixing bowl and let me show you how simple and ridiculously good this cheesecake is.
Quick Facts
- Yield: Serves 8
- Prep Time: 15 minutes
- Chill Time: 4 hours (or overnight)
- Total Time: 4 hours 15 minutes
Ingredients
For the Main Dish:
- 1 ½ cups graham cracker crumbs
- 6 tbsp unsalted butter, melted
- 16 oz cream cheese, softened
- 1 cup creamy peanut butter
- 1 cup powdered sugar
- 1 tsp vanilla extract
- 1 cup heavy cream, cold
For the Sauce / Garnish (optional):
- ½ cup chocolate chips, melted (for drizzling)
- Chopped peanuts or mini peanut butter cups
How I Make It
Step 1:
Start by making the crust. Combine graham cracker crumbs with the melted butter in a bowl until it looks like wet sand. Press this mixture firmly into the bottom of a 9-inch springform pan or any pie dish. This crust holds the cheesecake’s creamy layers, so don’t rush—compact it well with the back of a spoon or a glass!
Step 2:
In another large bowl, beat the softened cream cheese with creamy peanut butter until super smooth and creamy—no lumps! Adding the powdered sugar and vanilla extract next makes this mixture nice and sweet, so keep blending until silky and combined.
Step 3:
Now whip the cold heavy cream in a separate bowl until stiff peaks form—this means when you lift the whisk, the cream holds its shape without collapsing. Gently fold the whipped cream into the peanut butter mixture. This step is key because it makes the cheesecake delightfully light and airy.
Step 4:
Pour the finished filling over your prepared crust, smoothing the top with a spatula. Refrigerate for at least 4 hours (or overnight if you have patience) until it’s firm and sliceable.
Step 5:
If you’re feeling fancy, melt some chocolate chips and drizzle over the top just before serving. Sprinkle chopped peanuts or mini peanut butter cups for an added crunch and visual oomph!
Step 6:
Slice, serve, and watch those peanut butter lovers swoon. Store any leftovers wrapped tightly in the fridge for up to 4 days (if it lasts that long!).
Variations & Tips
- Swap graham cracker crust for chocolate cookie crumbs for a richer base.
- Use crunchy peanut butter instead of creamy for added texture.
- Add a teaspoon of instant coffee granules to the filling for a mocha twist.
- For a lighter version, substitute half the heavy cream with Greek yogurt.
- Freeze leftovers in small containers for an ice cream–style treat later.
- If your cheesecake isn’t firm enough after chilling, let it chill longer or try adding 1 tsp gelatin dissolved in a bit of warm water.
How I Like to Serve It
This cheesecake pairs beautifully with fresh strawberries or banana slices, especially in spring or summer when berries are in season. I also love serving it at casual get-togethers—everyone’s a fan, and it disappears fast! For dessert at holiday dinners, a chocolate drizzle and a handful of chopped peanuts take it over the top.
Notes
- Store leftover cheesecake chilled in an airtight container to keep it fresh for up to 4 days.
- Because it’s no-bake, avoid leaving this cheesecake out at room temperature for more than two hours to keep it safe and creamy.
Closing: Seriously, this no-bake peanut butter cheesecake is one of those recipes you’ll want on hand when you’re craving creamy, dreamy comfort without the fuss—a total crowd-pleaser every time!

Hi, I’m Lina, the creator of Lina Easy Recipes.Cooking has always been my passion, and I love sharing simple, homemade dishes that anyone can prepare.
Love What You See?
Join me on Pinterest and Facebook for daily cooking inspiration, new recipe ideas, and behind-the-scenes kitchen stories. Let’s cook something wonderful together!


